Create & Configure Twitter App
Step 1: Create a Twitter Developer Account
To create a Twitter App, you need to have a Twitter Developer Account. If you don't have one, you can create it by going to the Twitter Developer website. Fill out the required information and submit the application. Once approved, you can log in to your Developer Account.
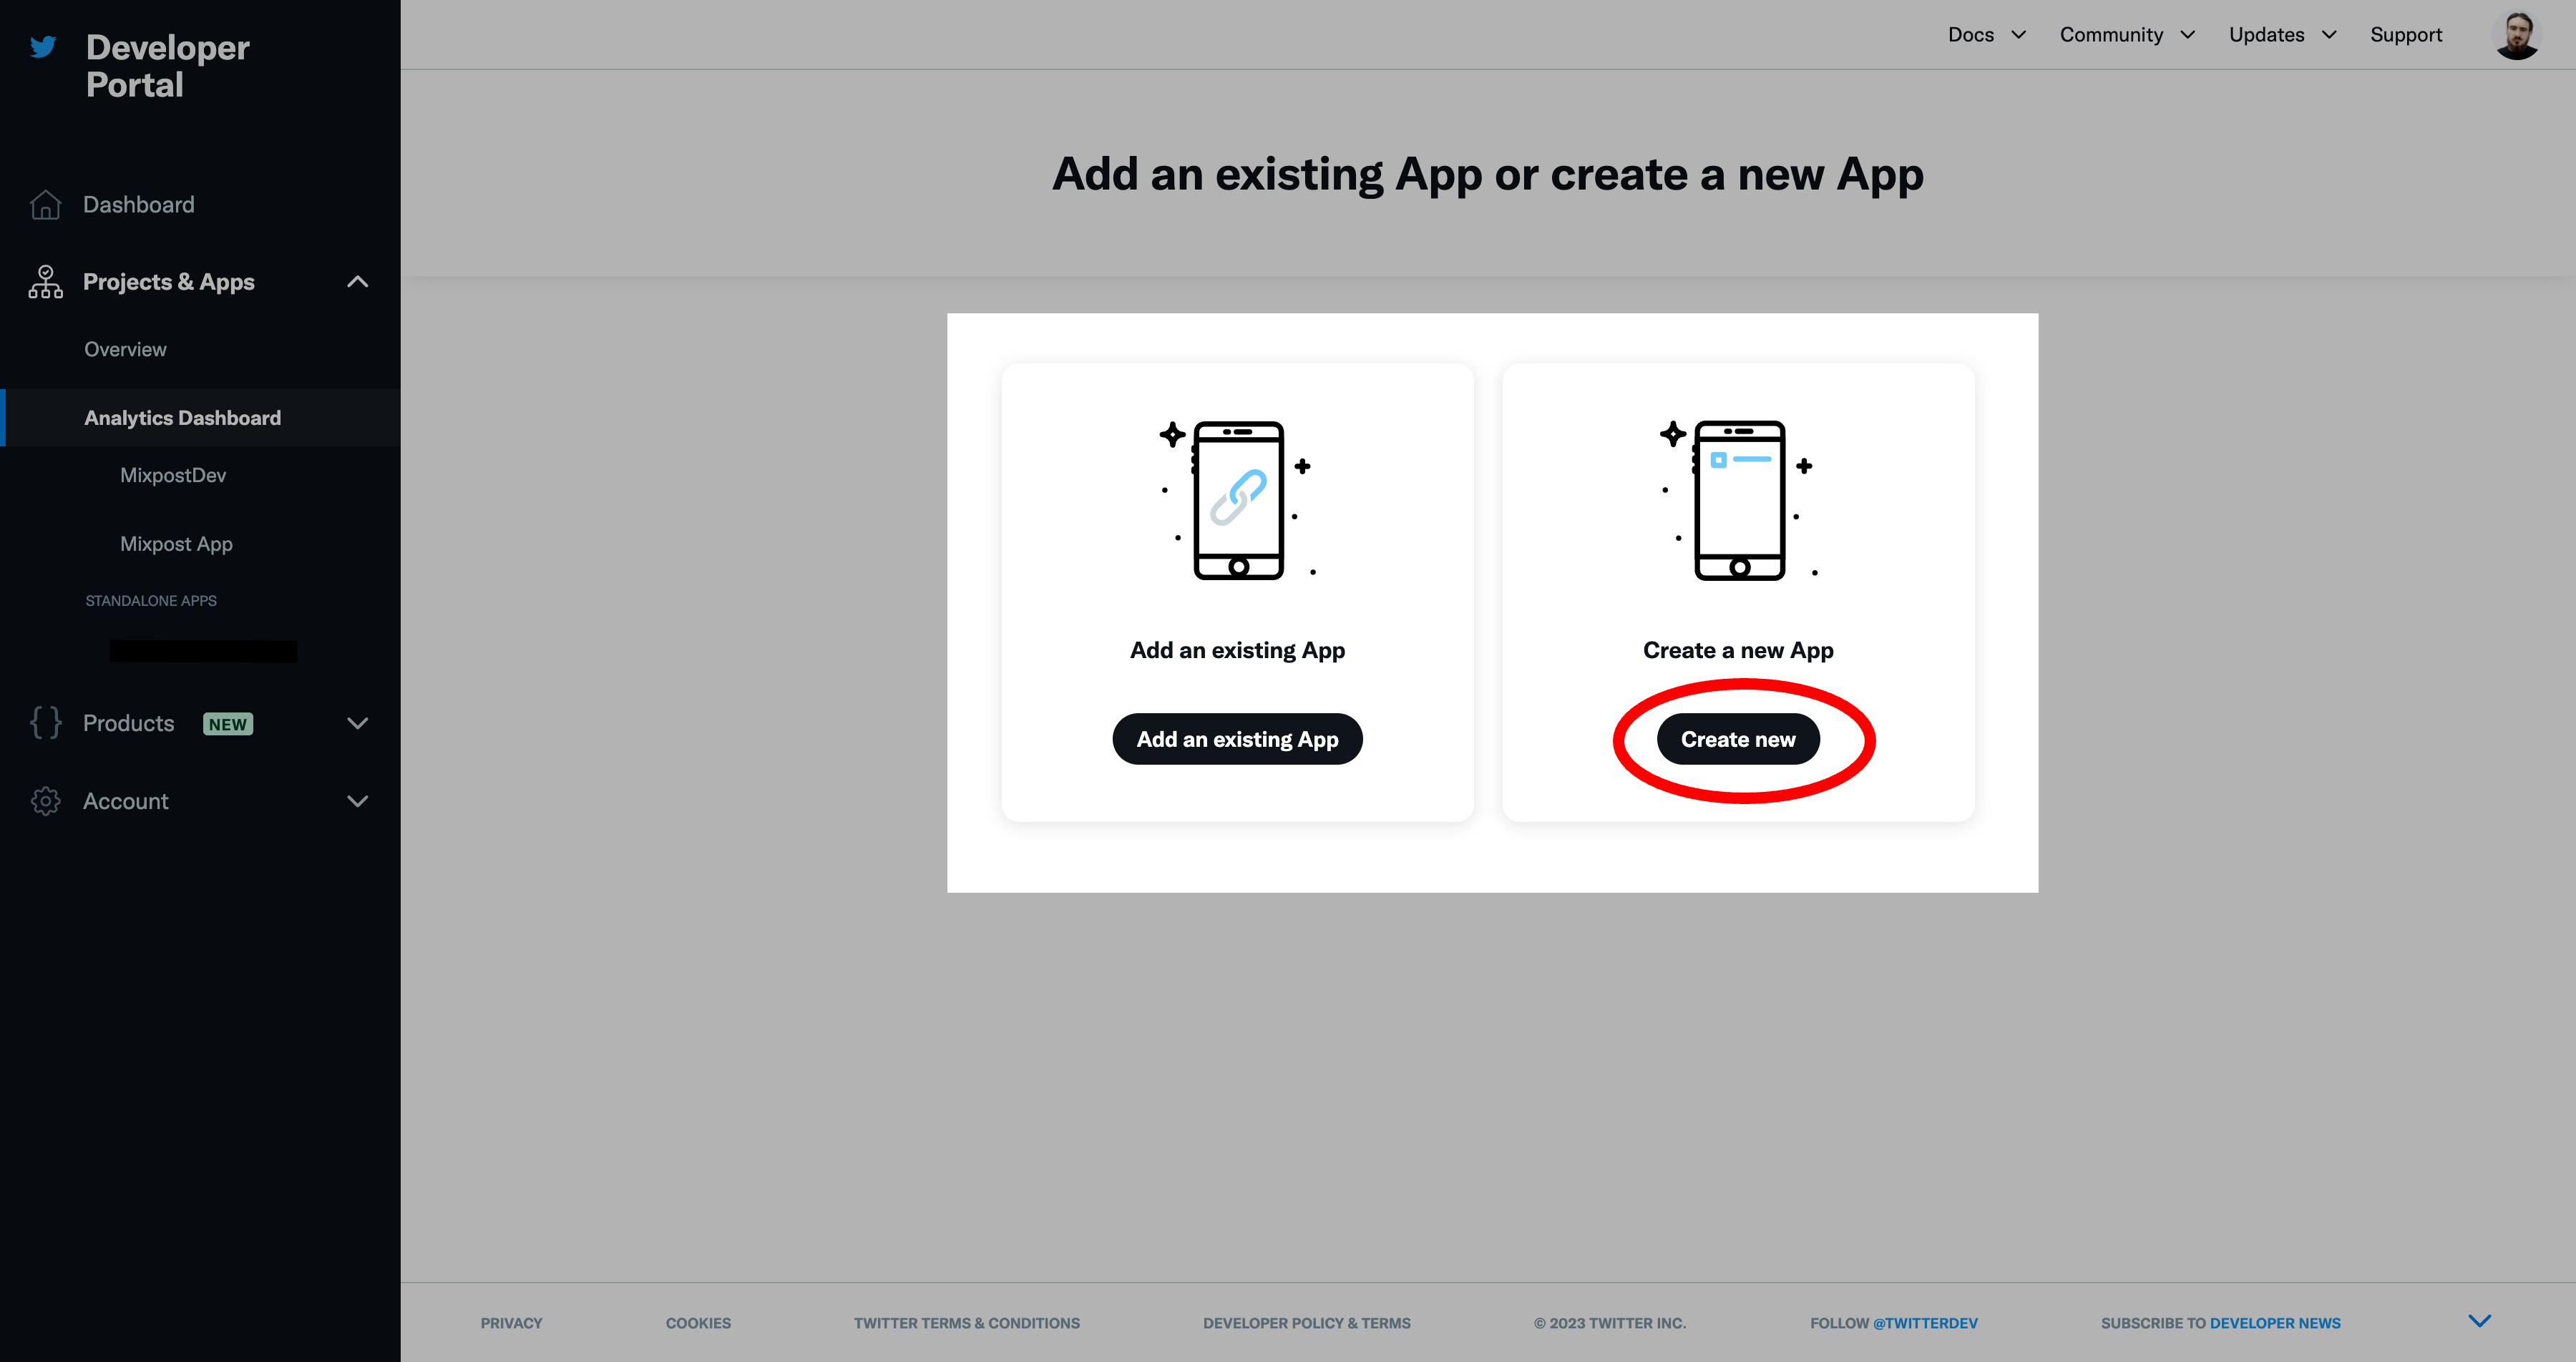
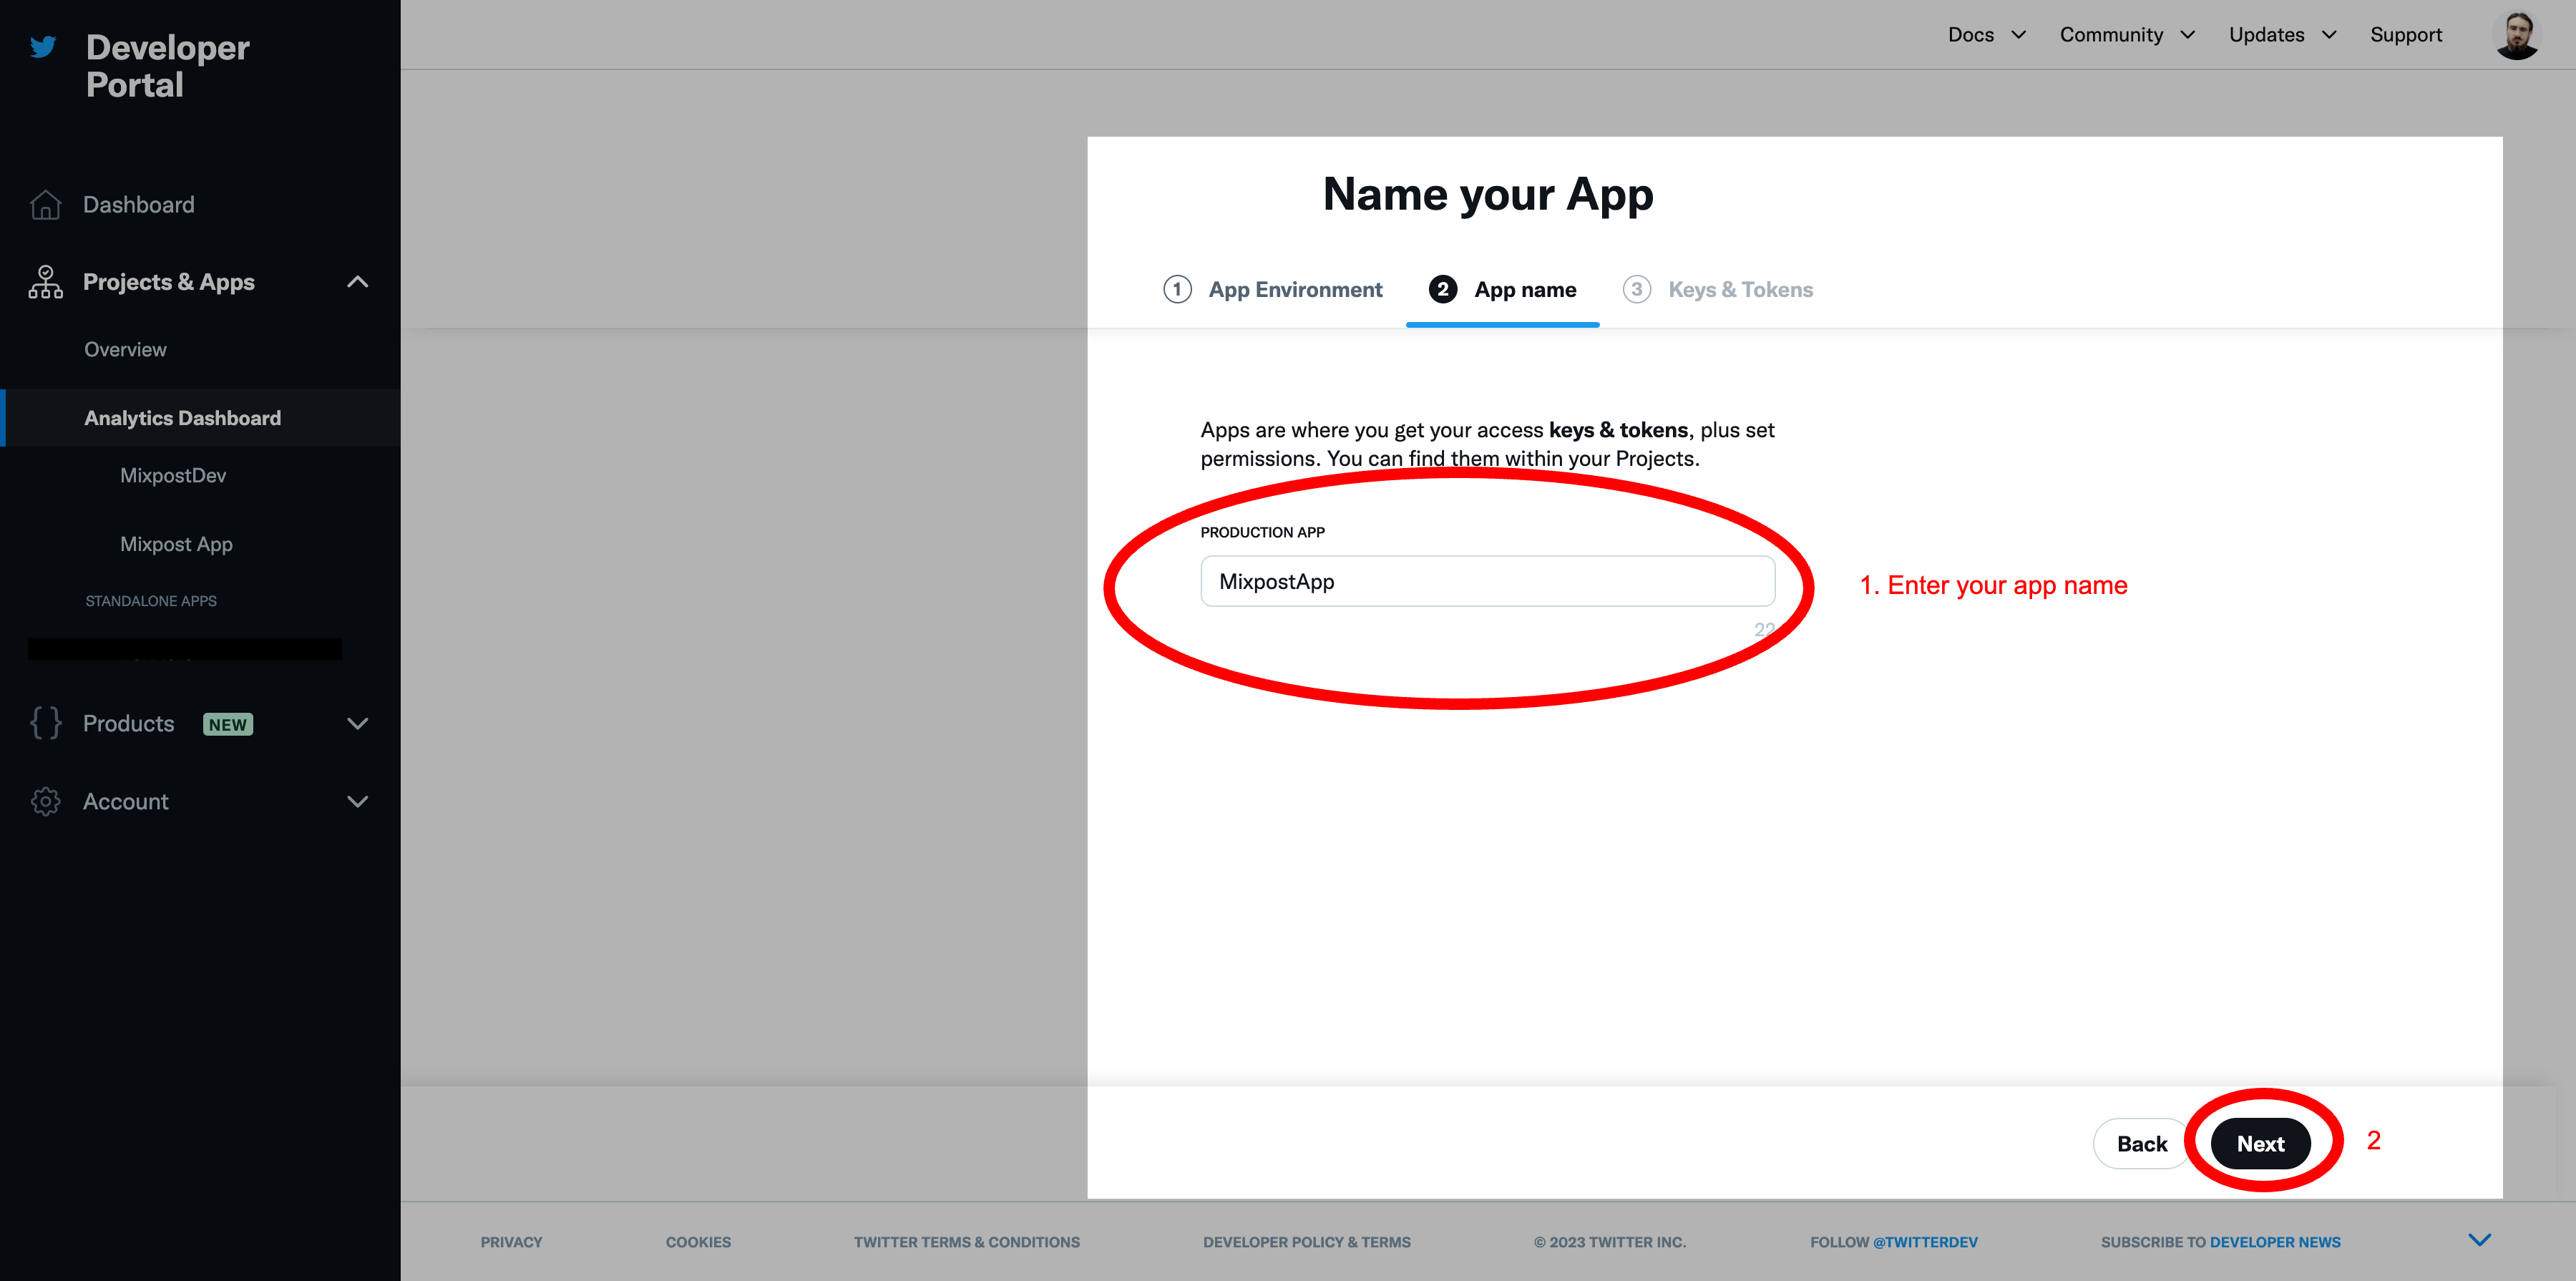
Step 2: Create a New App
Once you have logged in to your Developer Account, click on the “Add app”, then "Create an App" button. Enter the App name, description, and website, and click on "Next".

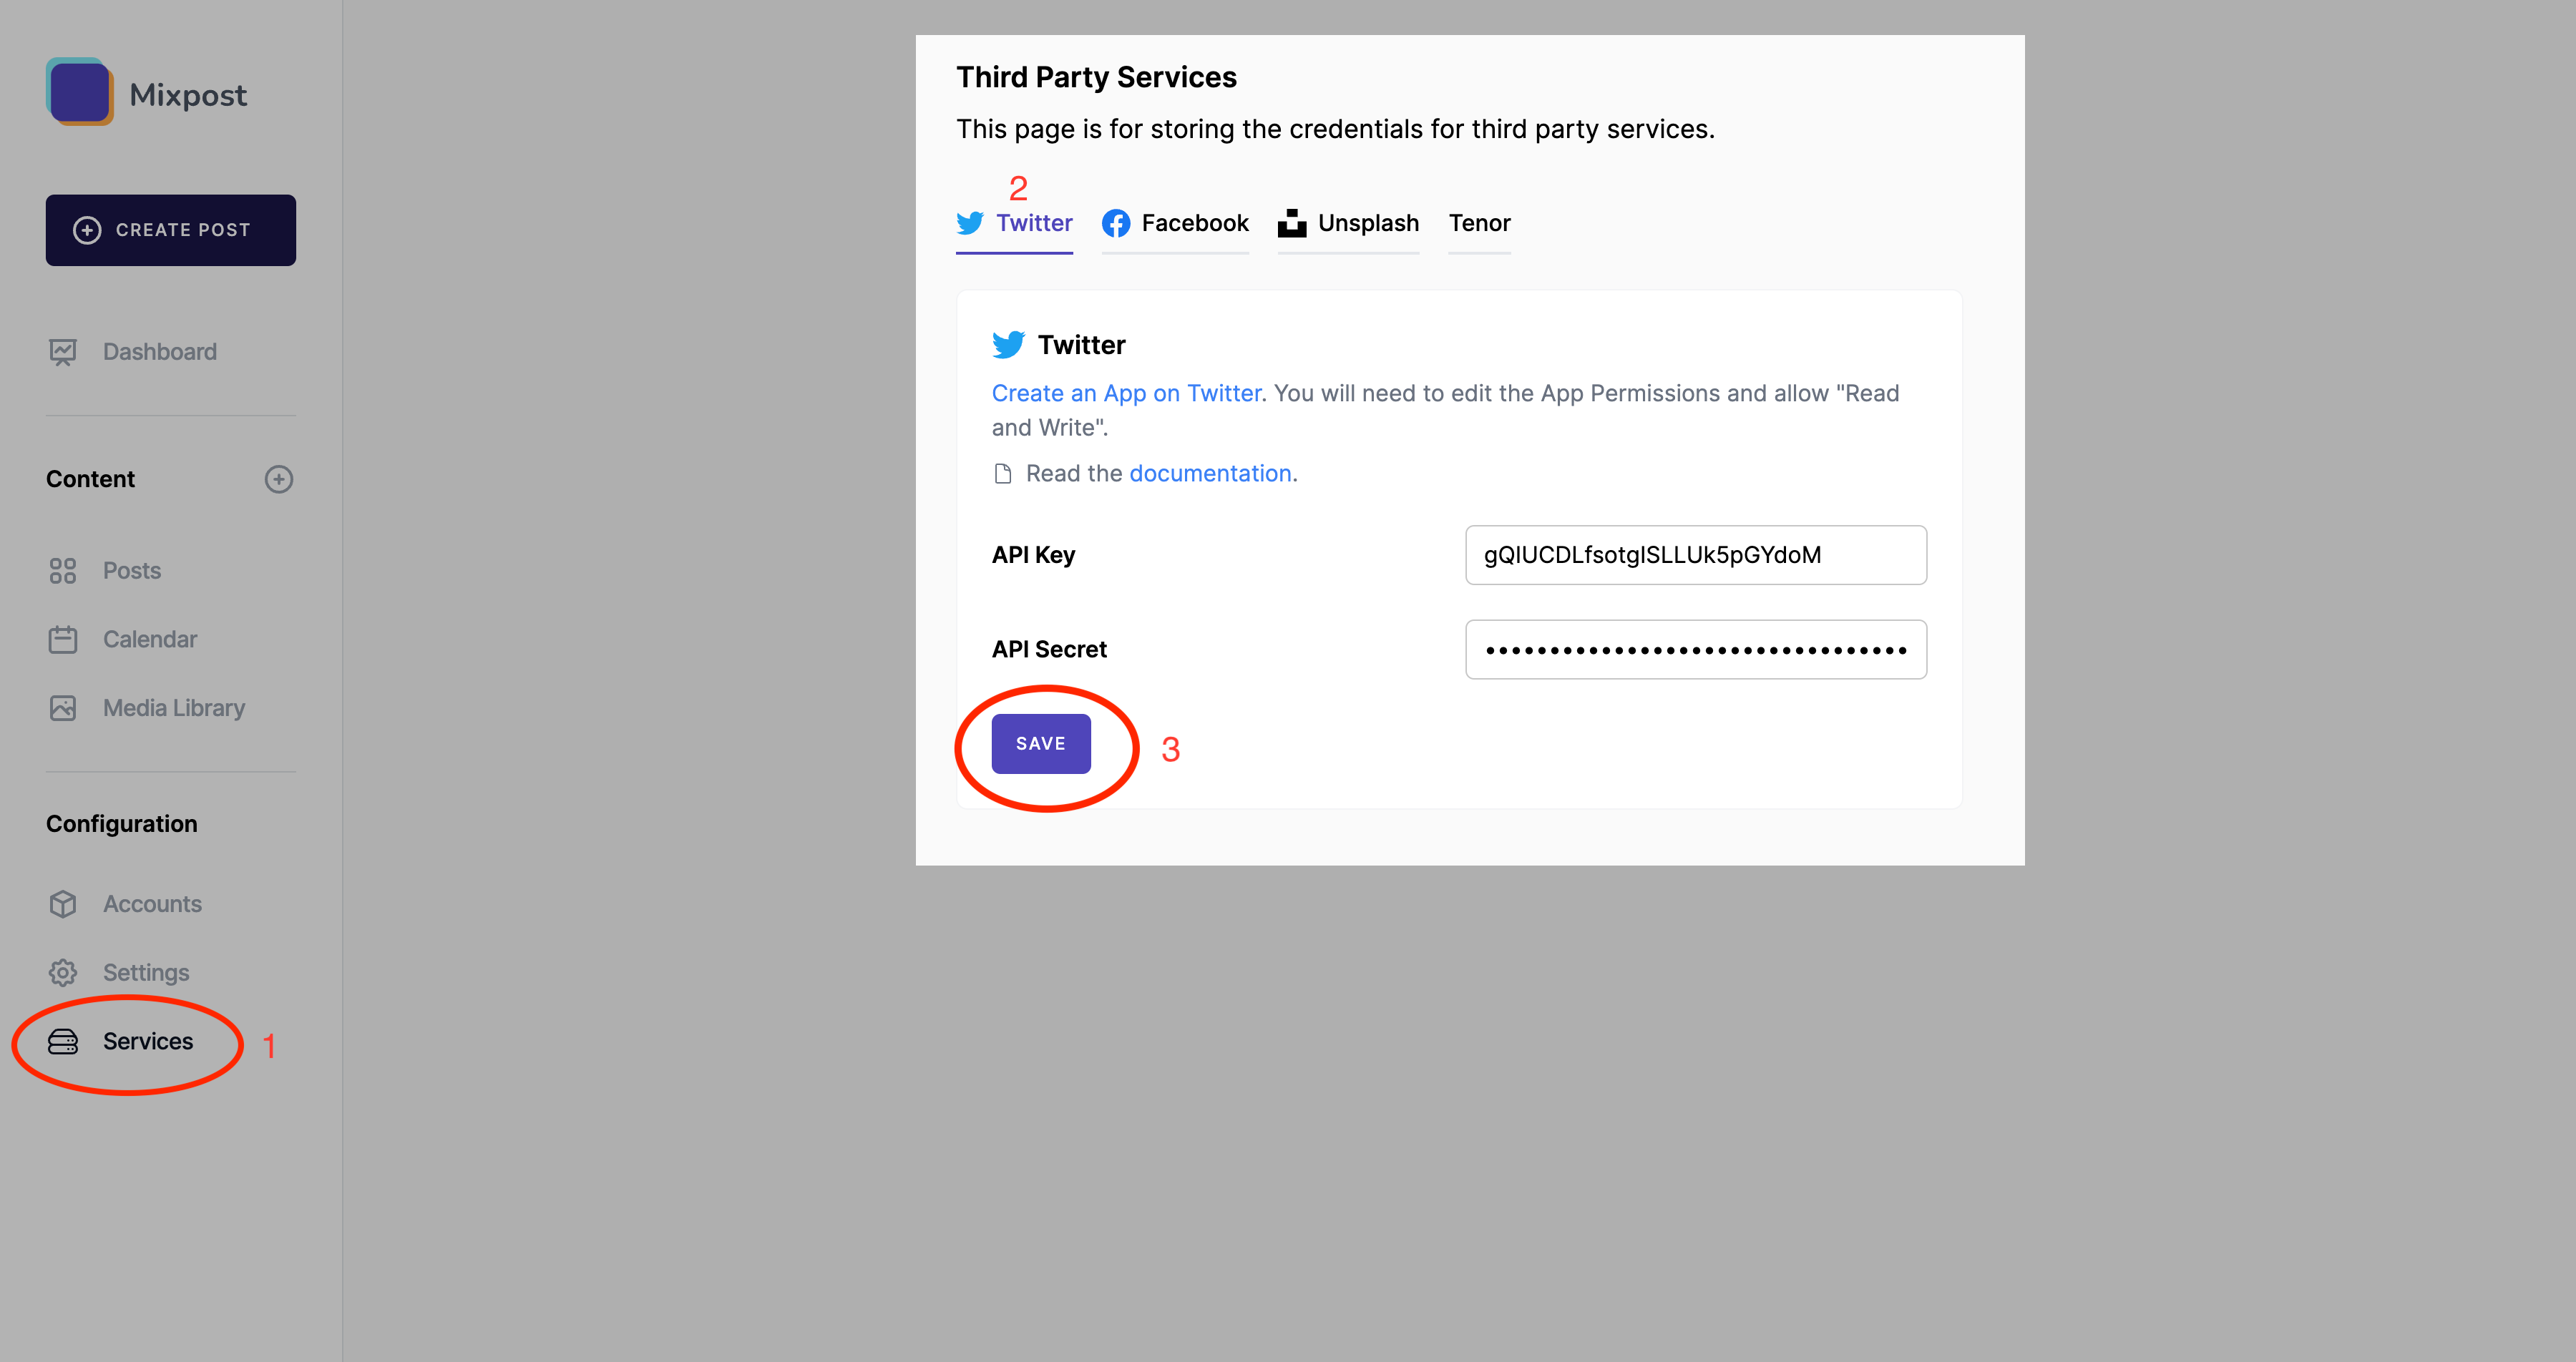
Step 3: Copy the API Key and Secret to Mixpost
After creating the App, you will see the API Key and Secret. Copy them, open your URL where Mixpost is installed, and paste each key to your service Twitter form on the Mixpost→Services page.
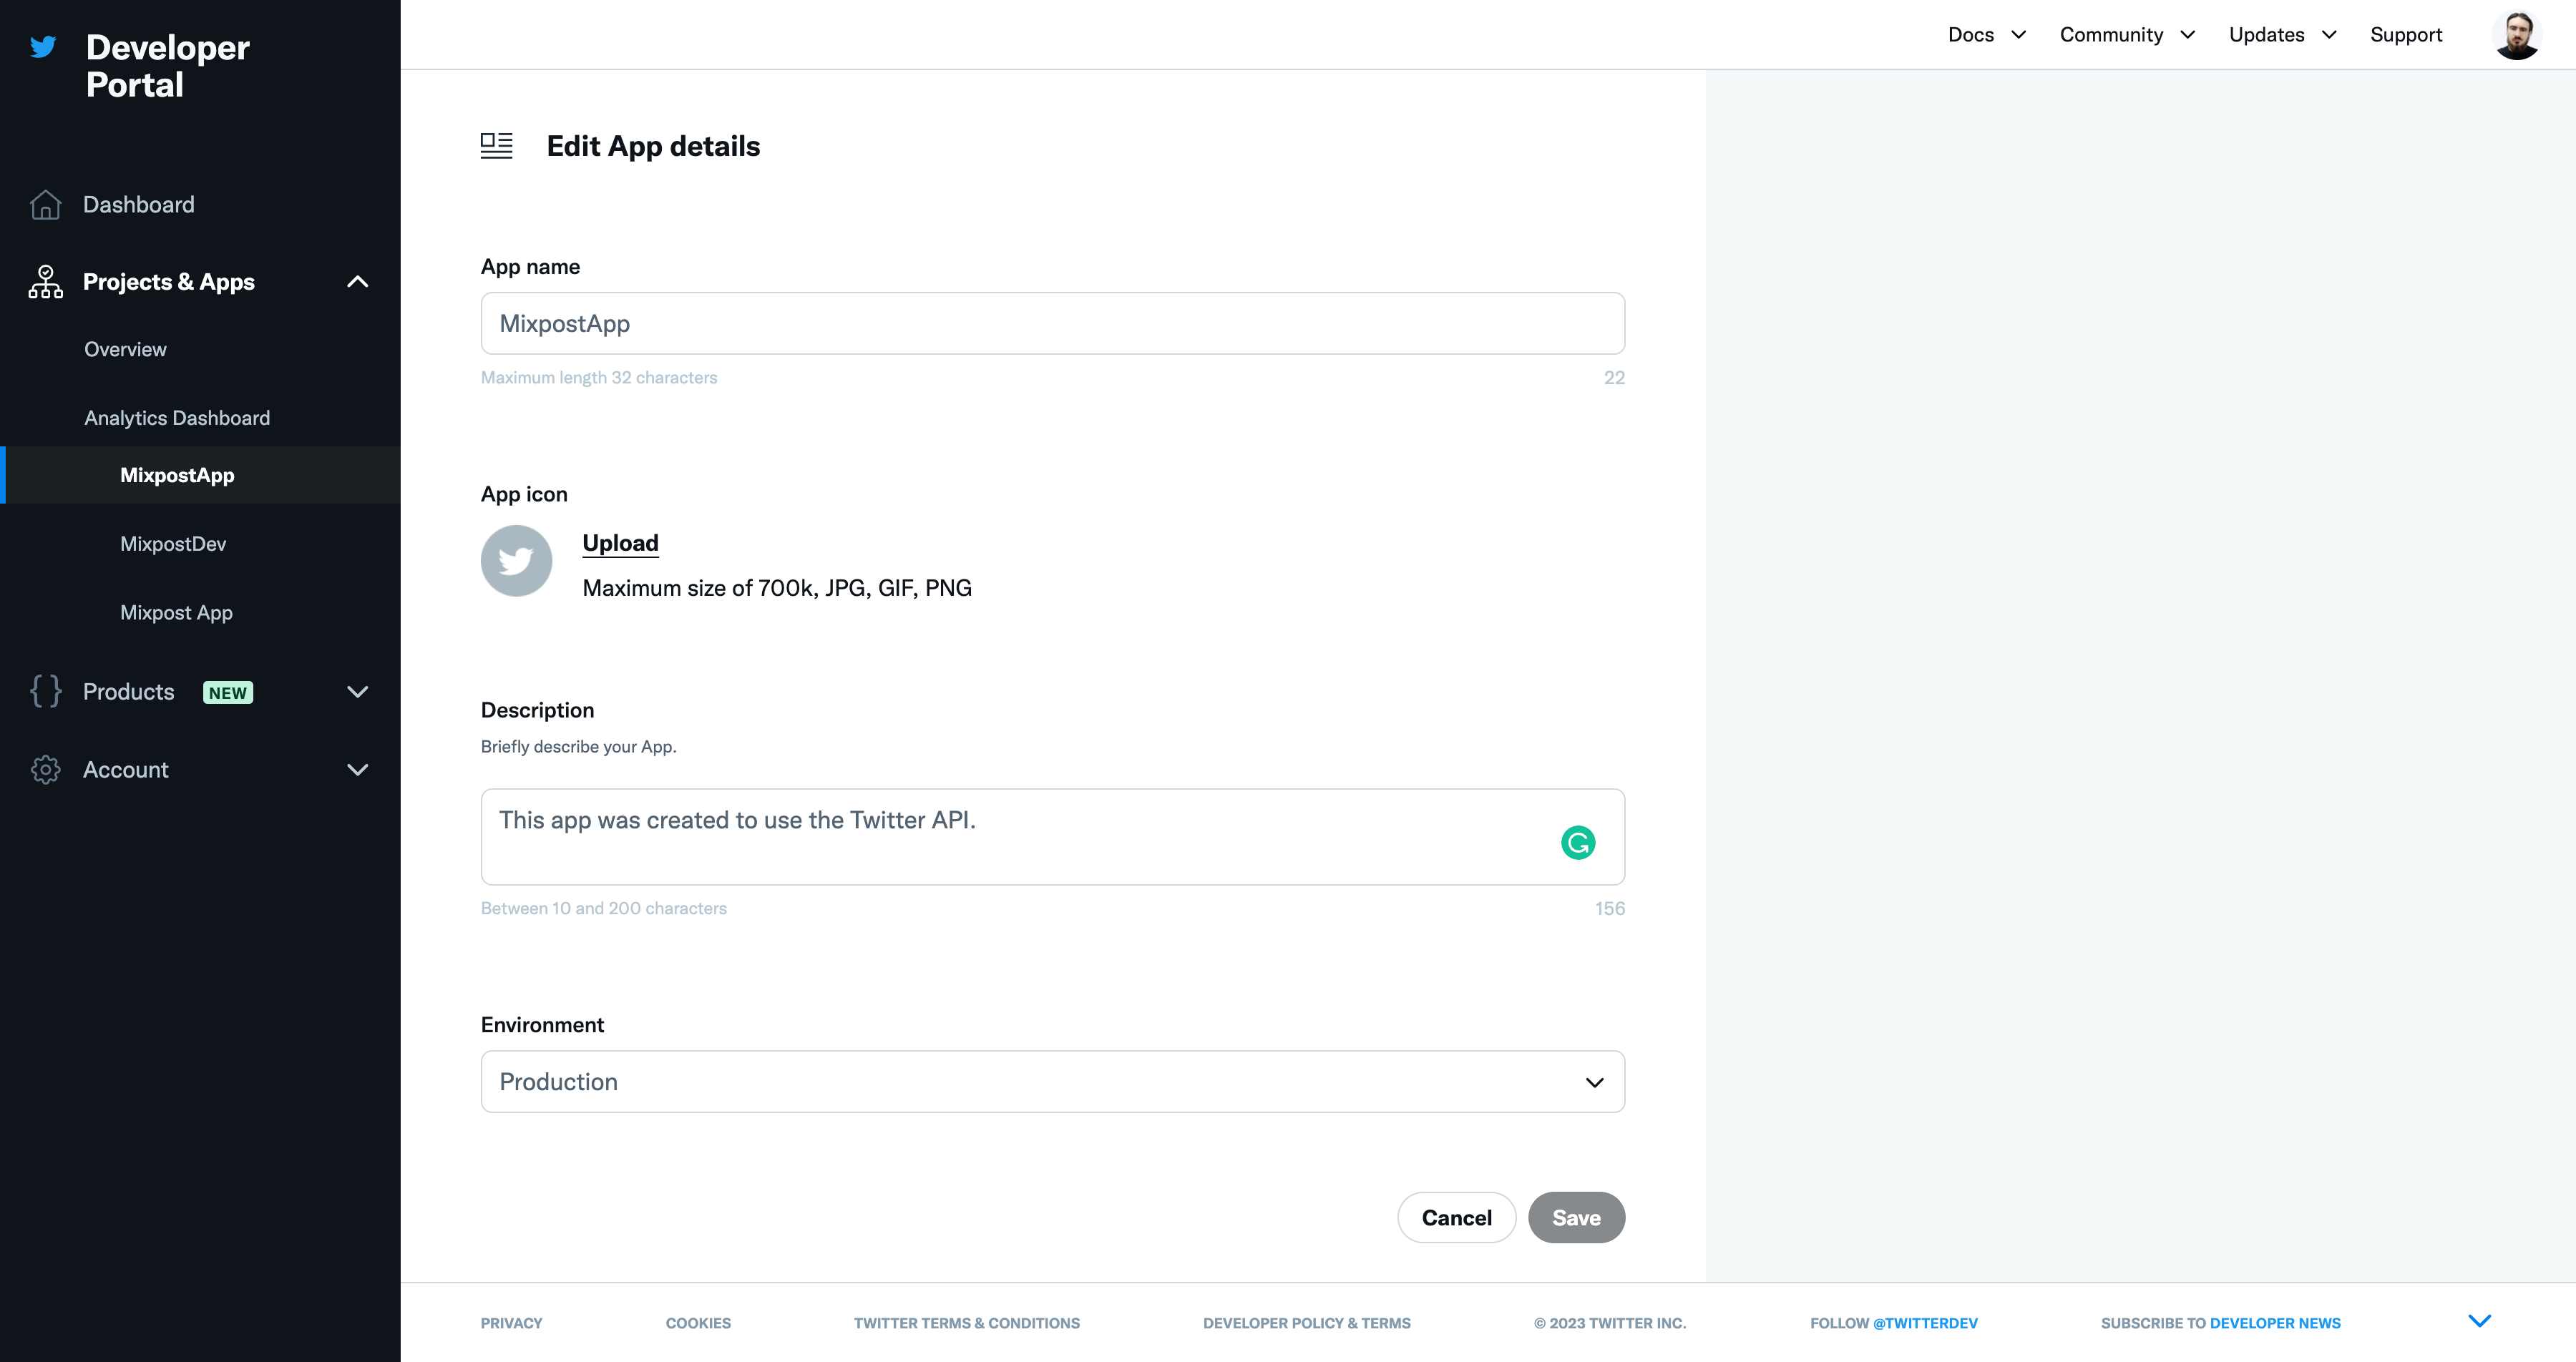
Step 4: Configure Twitter App (Optional)
Do this only if you want to upload a logo or enter a description for your app. Go back to your Twitter developer account and select your app from the left sidebar.
- Click on “Edit” button.
- Upload the App logo
- Enter App description
- Click on “Save” button.
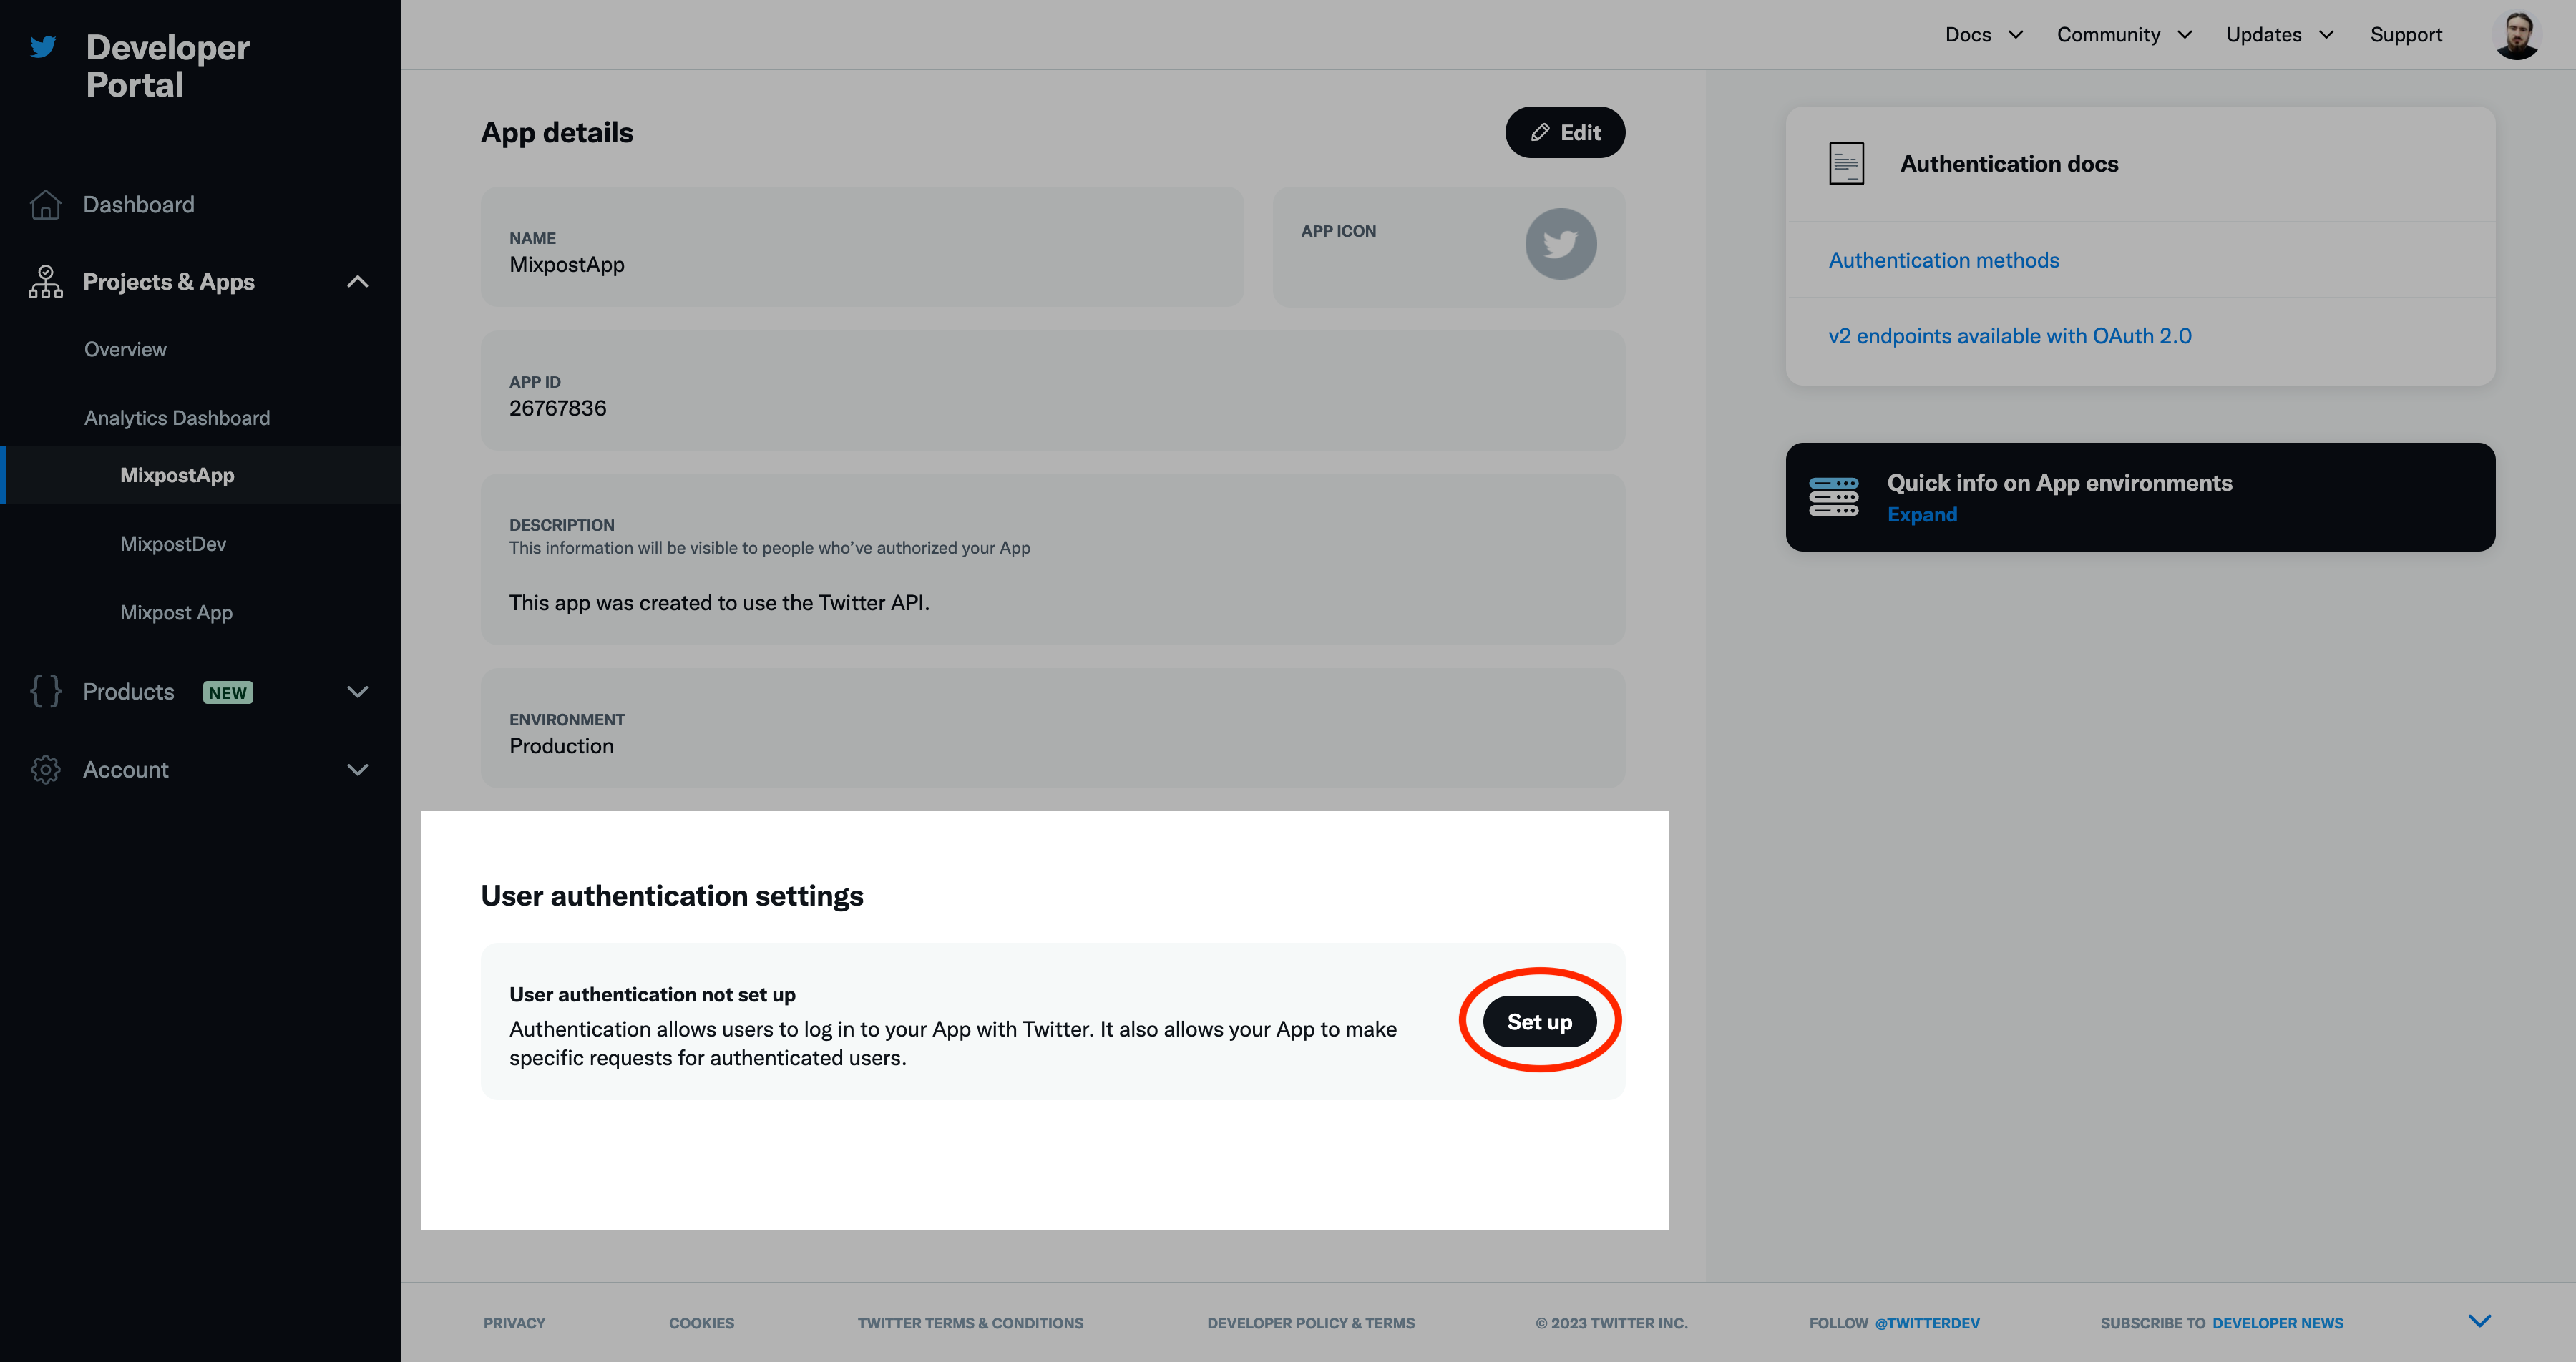
Step 5: App permissions
Next, you need to do some important configurations. Select your app from the left sidebar, scroll down to “User authentication settings” section, and then click on “Set up” button.
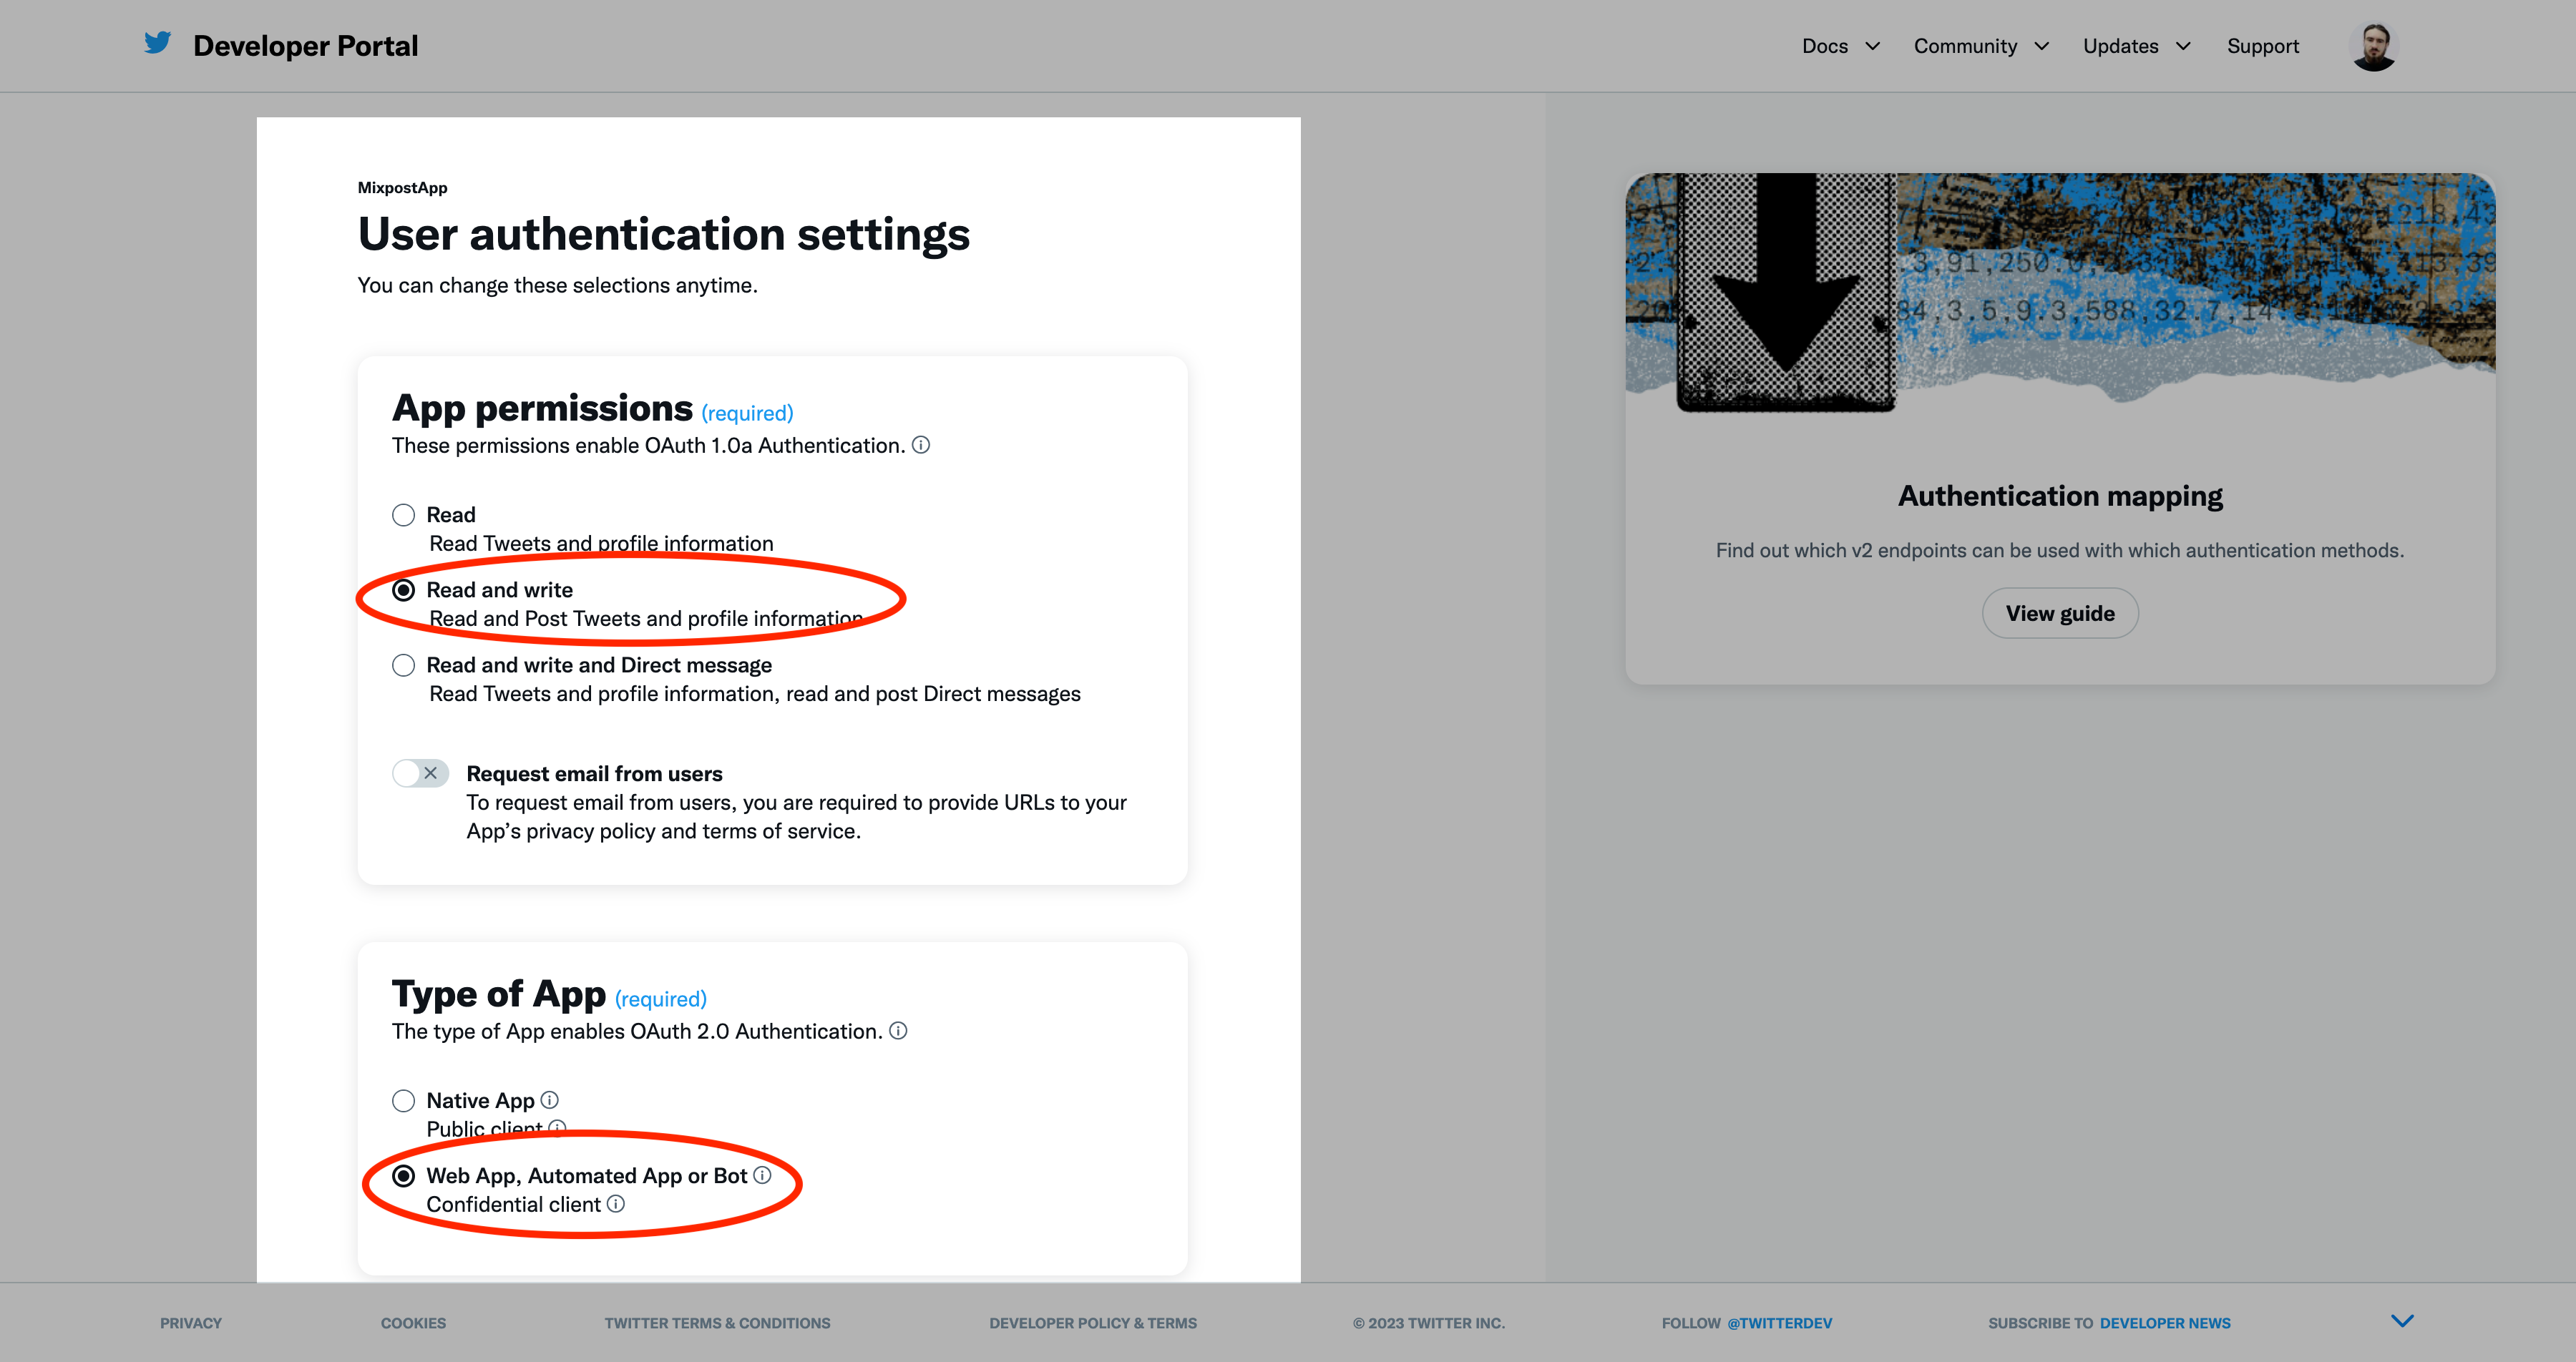
On the “App permissions” section select: “Read and write”.
On the “Type of App” section select: “Web App, Automated App or Bot”
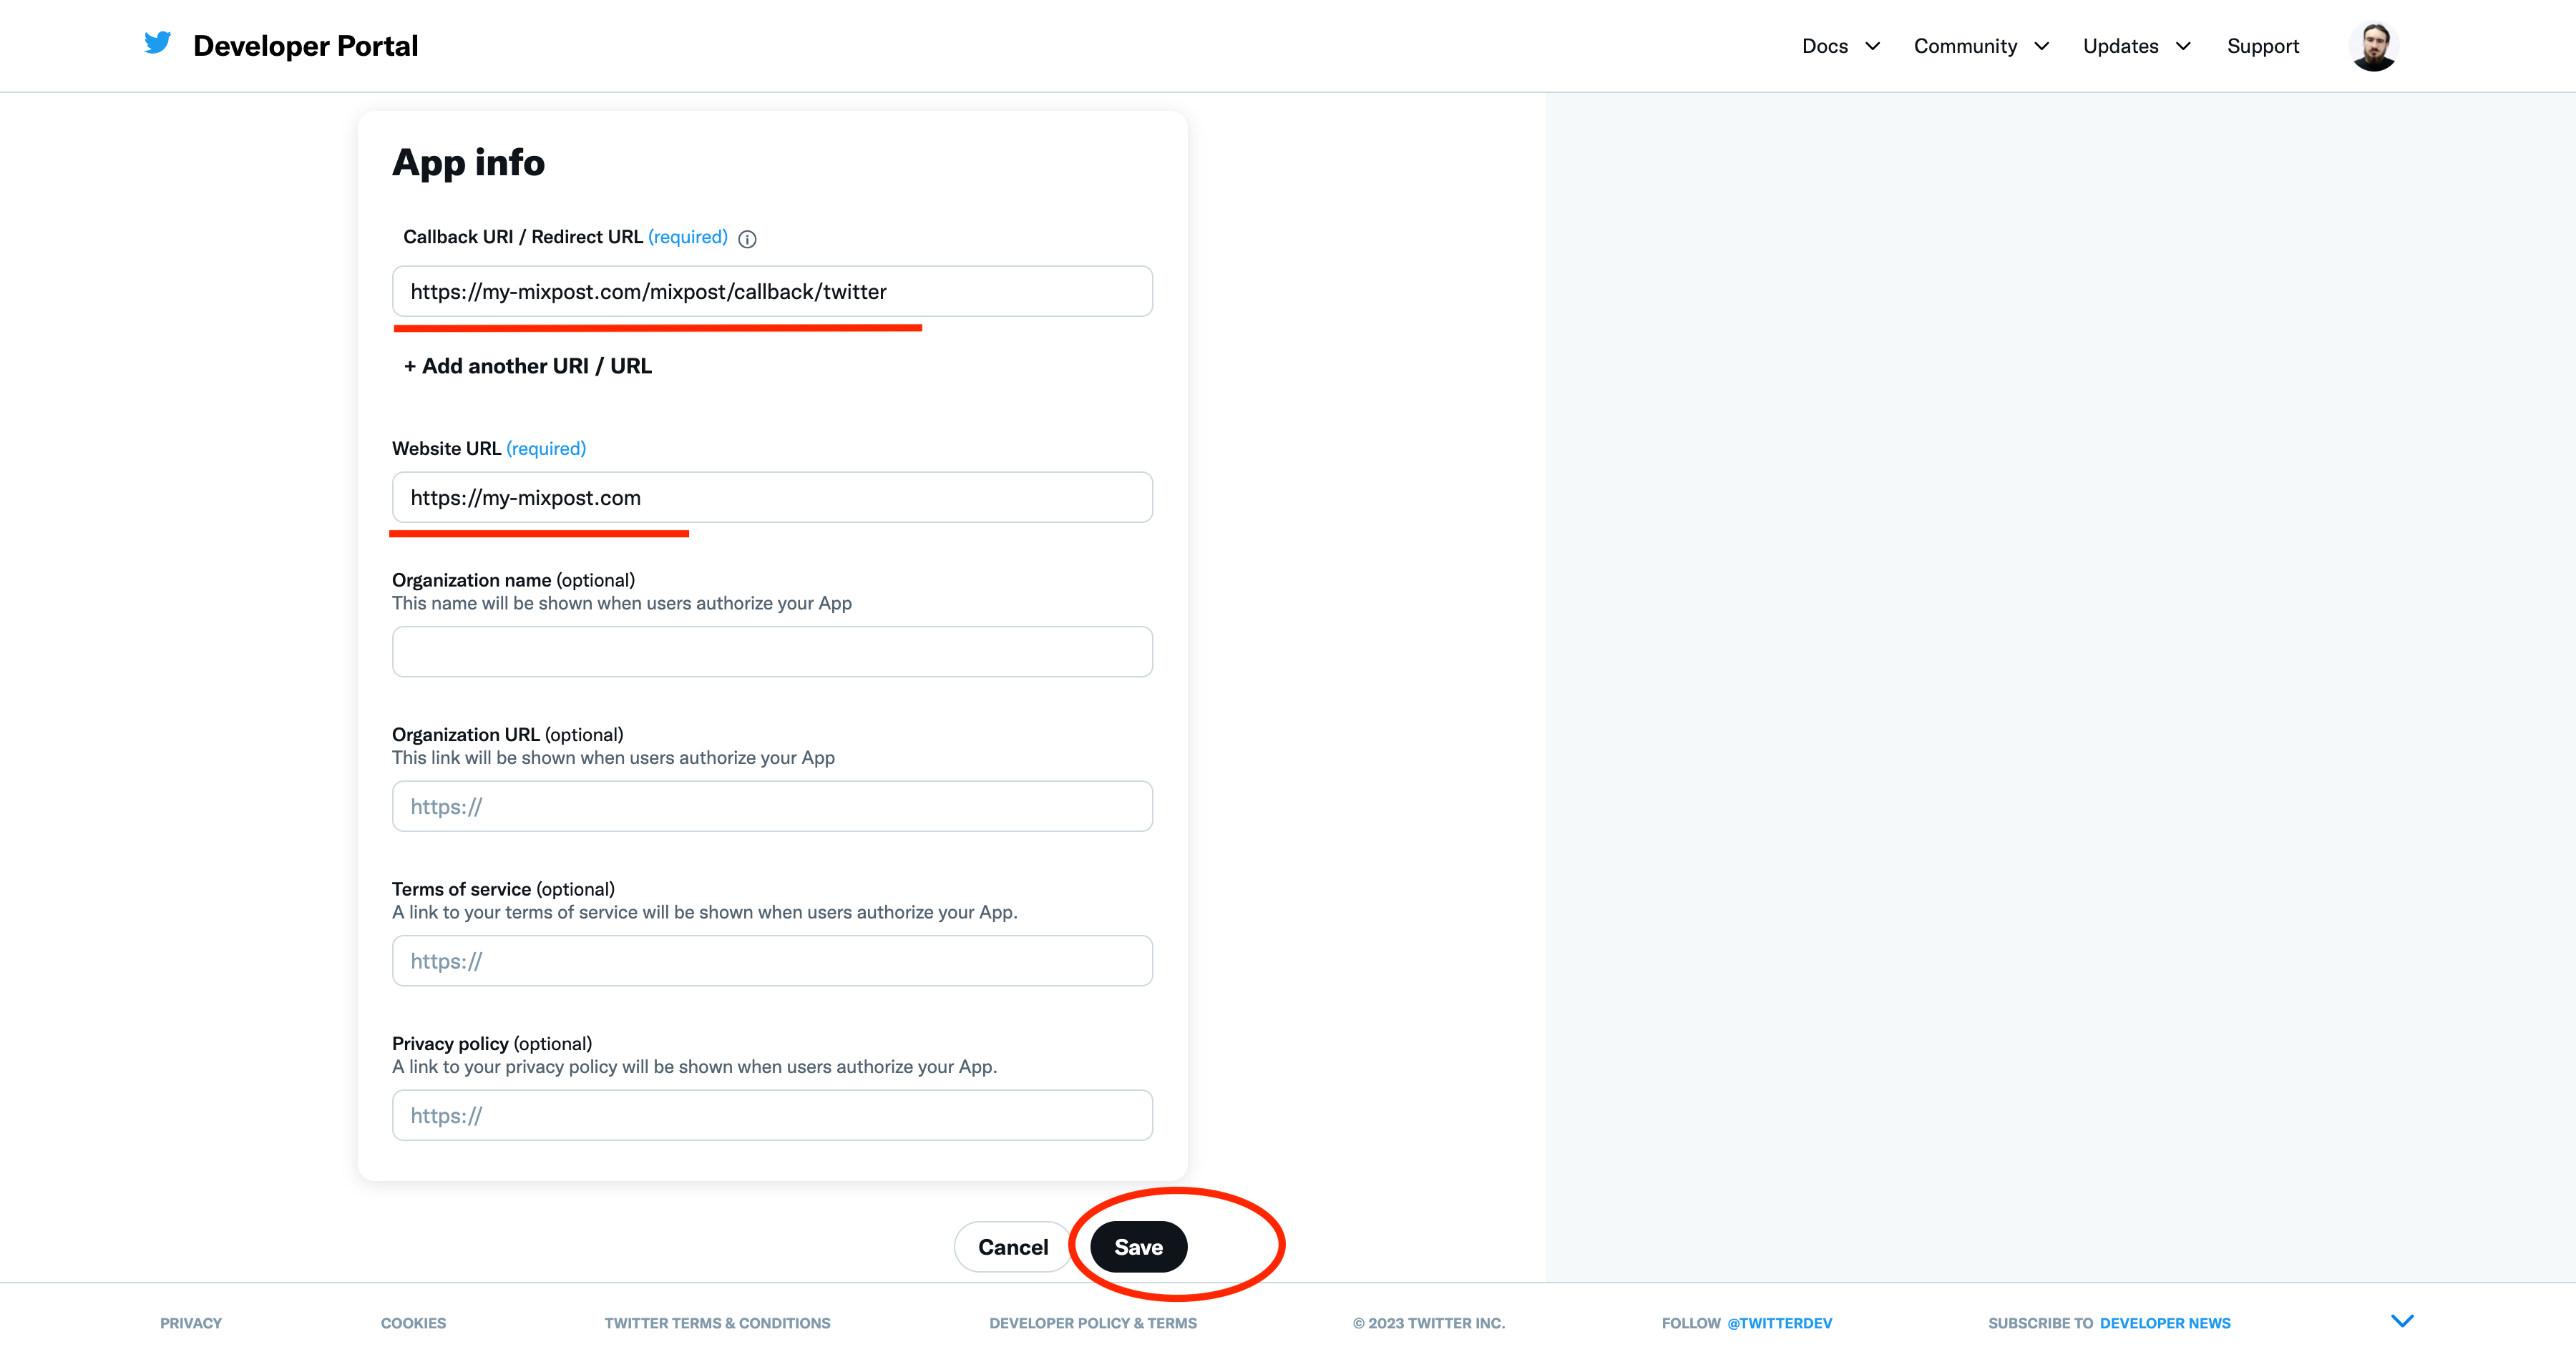
On the input “Callback URI / Redirect URL” of the “App info” section: https://your-app-url.com/mixpost/callback/twitter
On the input “Website URL" of the “App info” section: https://your-app-url.com
Then, click on “Save” button.
After that, Twitter will show to you another Client ID & Client Secret, we don’t need them. Finally, click on “Done” button.
Step 5: Testing
You can test your app by adding your Twitter account to the Mixpost.
Accounts→Add account