To be able to post on Facebook and Instagram, you must create and configure a Facebook application. Because Facebook and Instagram belong to the same company Meta.
Step 1: Create a Developer Account
To create a Facebook app, you must first have a Facebook developer account. If you don't already have one, go to the Facebook for Developers website and click "Get Started" in the top right corner. Follow the instructions to sign up for a developer account.
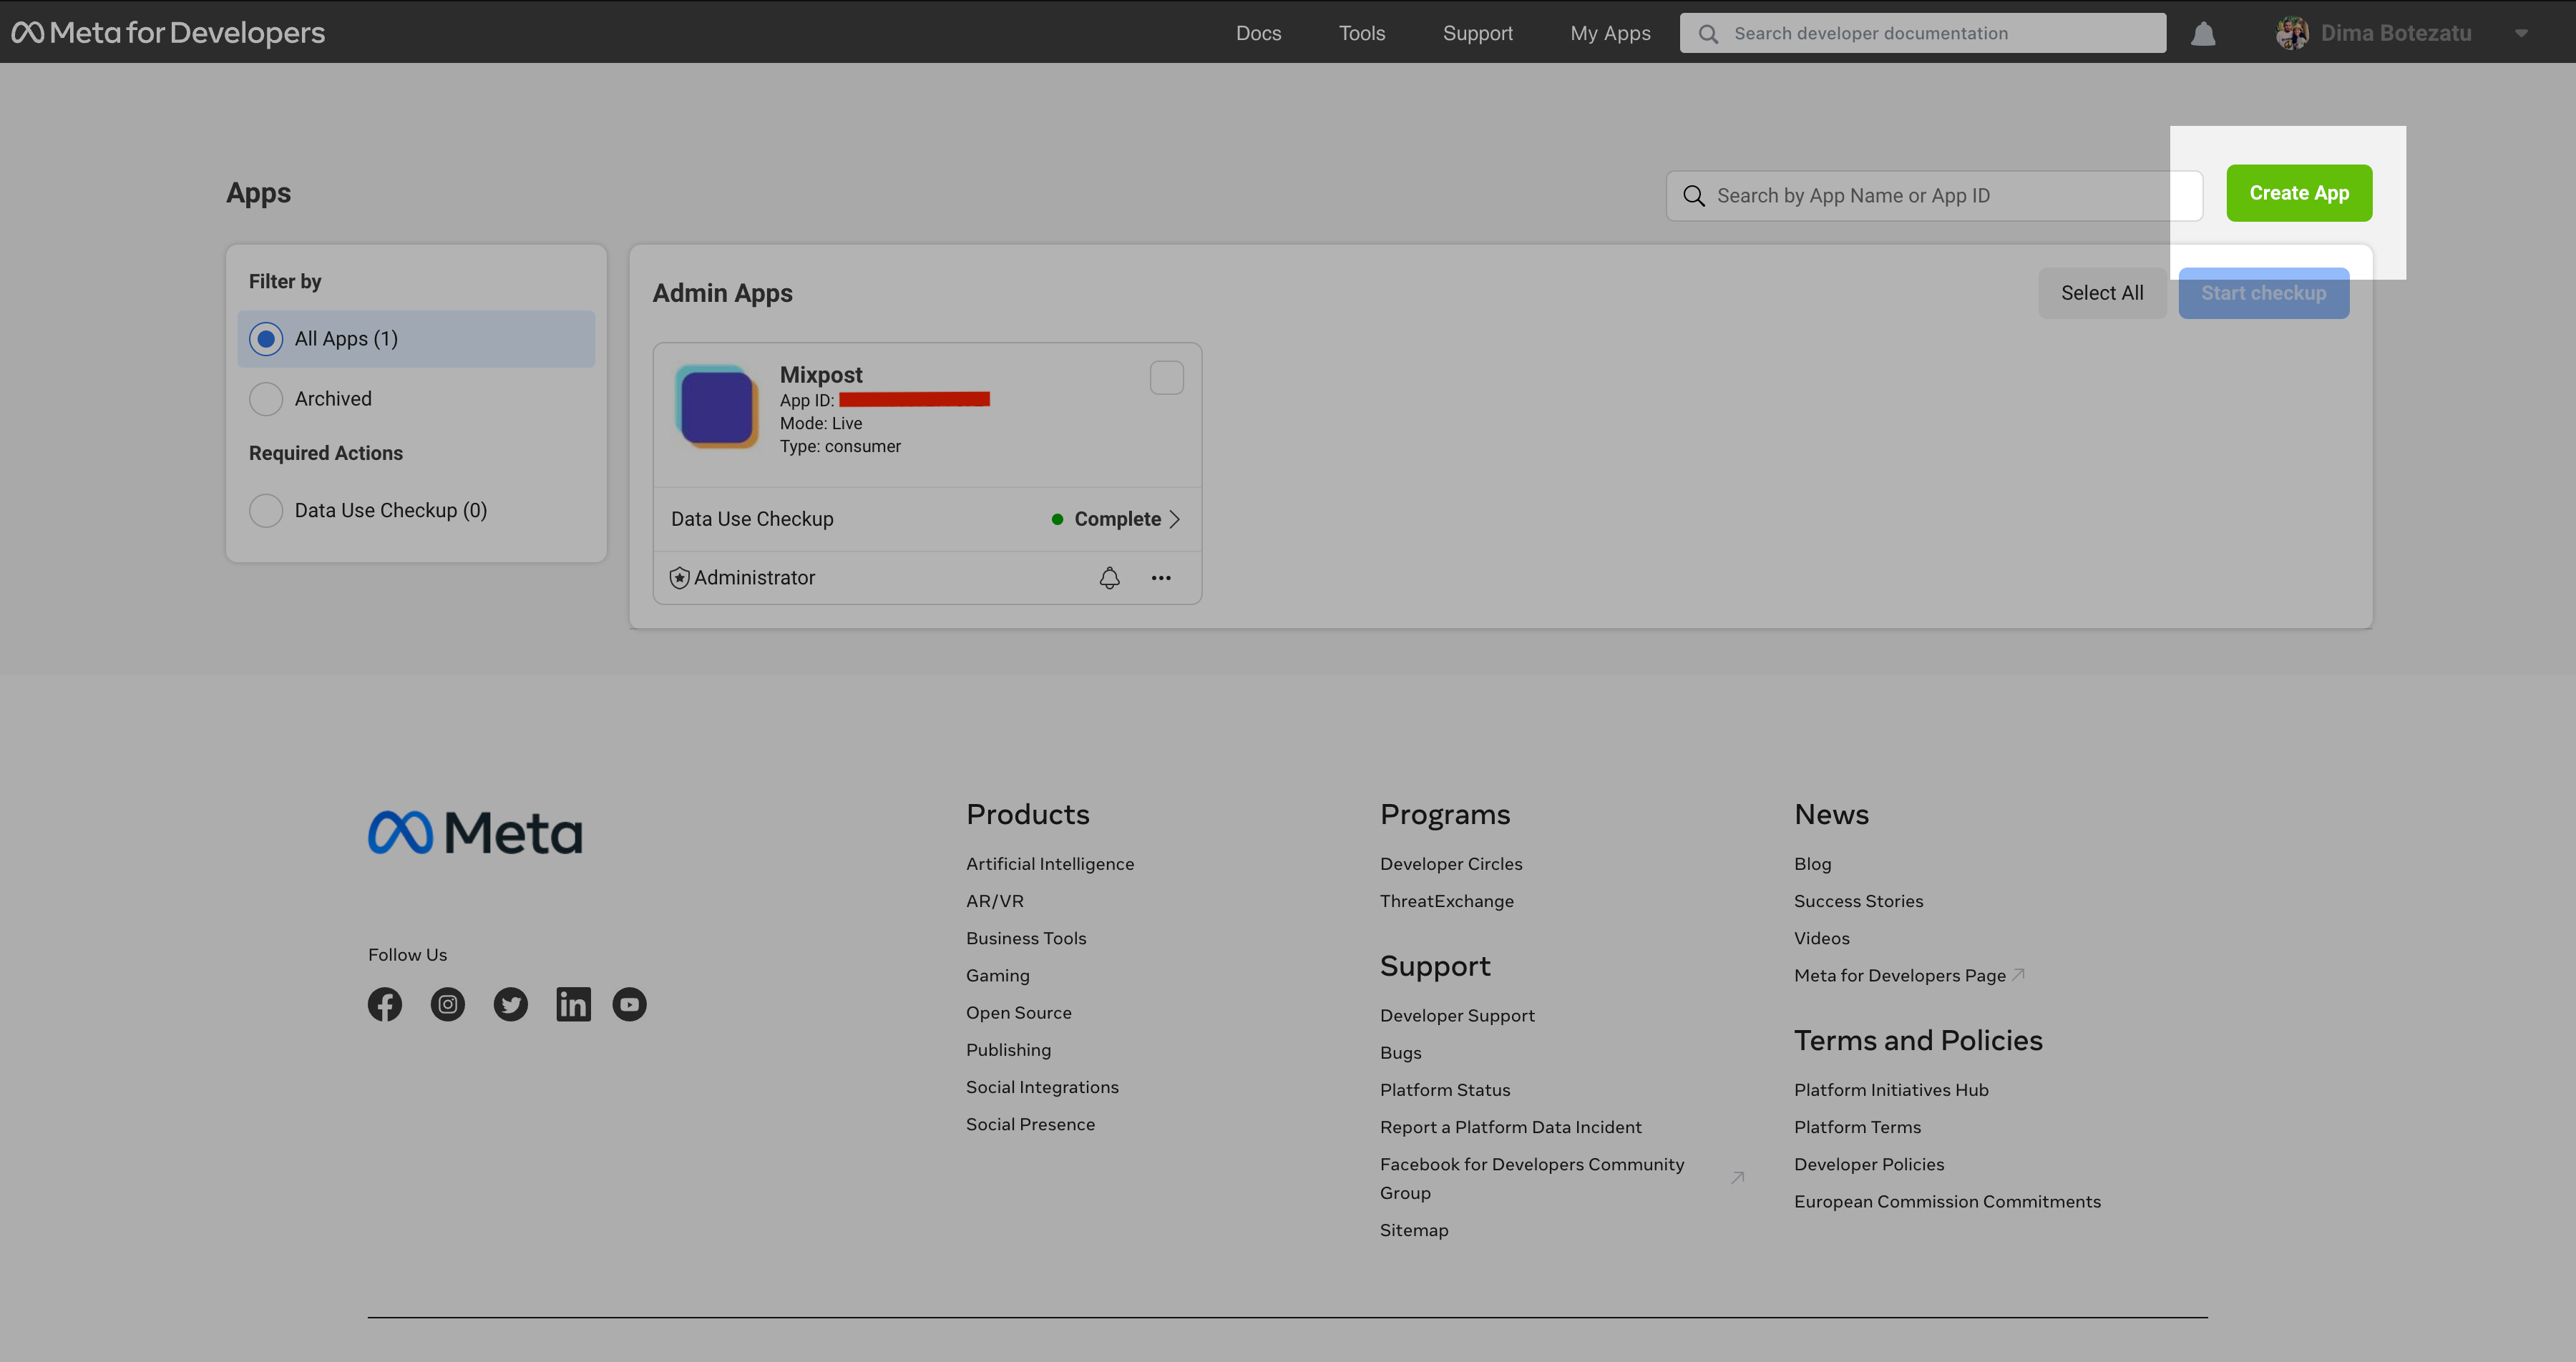
Step 2: Create a New App
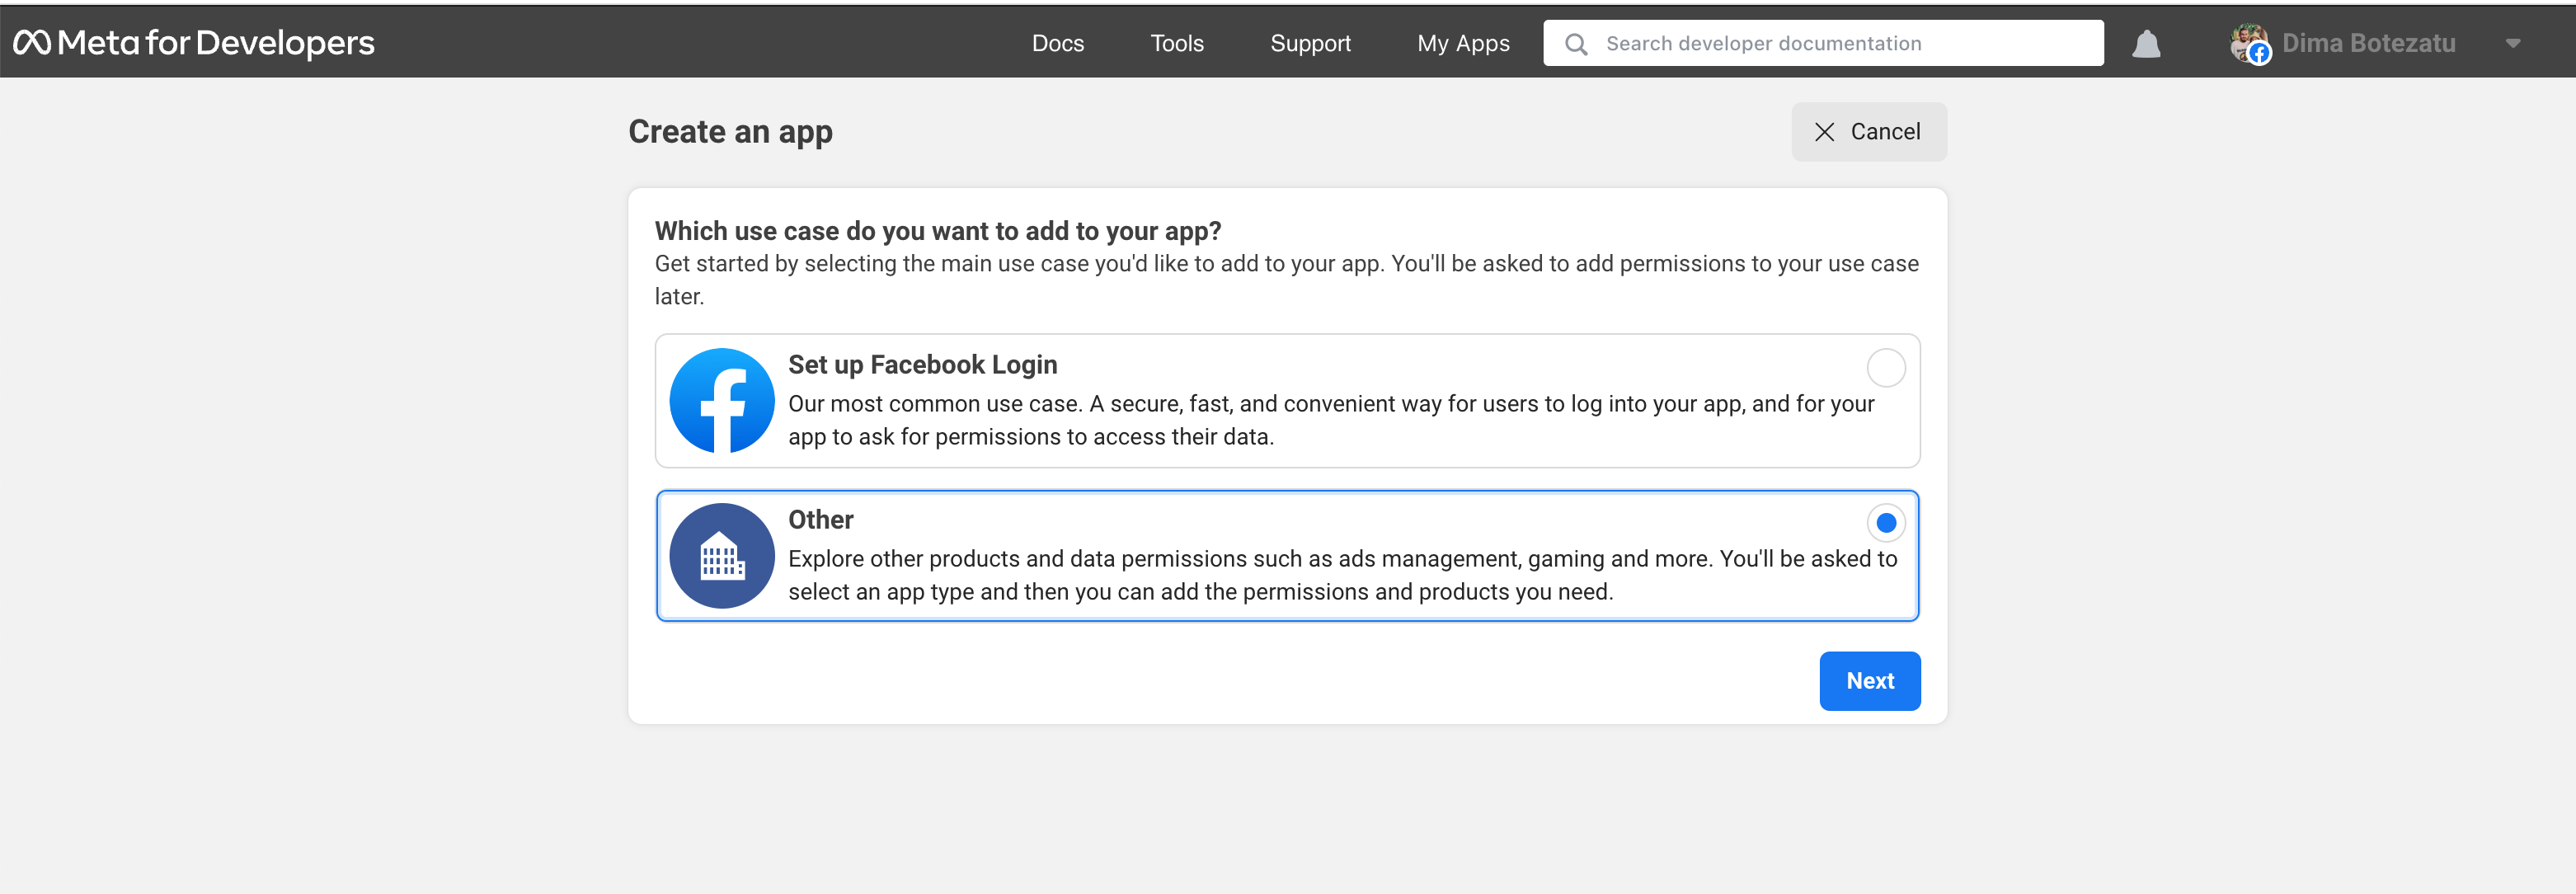
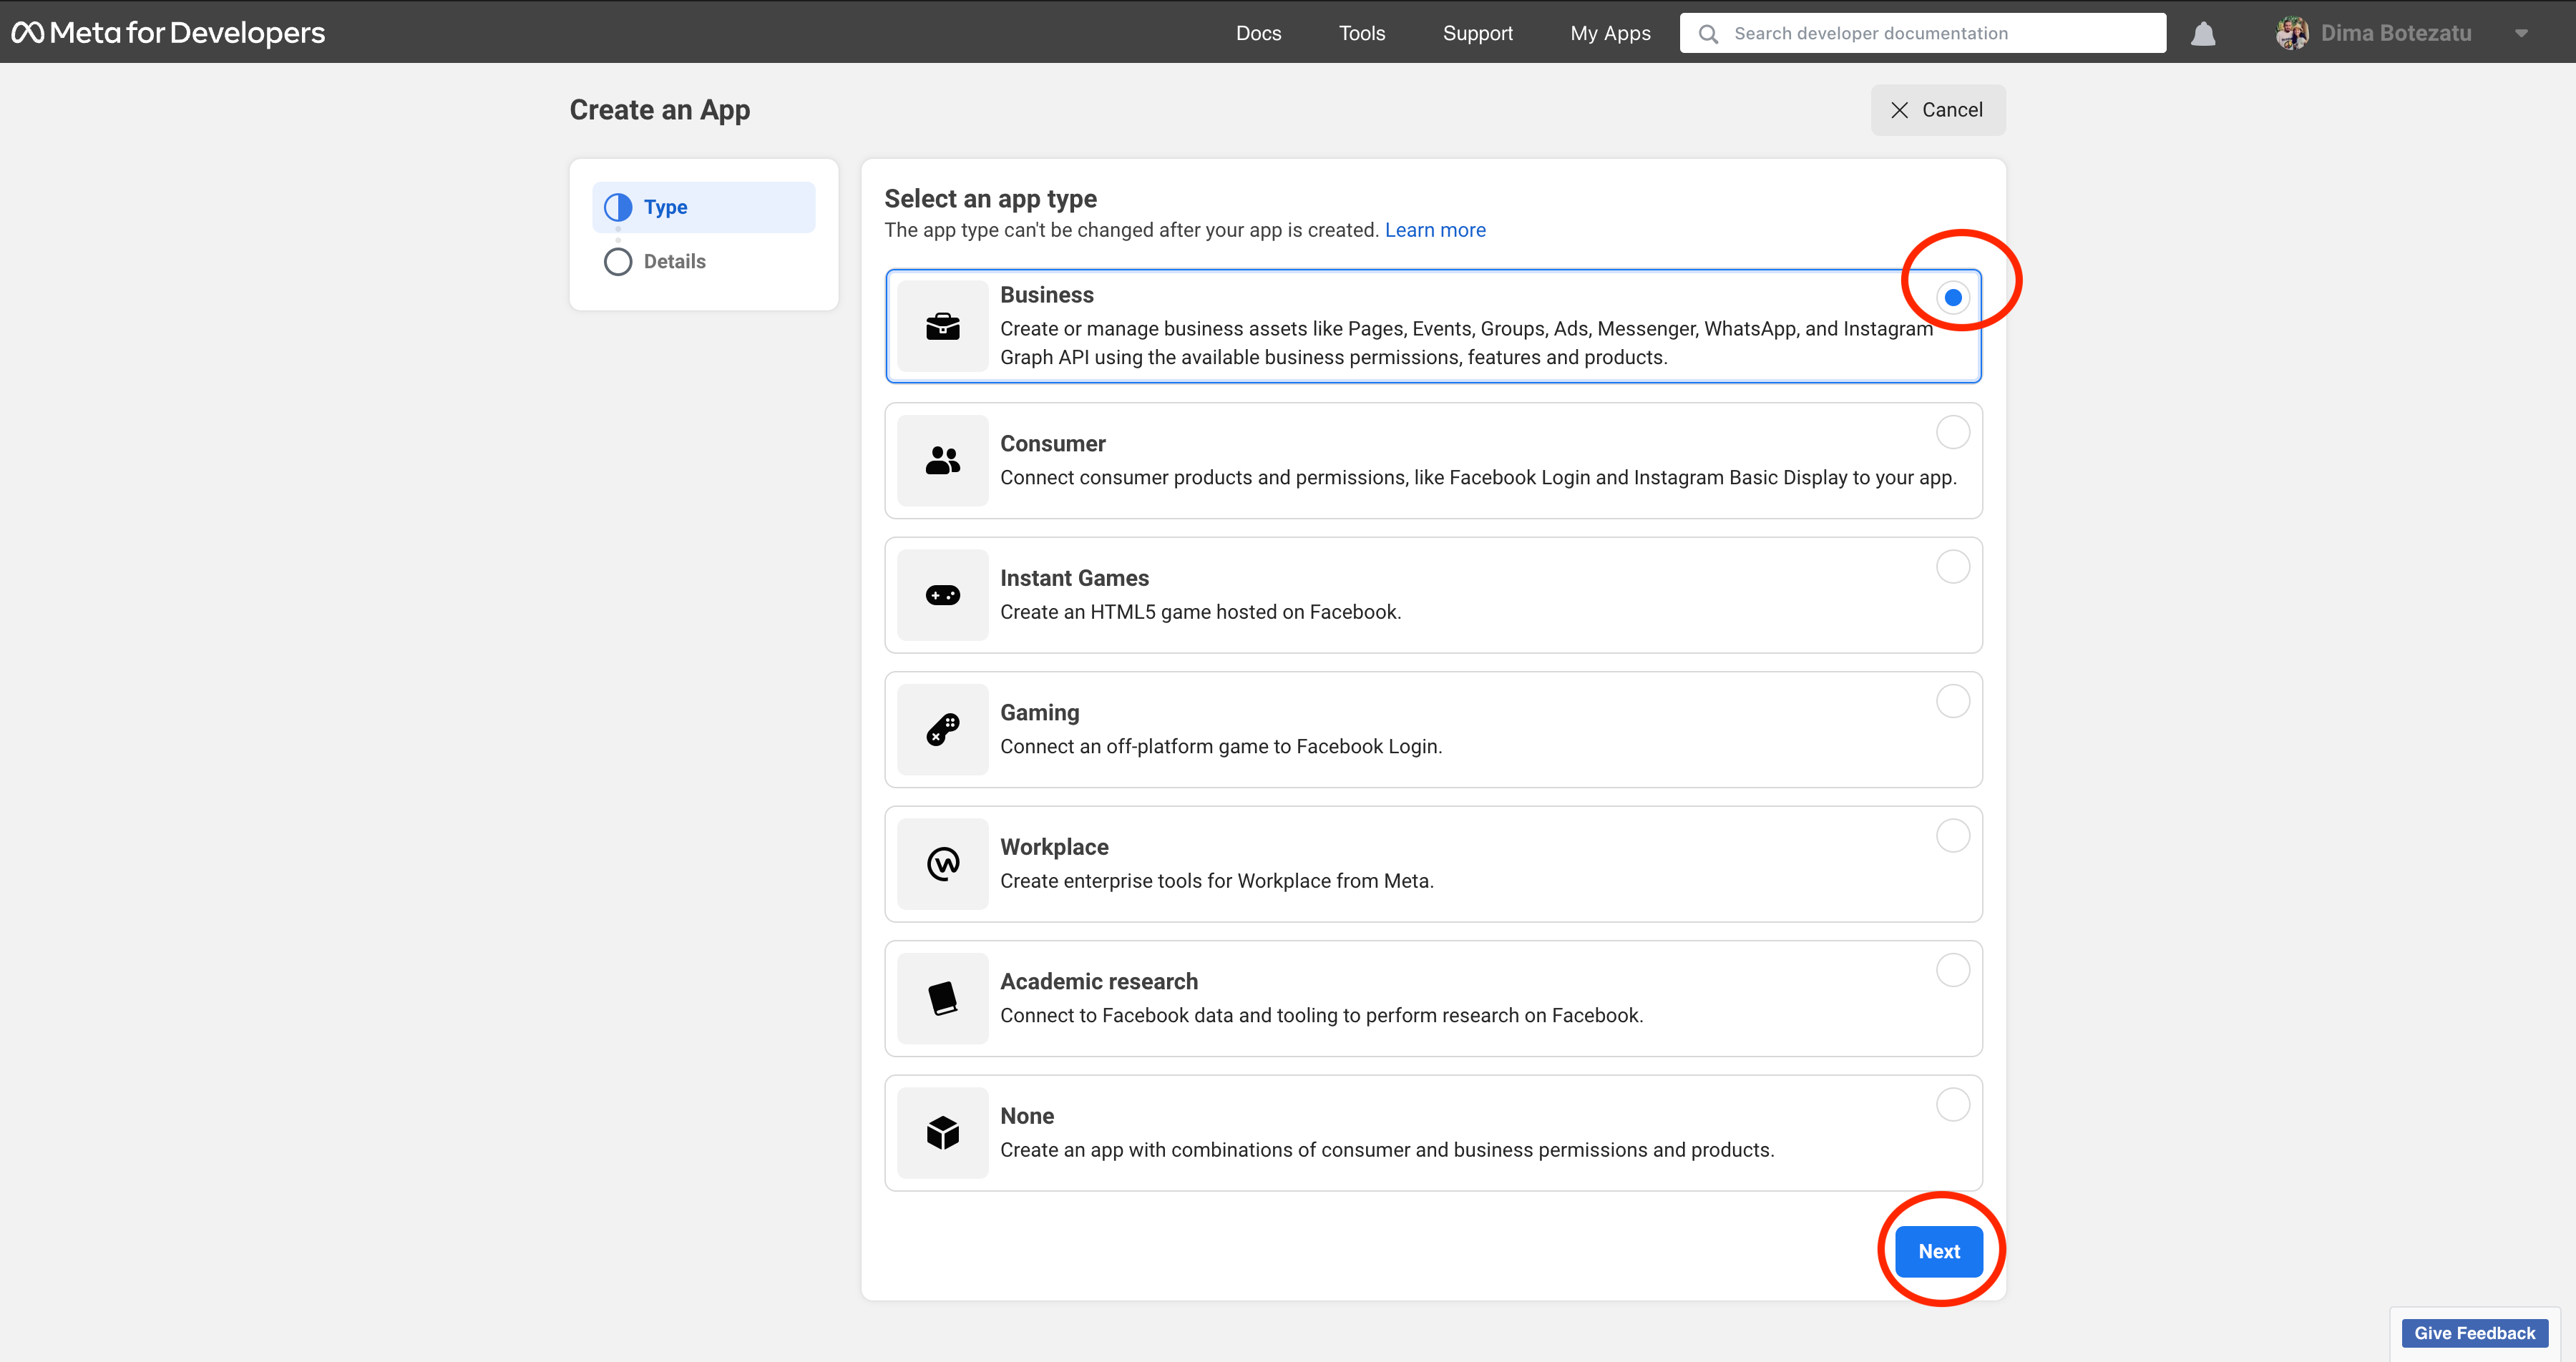
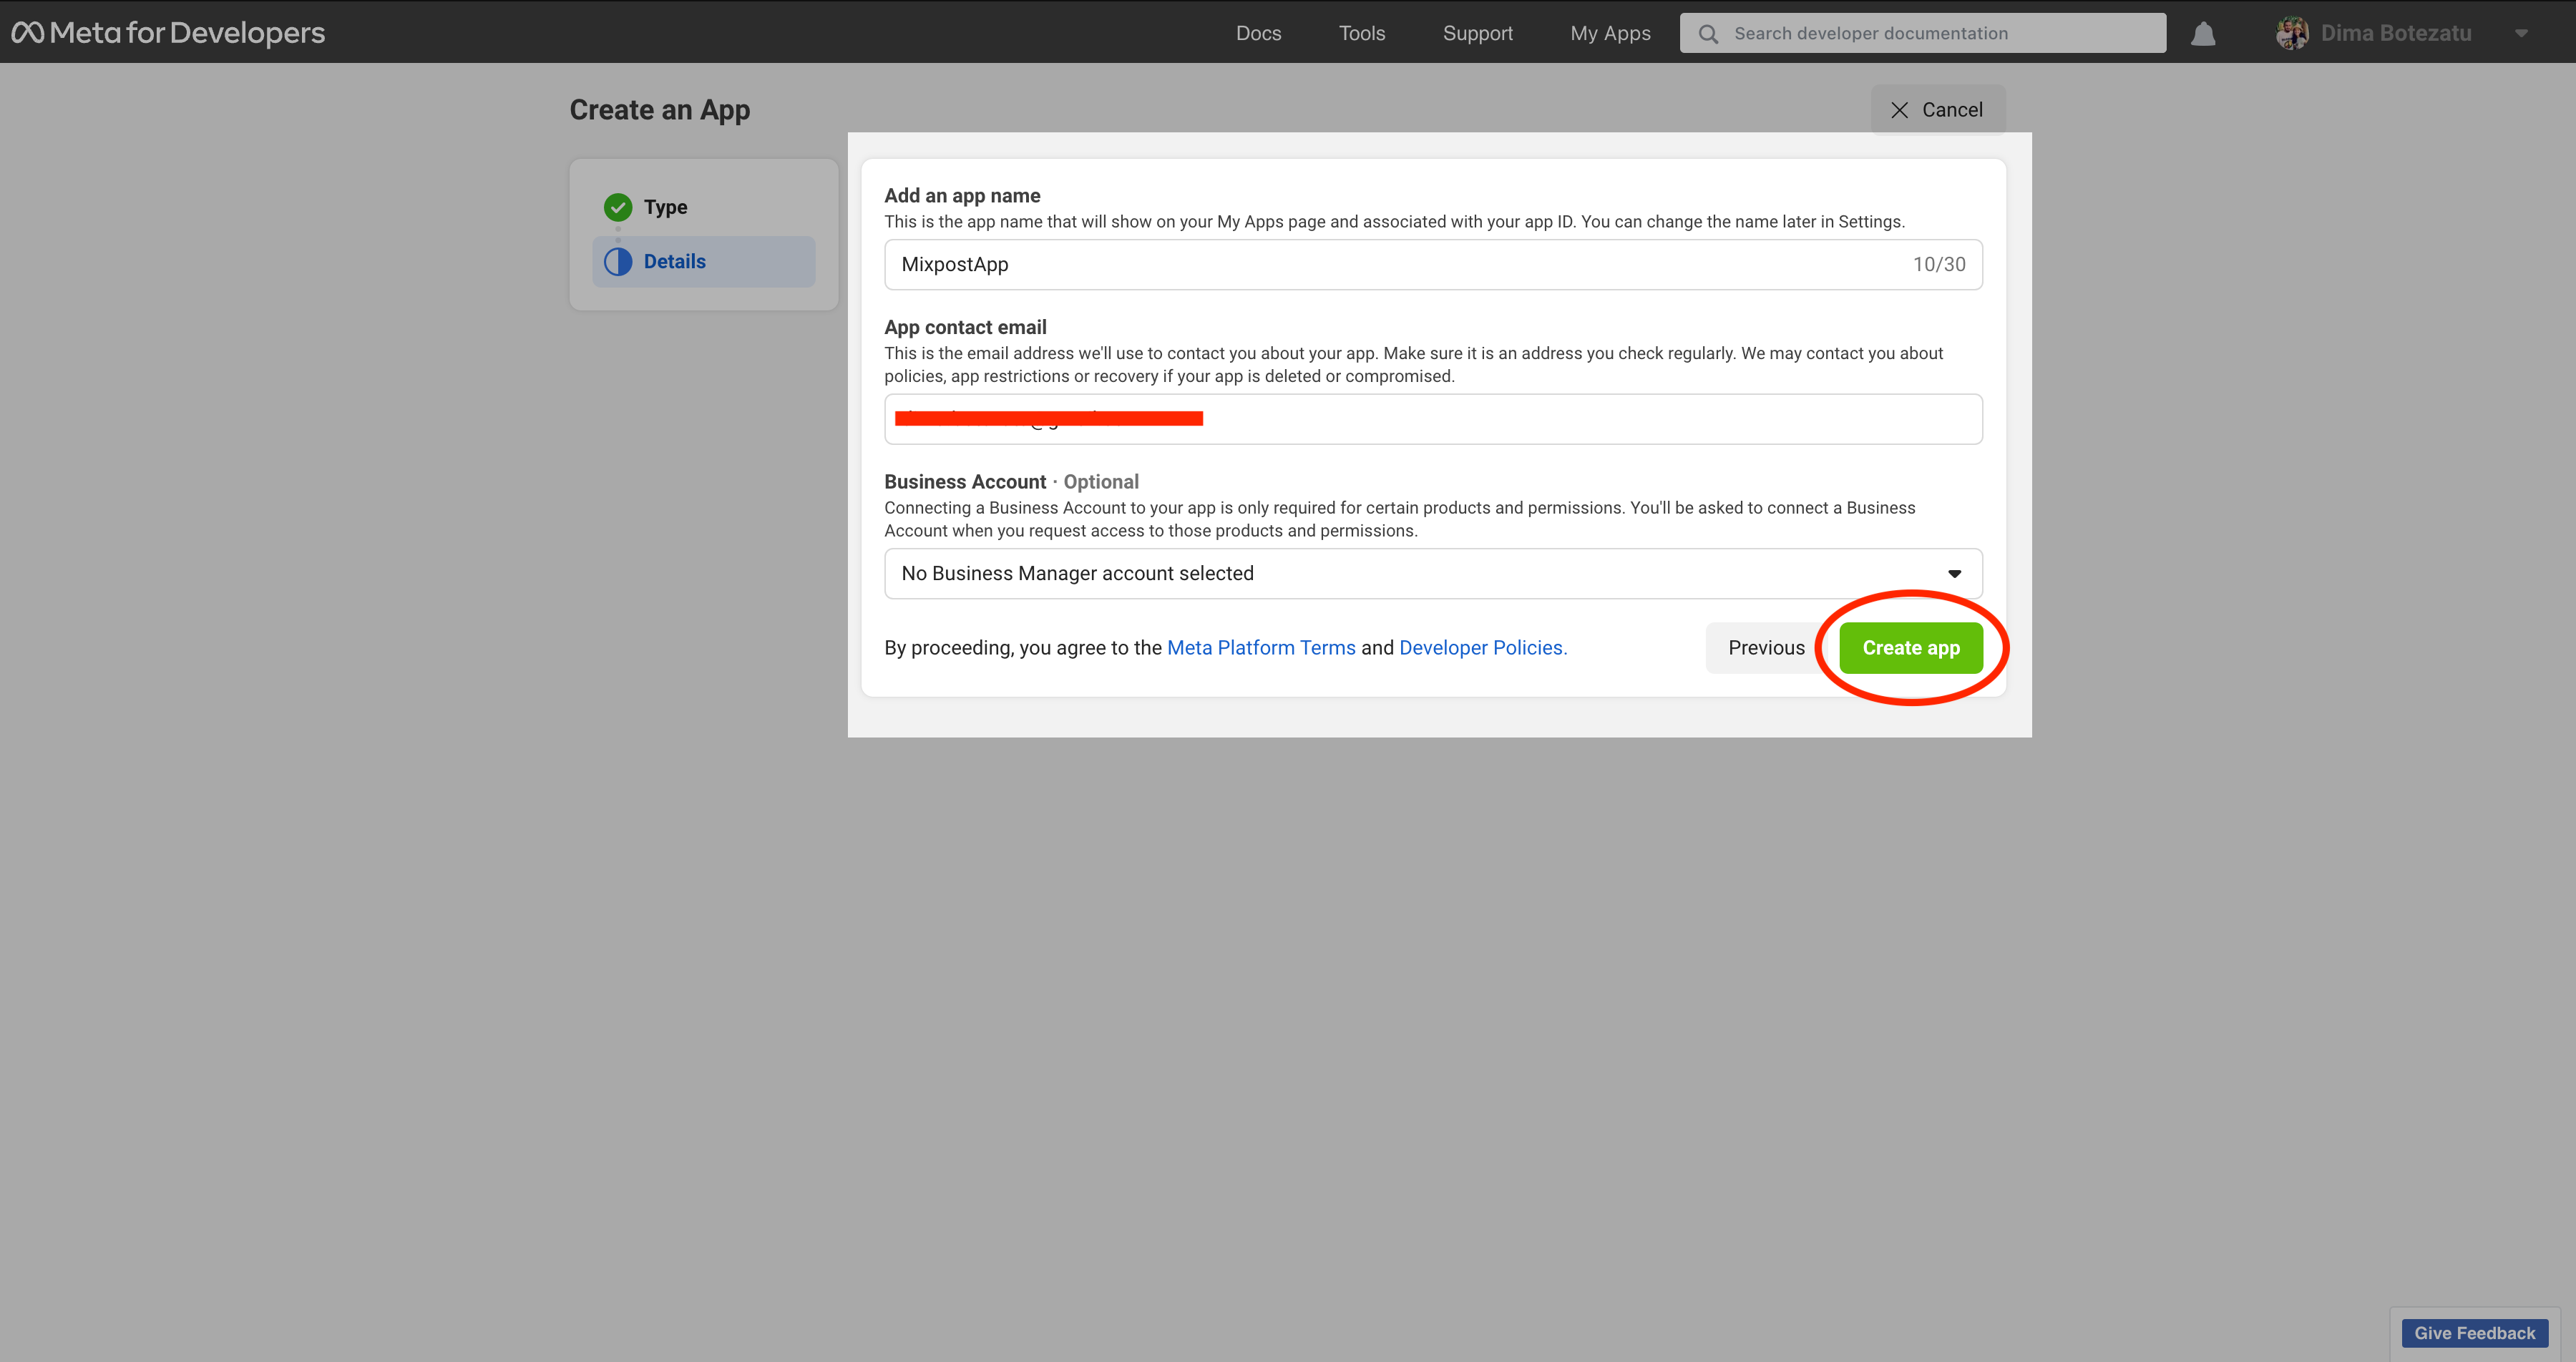
Once you have a developer account, go to the Facebook Developer Dashboard and click "Create App" in the top right corner. Choose "Business" as the app type and give your app a name.
Step 3: Configure Basic Settings
After creating your app, you'll be taken to the app dashboard. Here, you can configure your app's basic settings, such as the app icon and description. You'll also need to configure the "App Domains" and "Privacy Policy URL" settings.
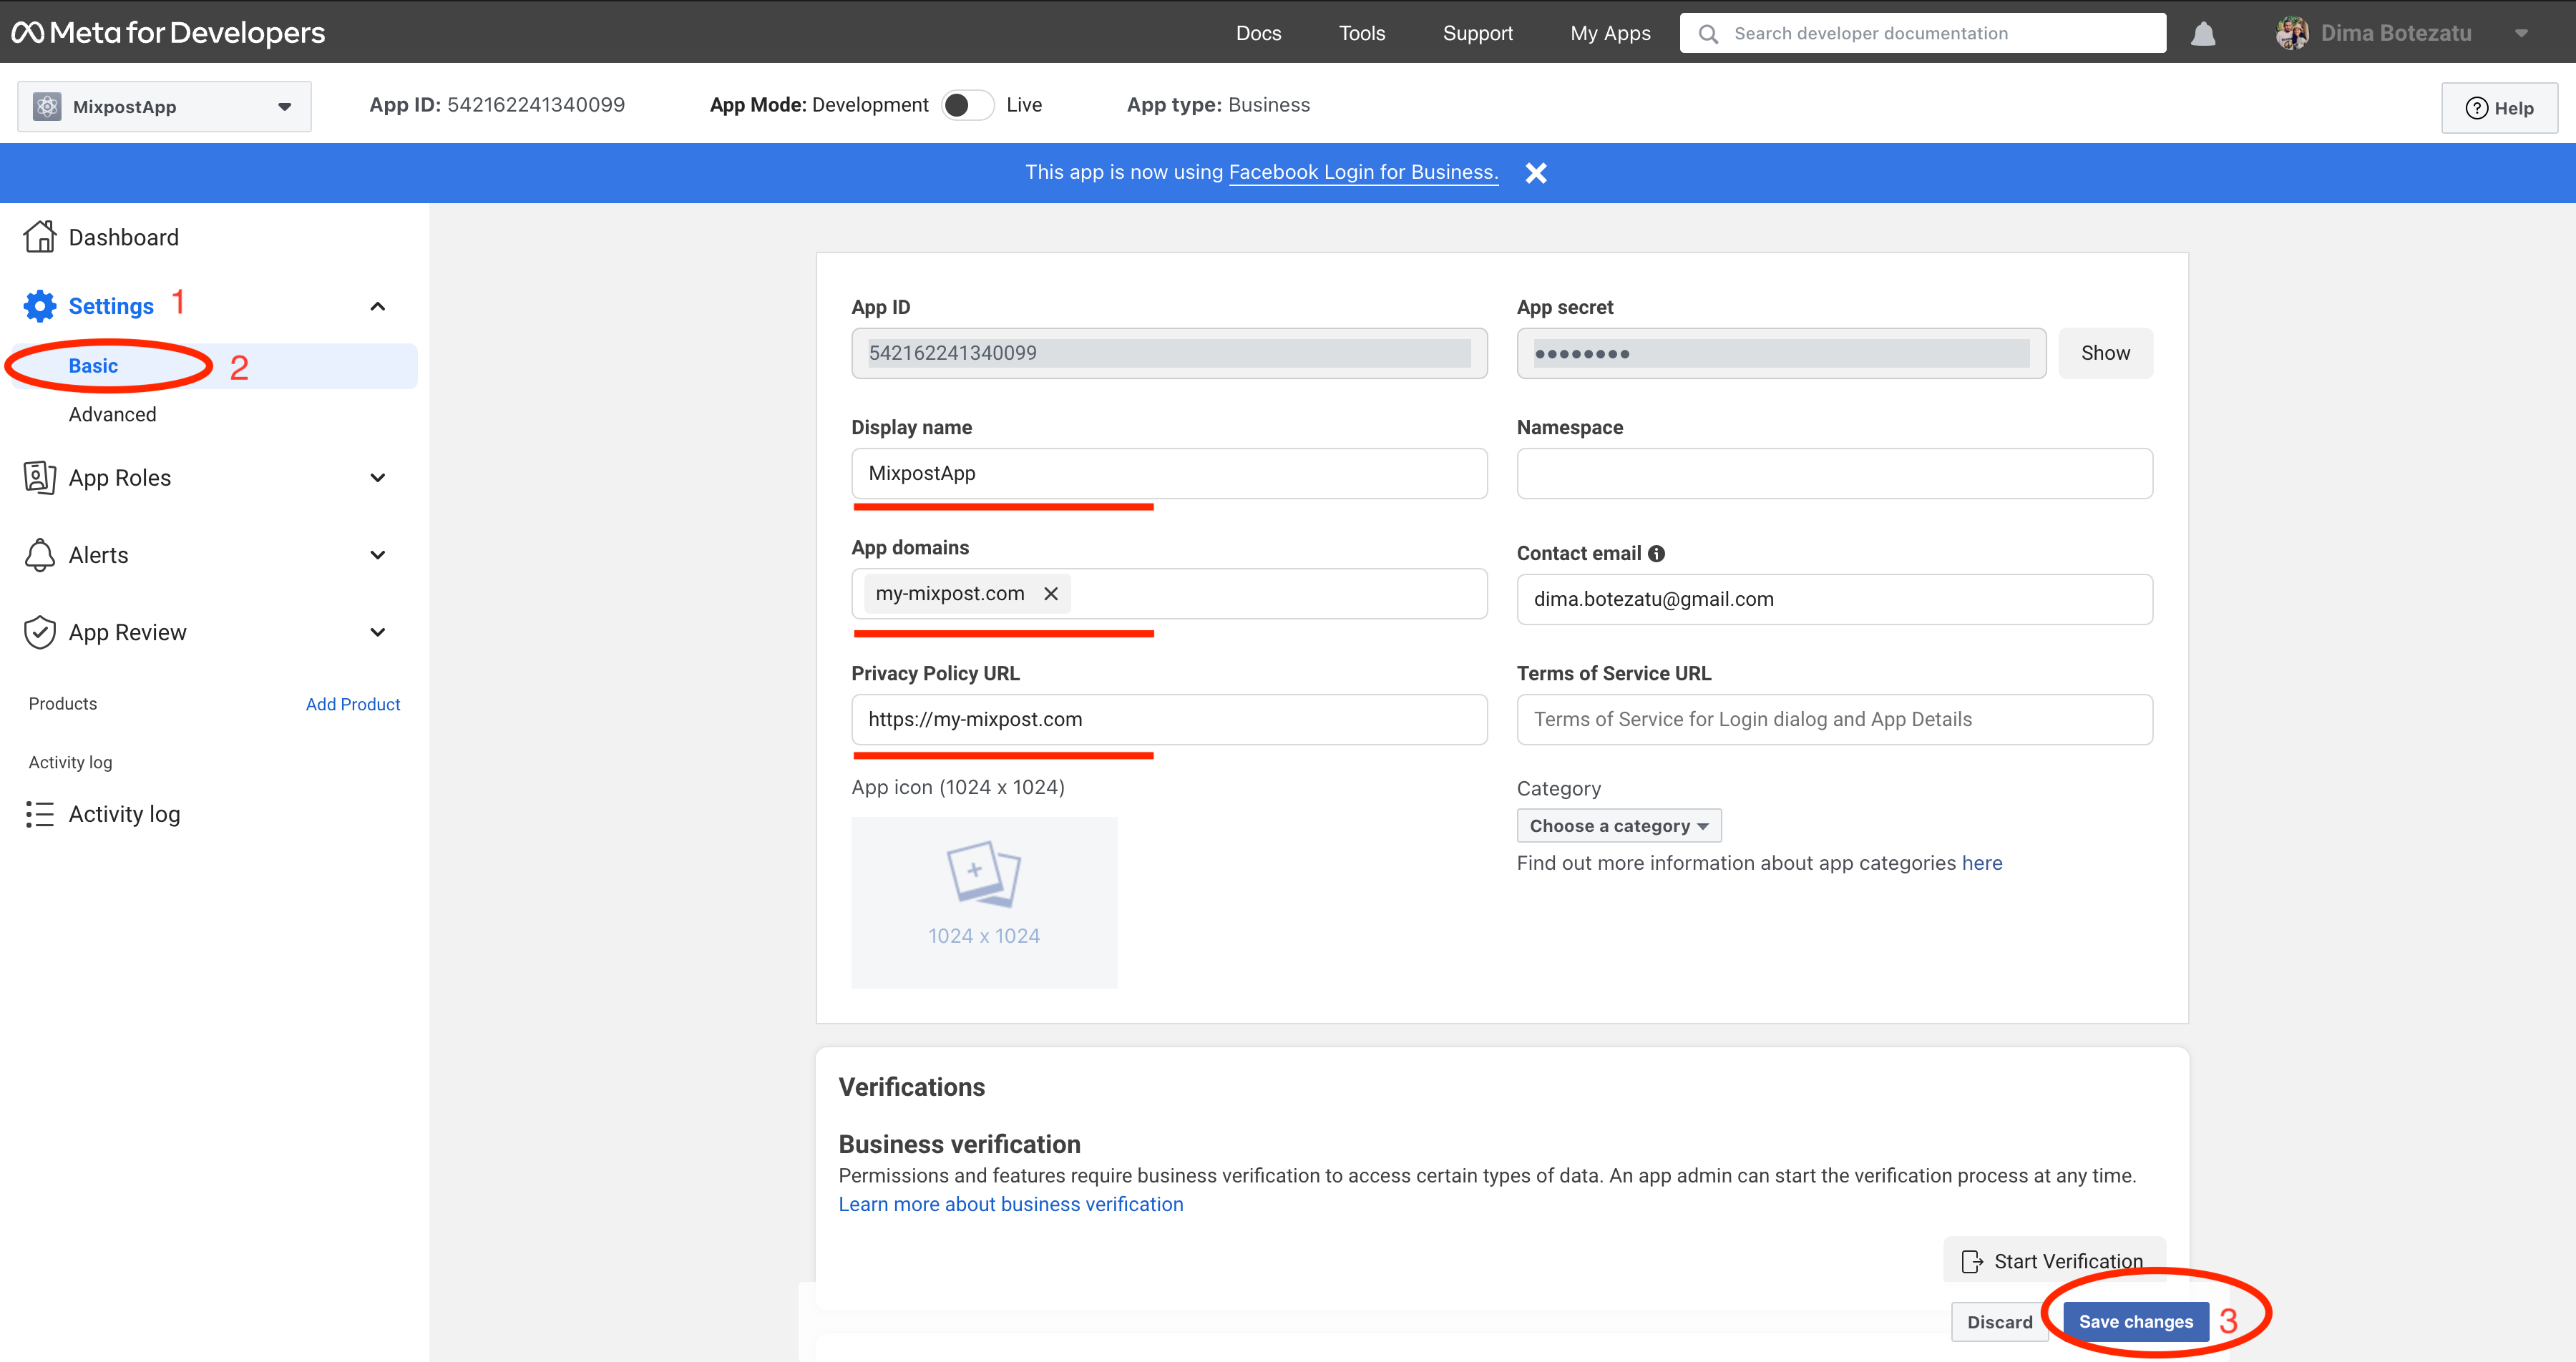
Next, on this page, scroll down to the “Add Platform” button and click it.
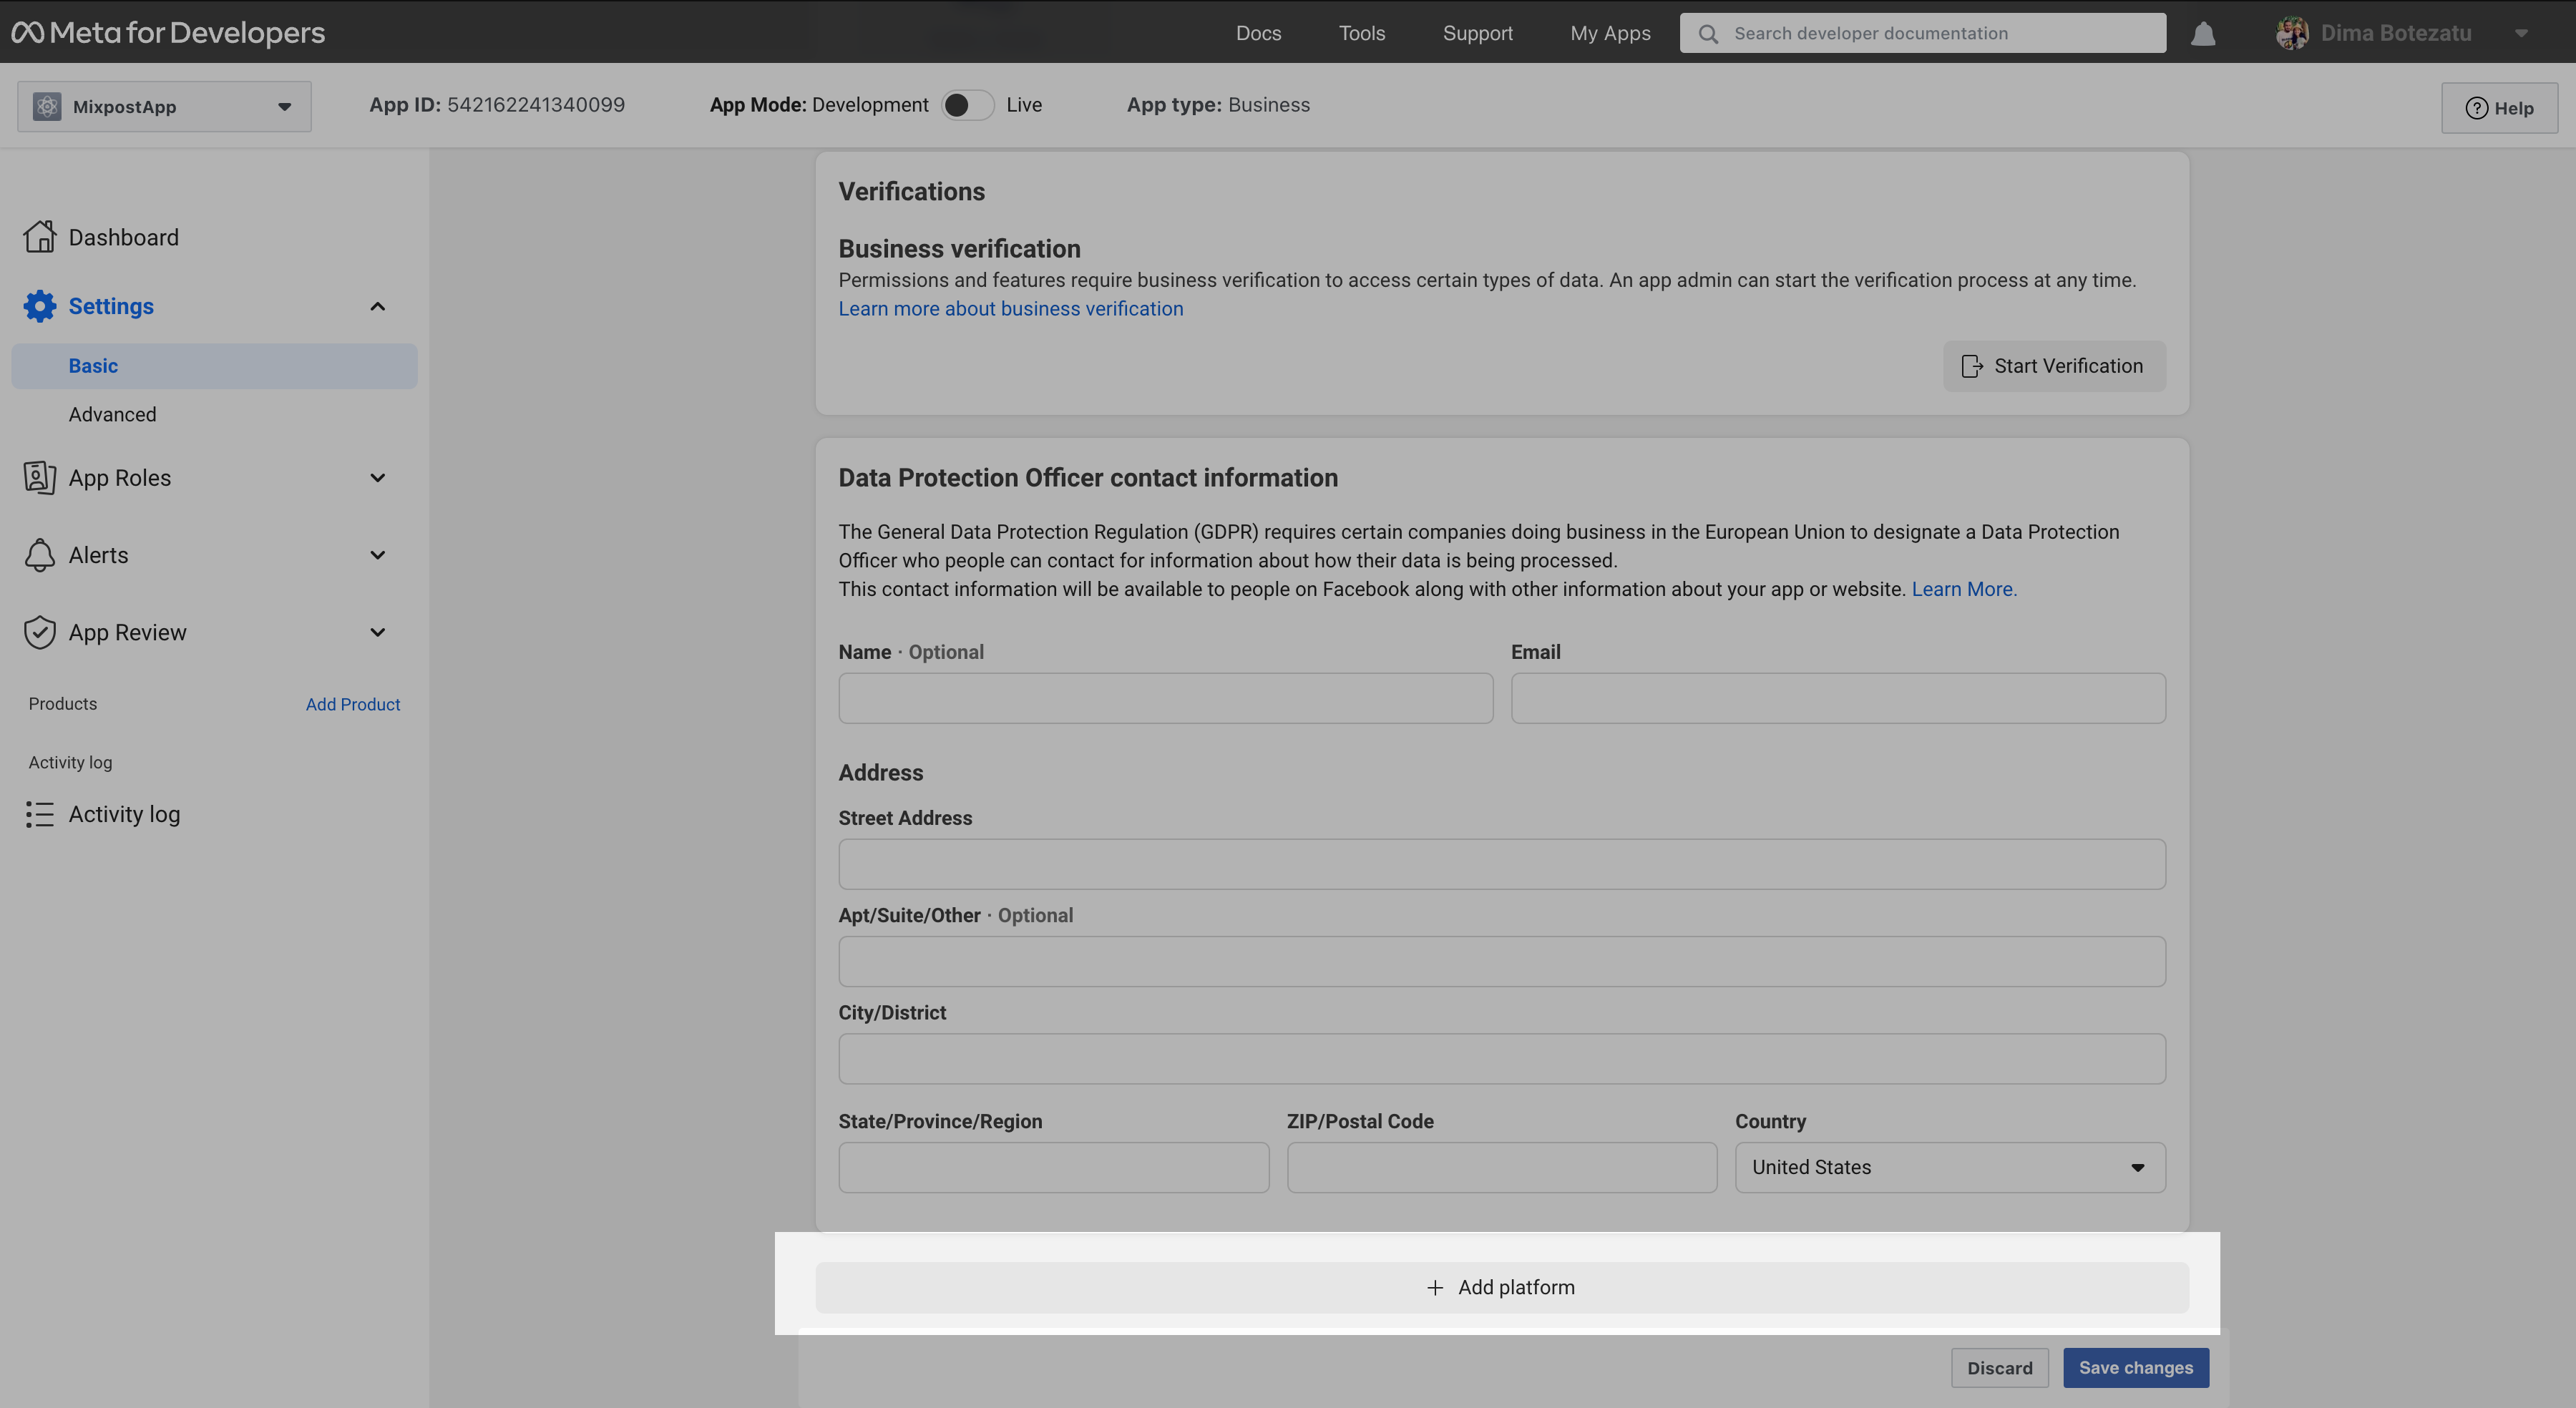
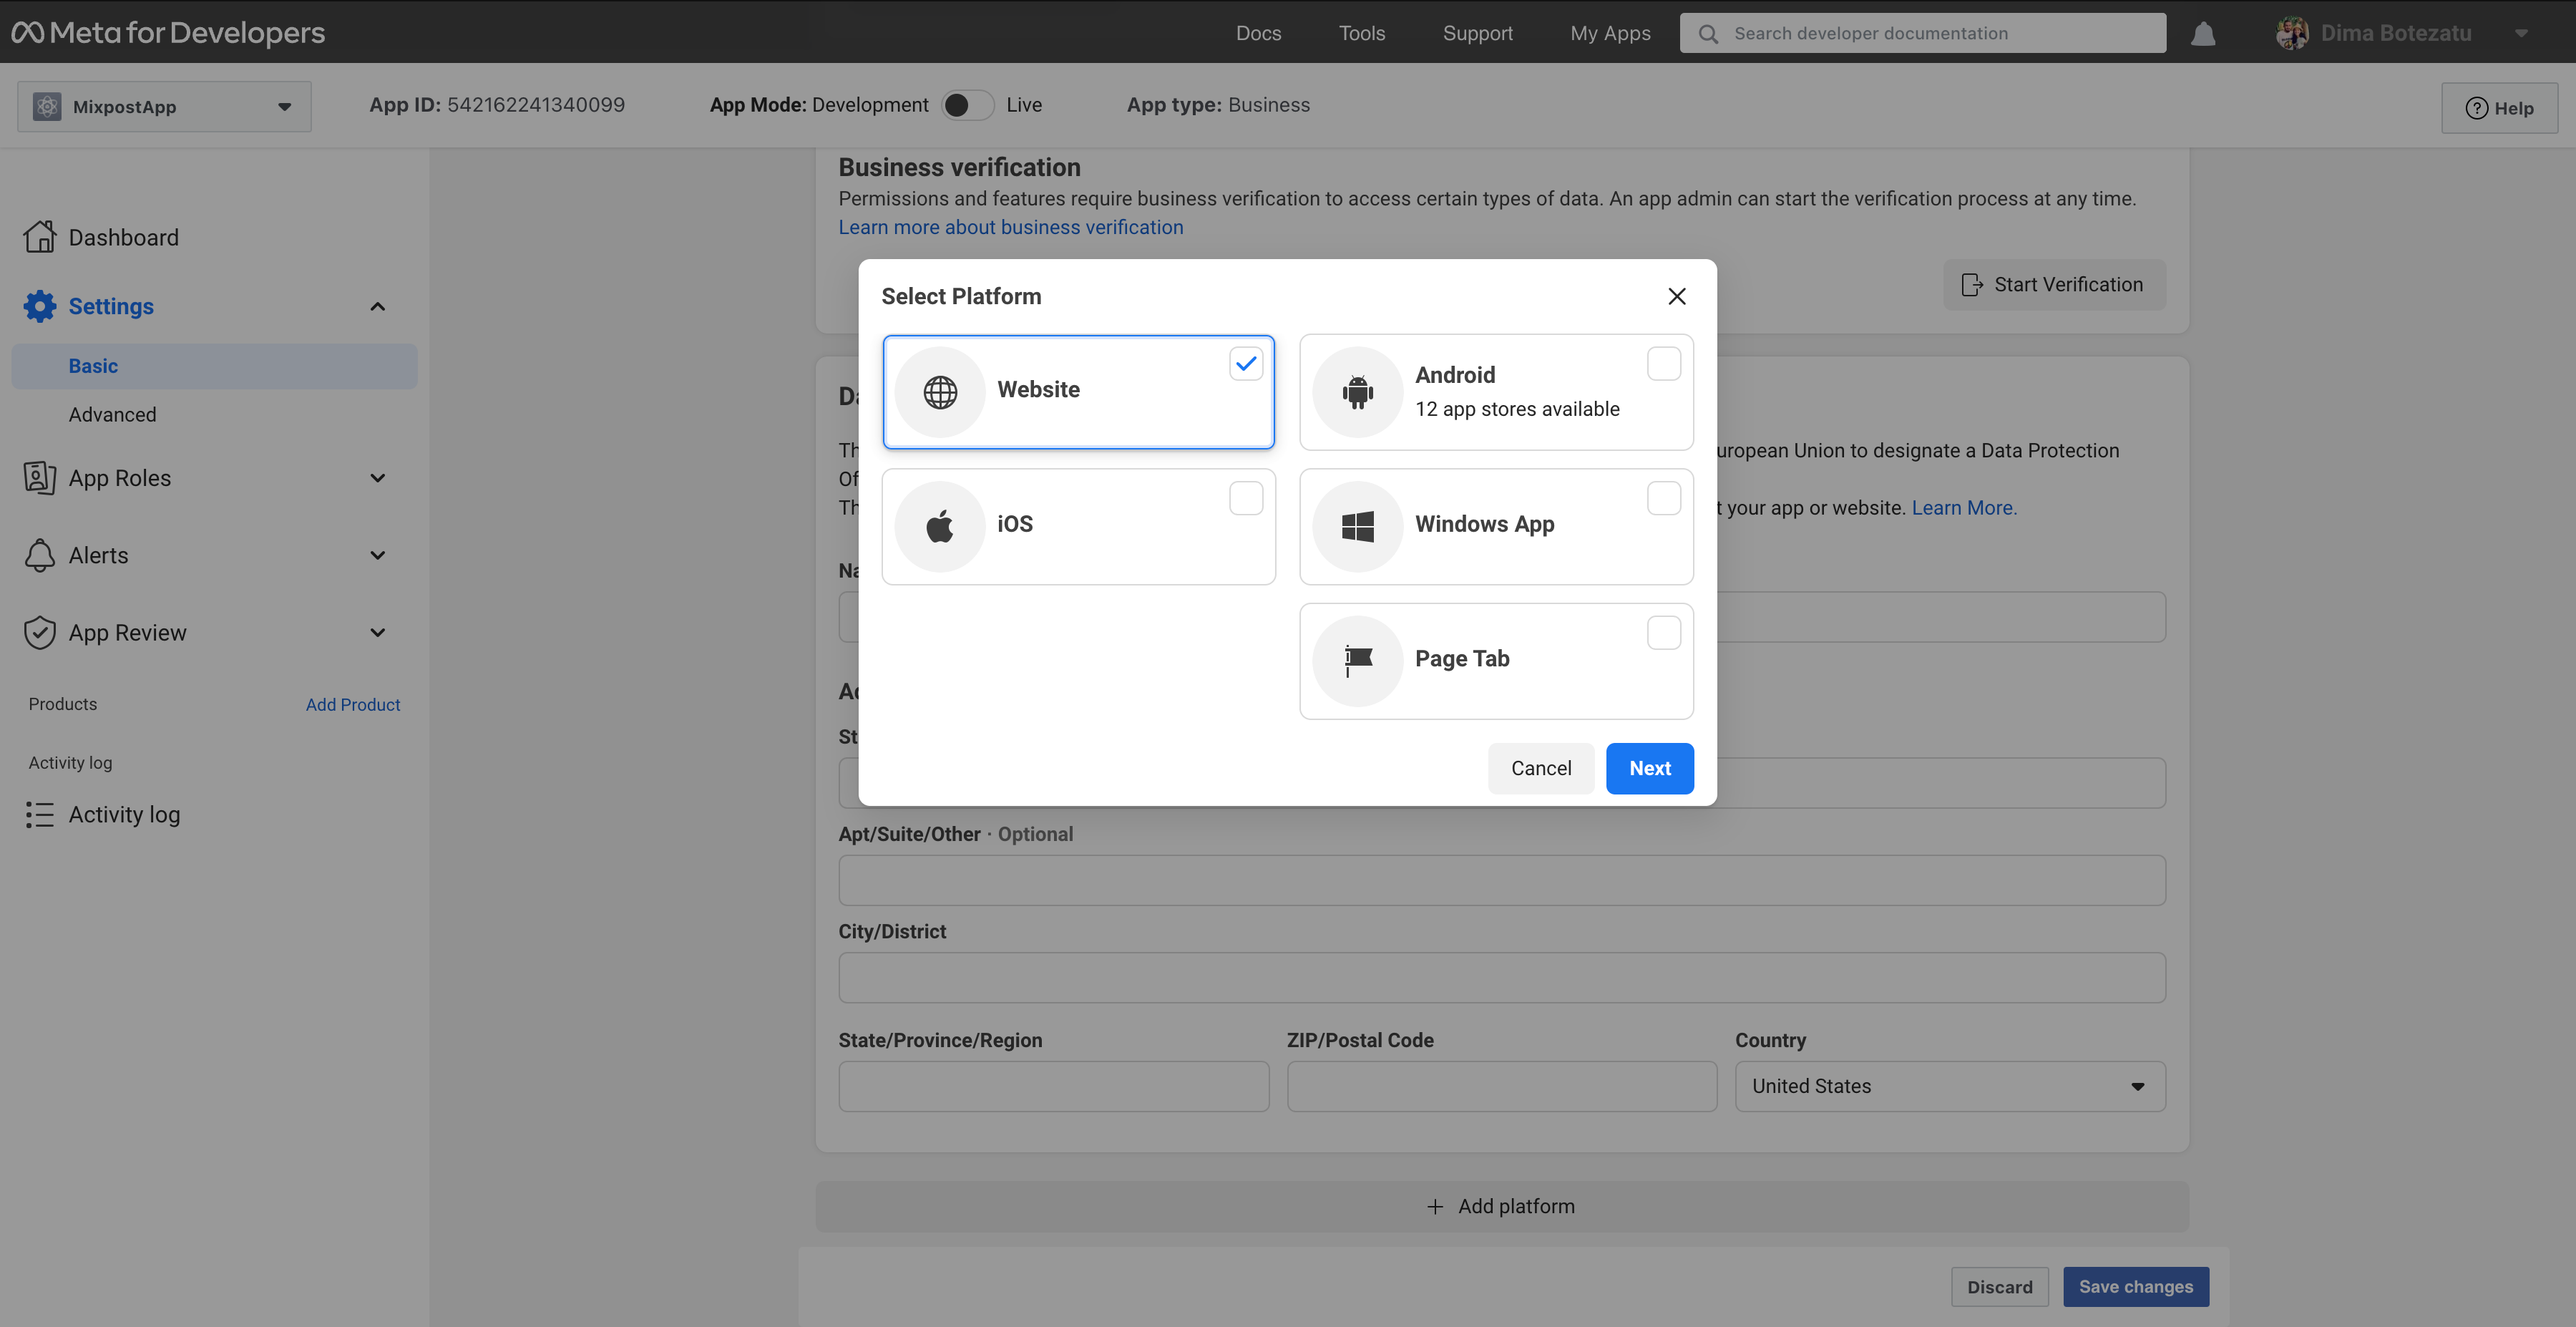
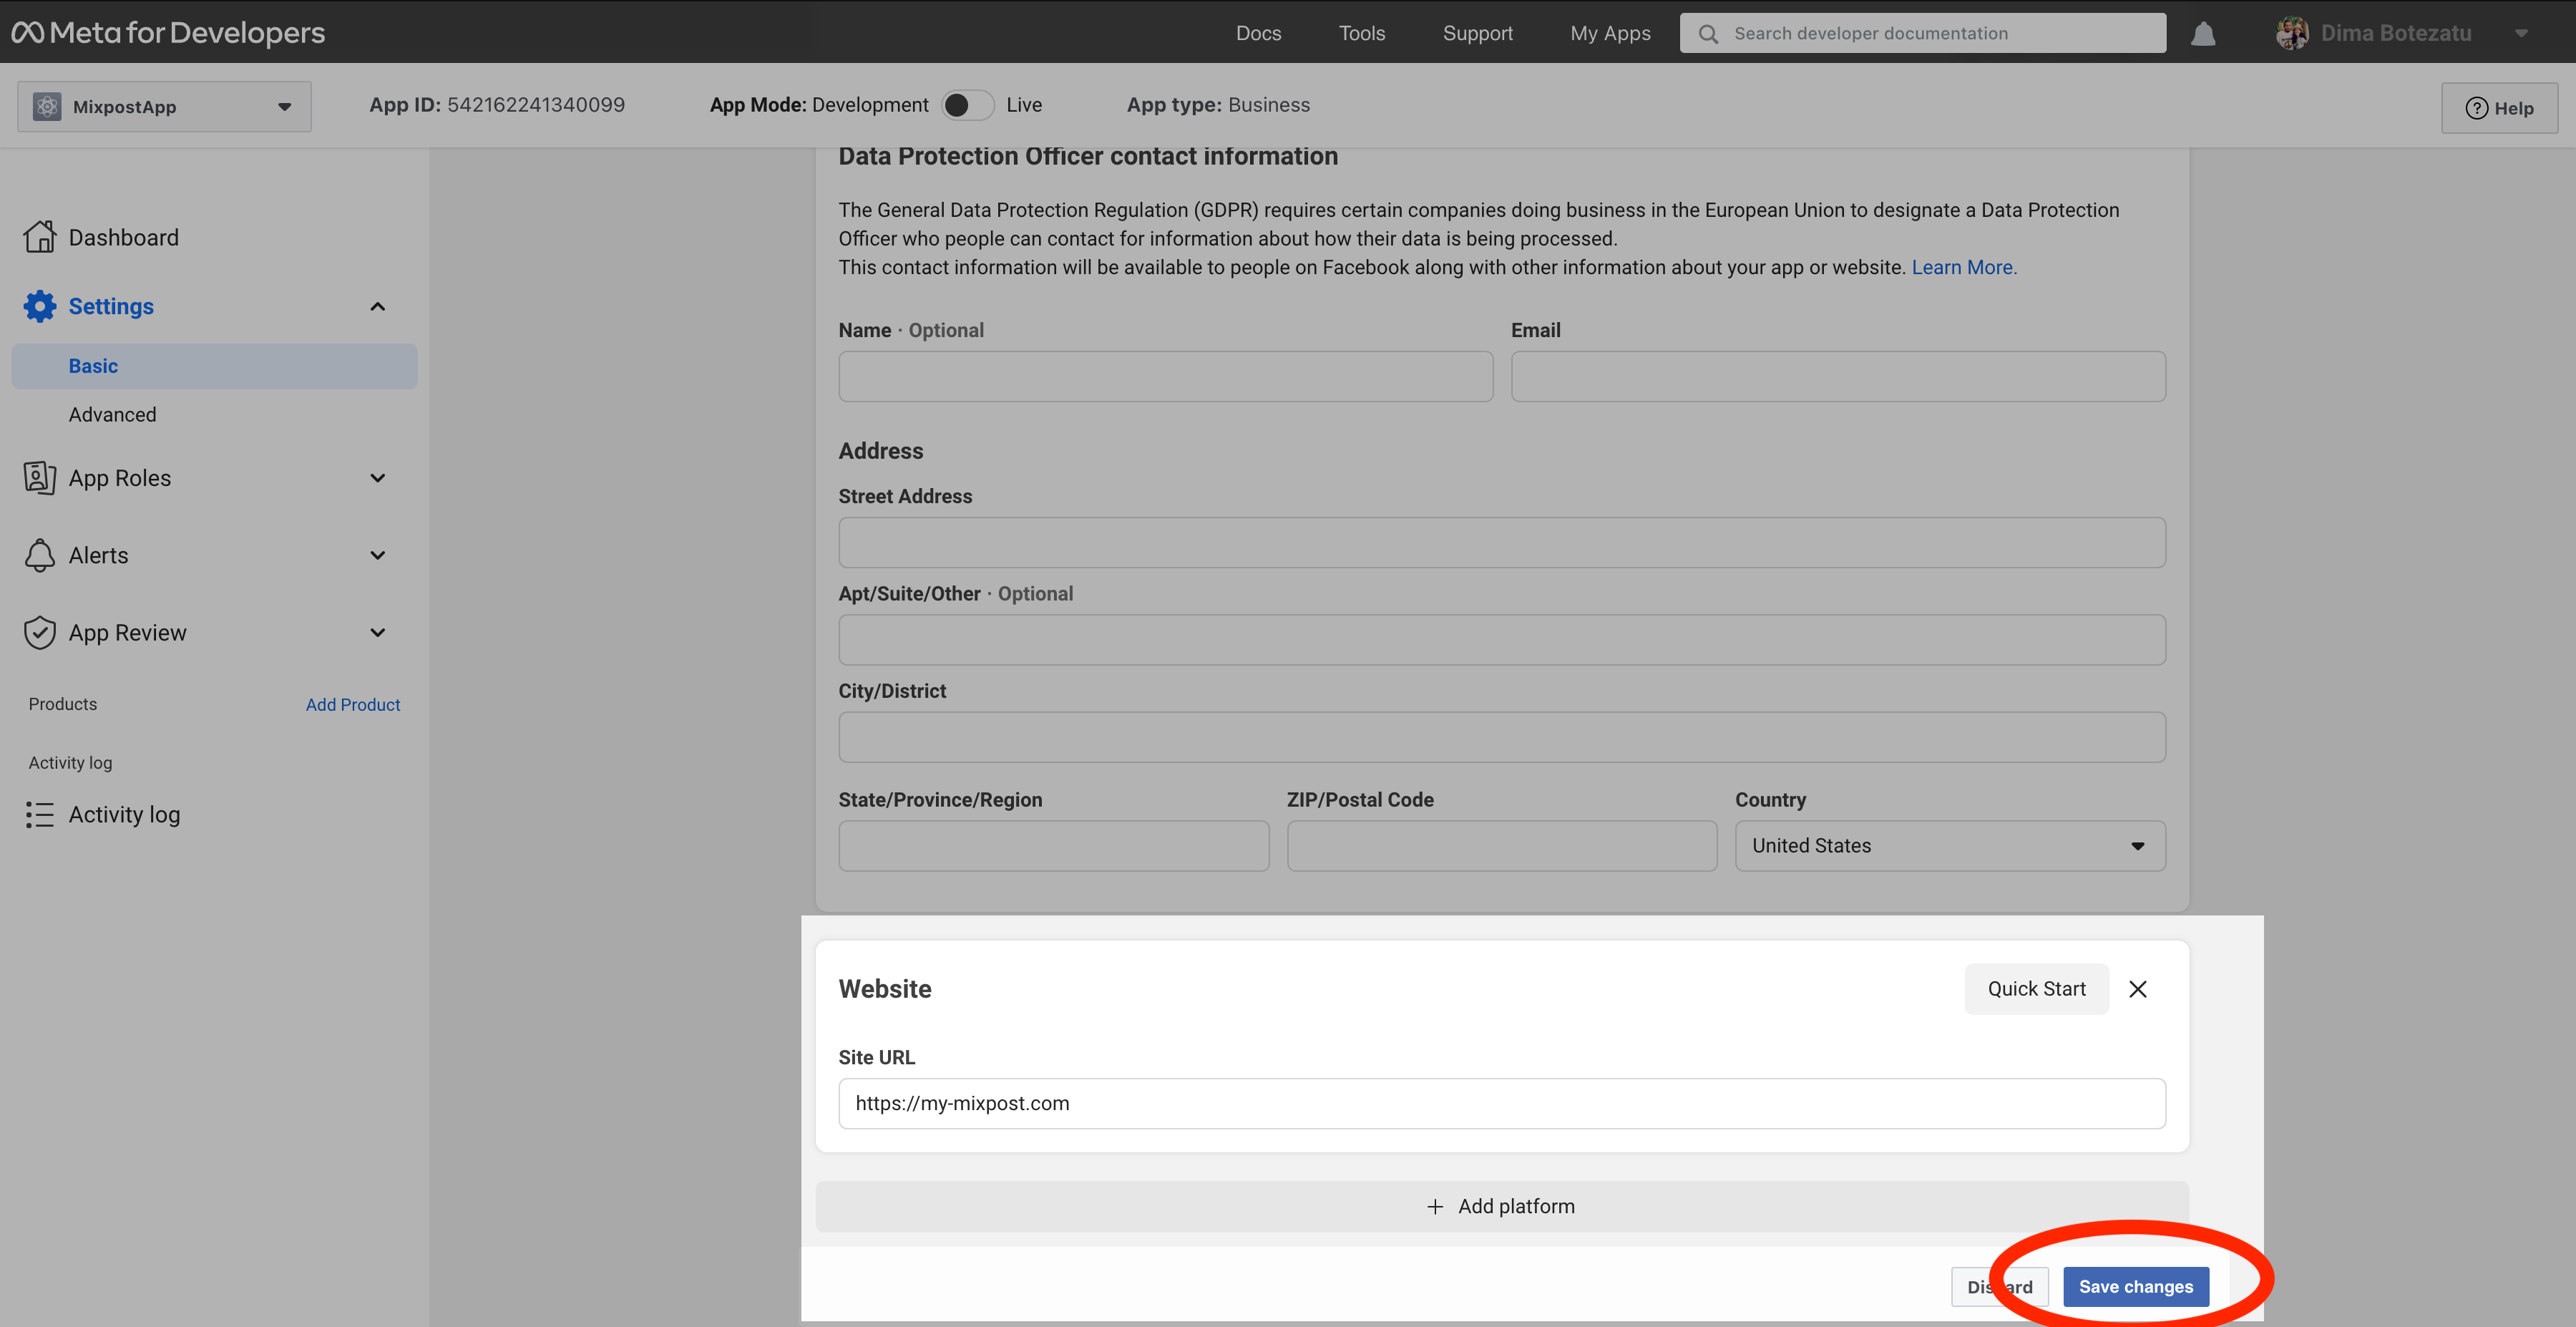
Enter your application URL. We recommend that you enter a secure URL to avoid certain problems when connecting to Mixpost.
Step 4: Copy the App ID and App Secret to Mixpost
After creating the App, you will see the App ID and hidden App Secret. Copy them, open your Mixpost dashboard, and paste the keys to Facebook third-party service form.
- Mixpost Lite: From the left sidebar->Services.
- Mixpost Pro/Enterprise: User Menu->Admin Console->Services
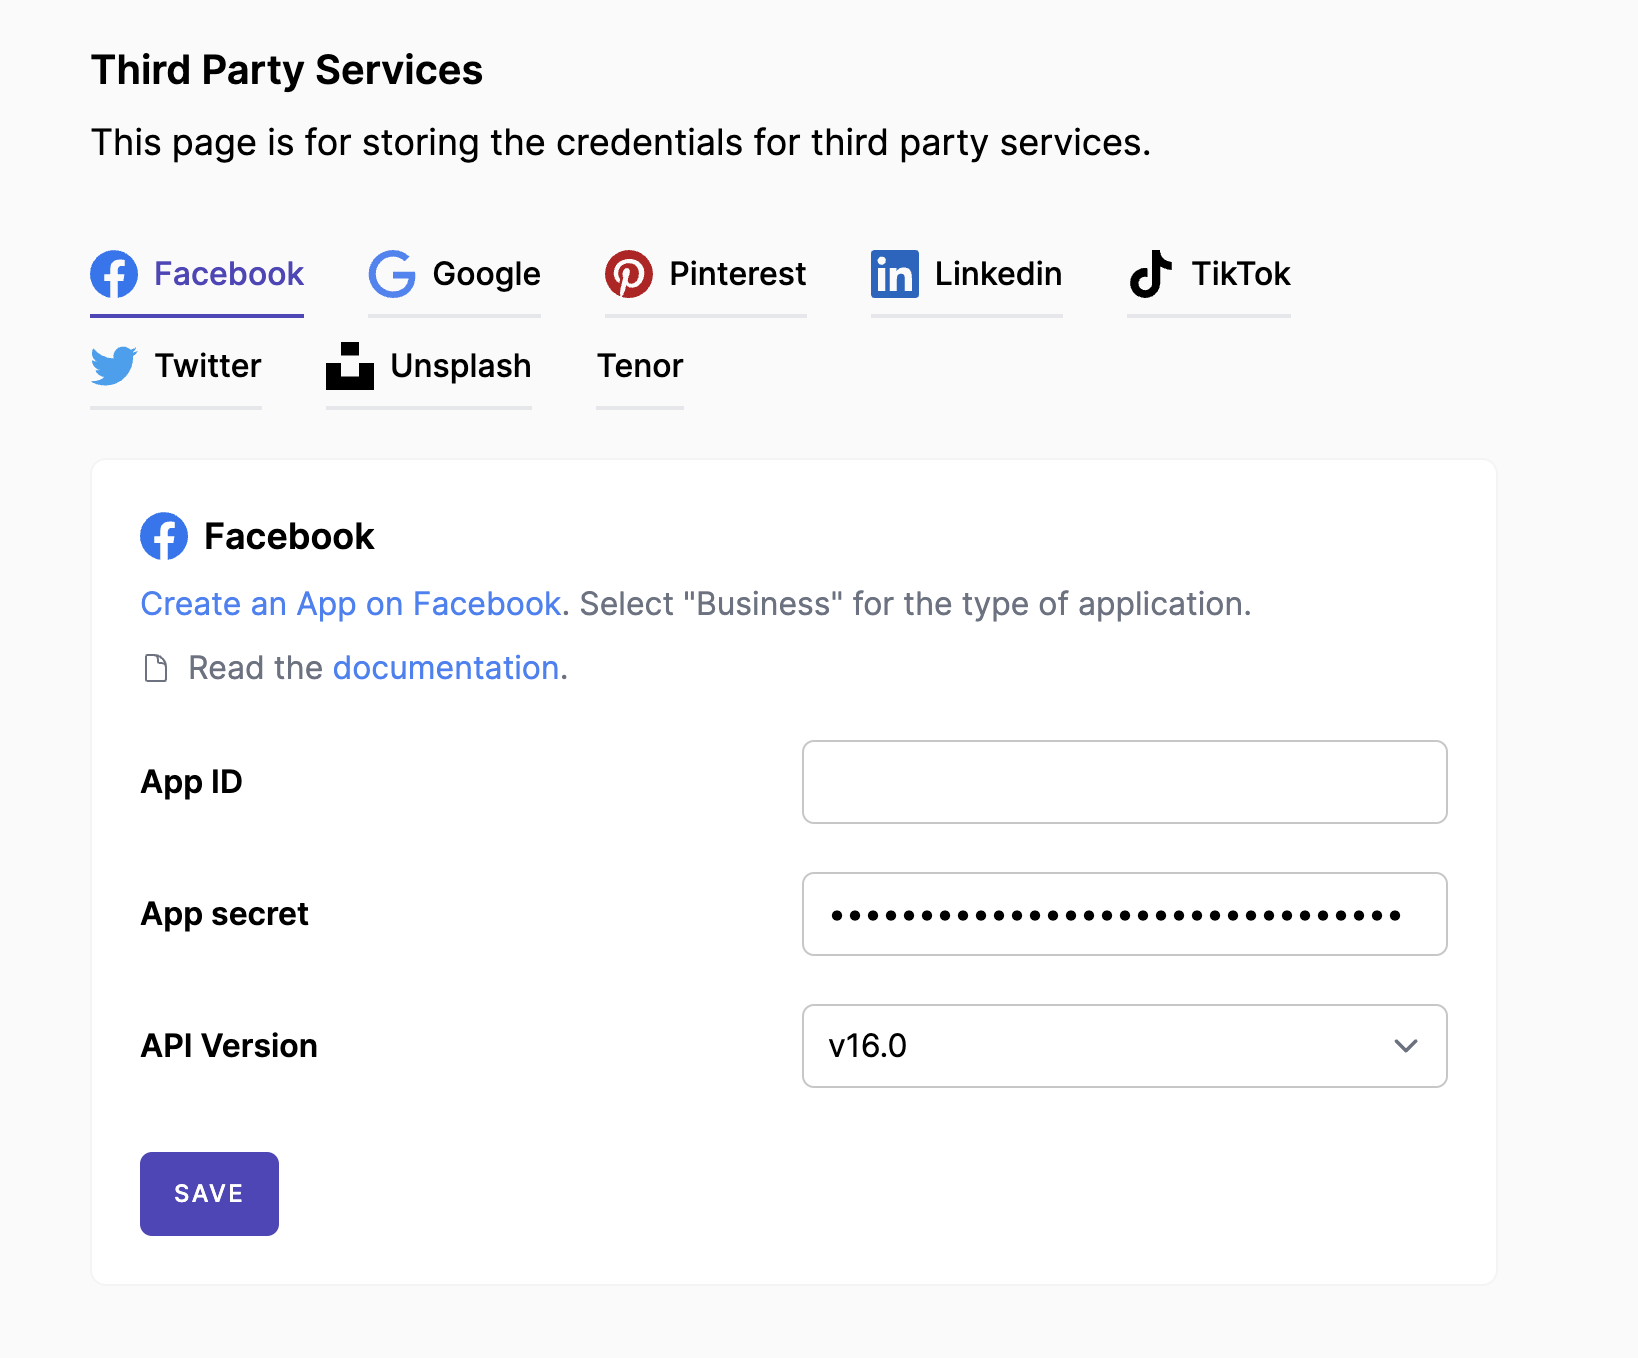
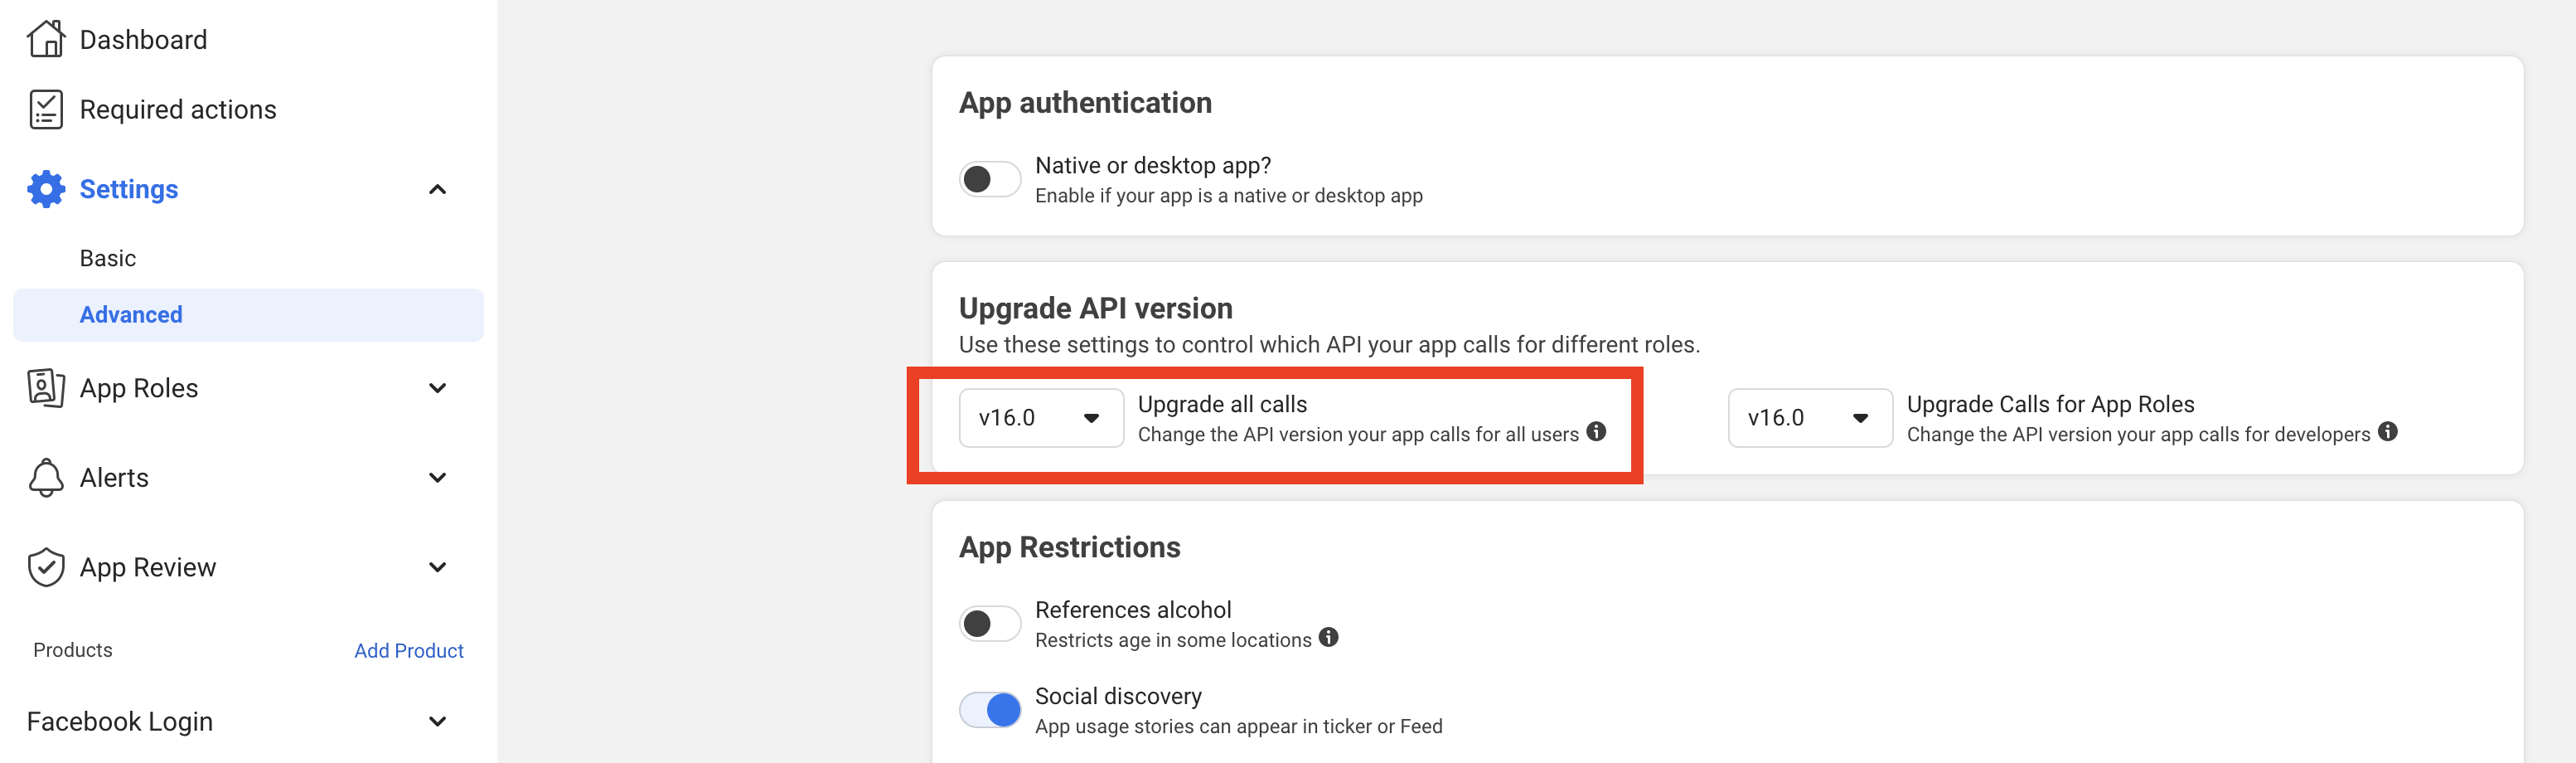
Select the version of your Facebook application: Your Facebook app->Settings->Advanced
Step 5: Setting callback links
Next, you need to do some essential configurations.
-
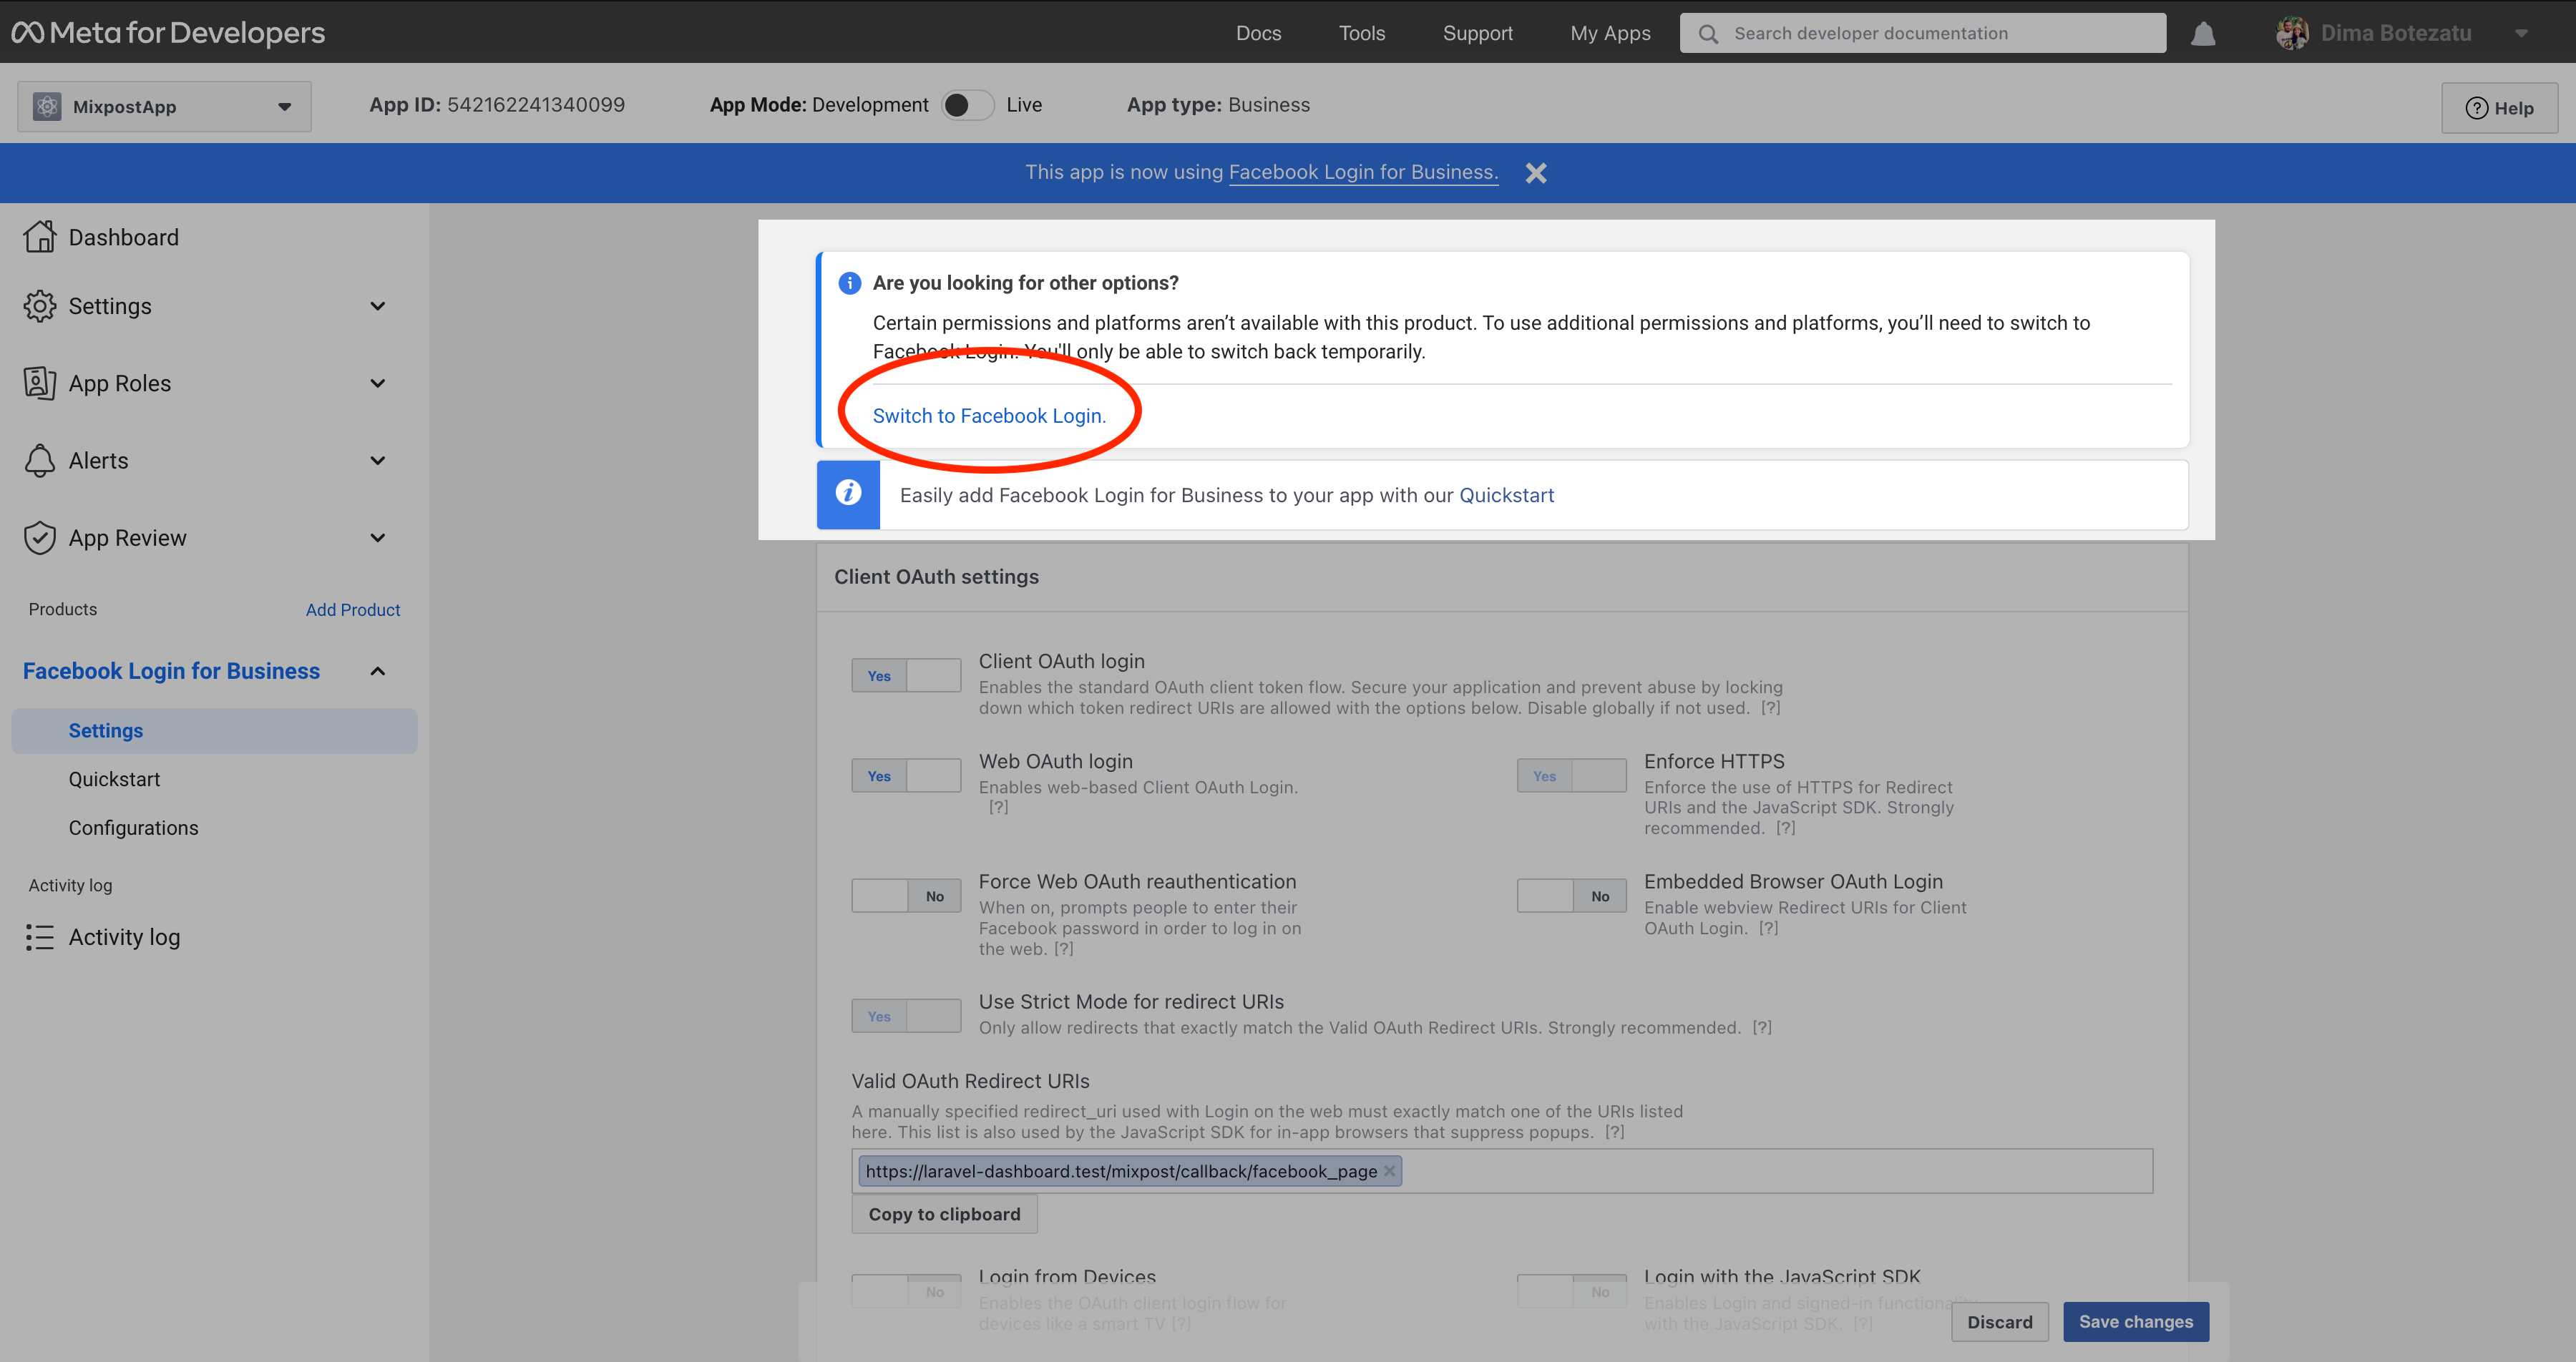
On the left sidebar, click on “Add product” and select “Facebook Login” or “Facebook Login for Business.”
-
If you selected “Facebook Login for Business”, you need to Switch to the standard “Facebook Login”.

-
Go to the “Valid OAuth Redirect URIs” input and enter these callback URLs:
- https://your-app-url.com/mixpost/callback/facebook_page
- https://your-app-url.com/mixpost/callback/facebook_group
- https://your-app-url.com/mixpost/callback/instagram (For Mixpost Pro version supports Instagram)
-
Click “Save changes”

Step 6: Testing
You can test your app by adding your Facebook account to the Mixpost.
Accounts→Add account
Conclusion
We recommend creating a few test posts using the app in Development, then switching to Live mode. Any data generated while an app is in Development mode, such as posts, can only be seen by role users. However, the data will be visible to non-role users once the app is switched to Live mode.
Your Facebook app can only request data from users with an app role. For users who do not have a role in the application, your Facebook app must have Advanced Access permissions.
App Review (Advanced Access permissions)
If your app is used by app users who do not have a role on your app or a role in a Business that has claimed your app, you must switch App Mode to Live and request approval for advanced access permissions via App Review. This step is recommended for those who have Mixpost Enterprise.
Note that Business Verification is required to gain advanced access.
Create a test user(non-admin) account from your Mixpost account. With this account, the Meta team will be able to test your application.
Navigate to "App Review > Permissions and Features"
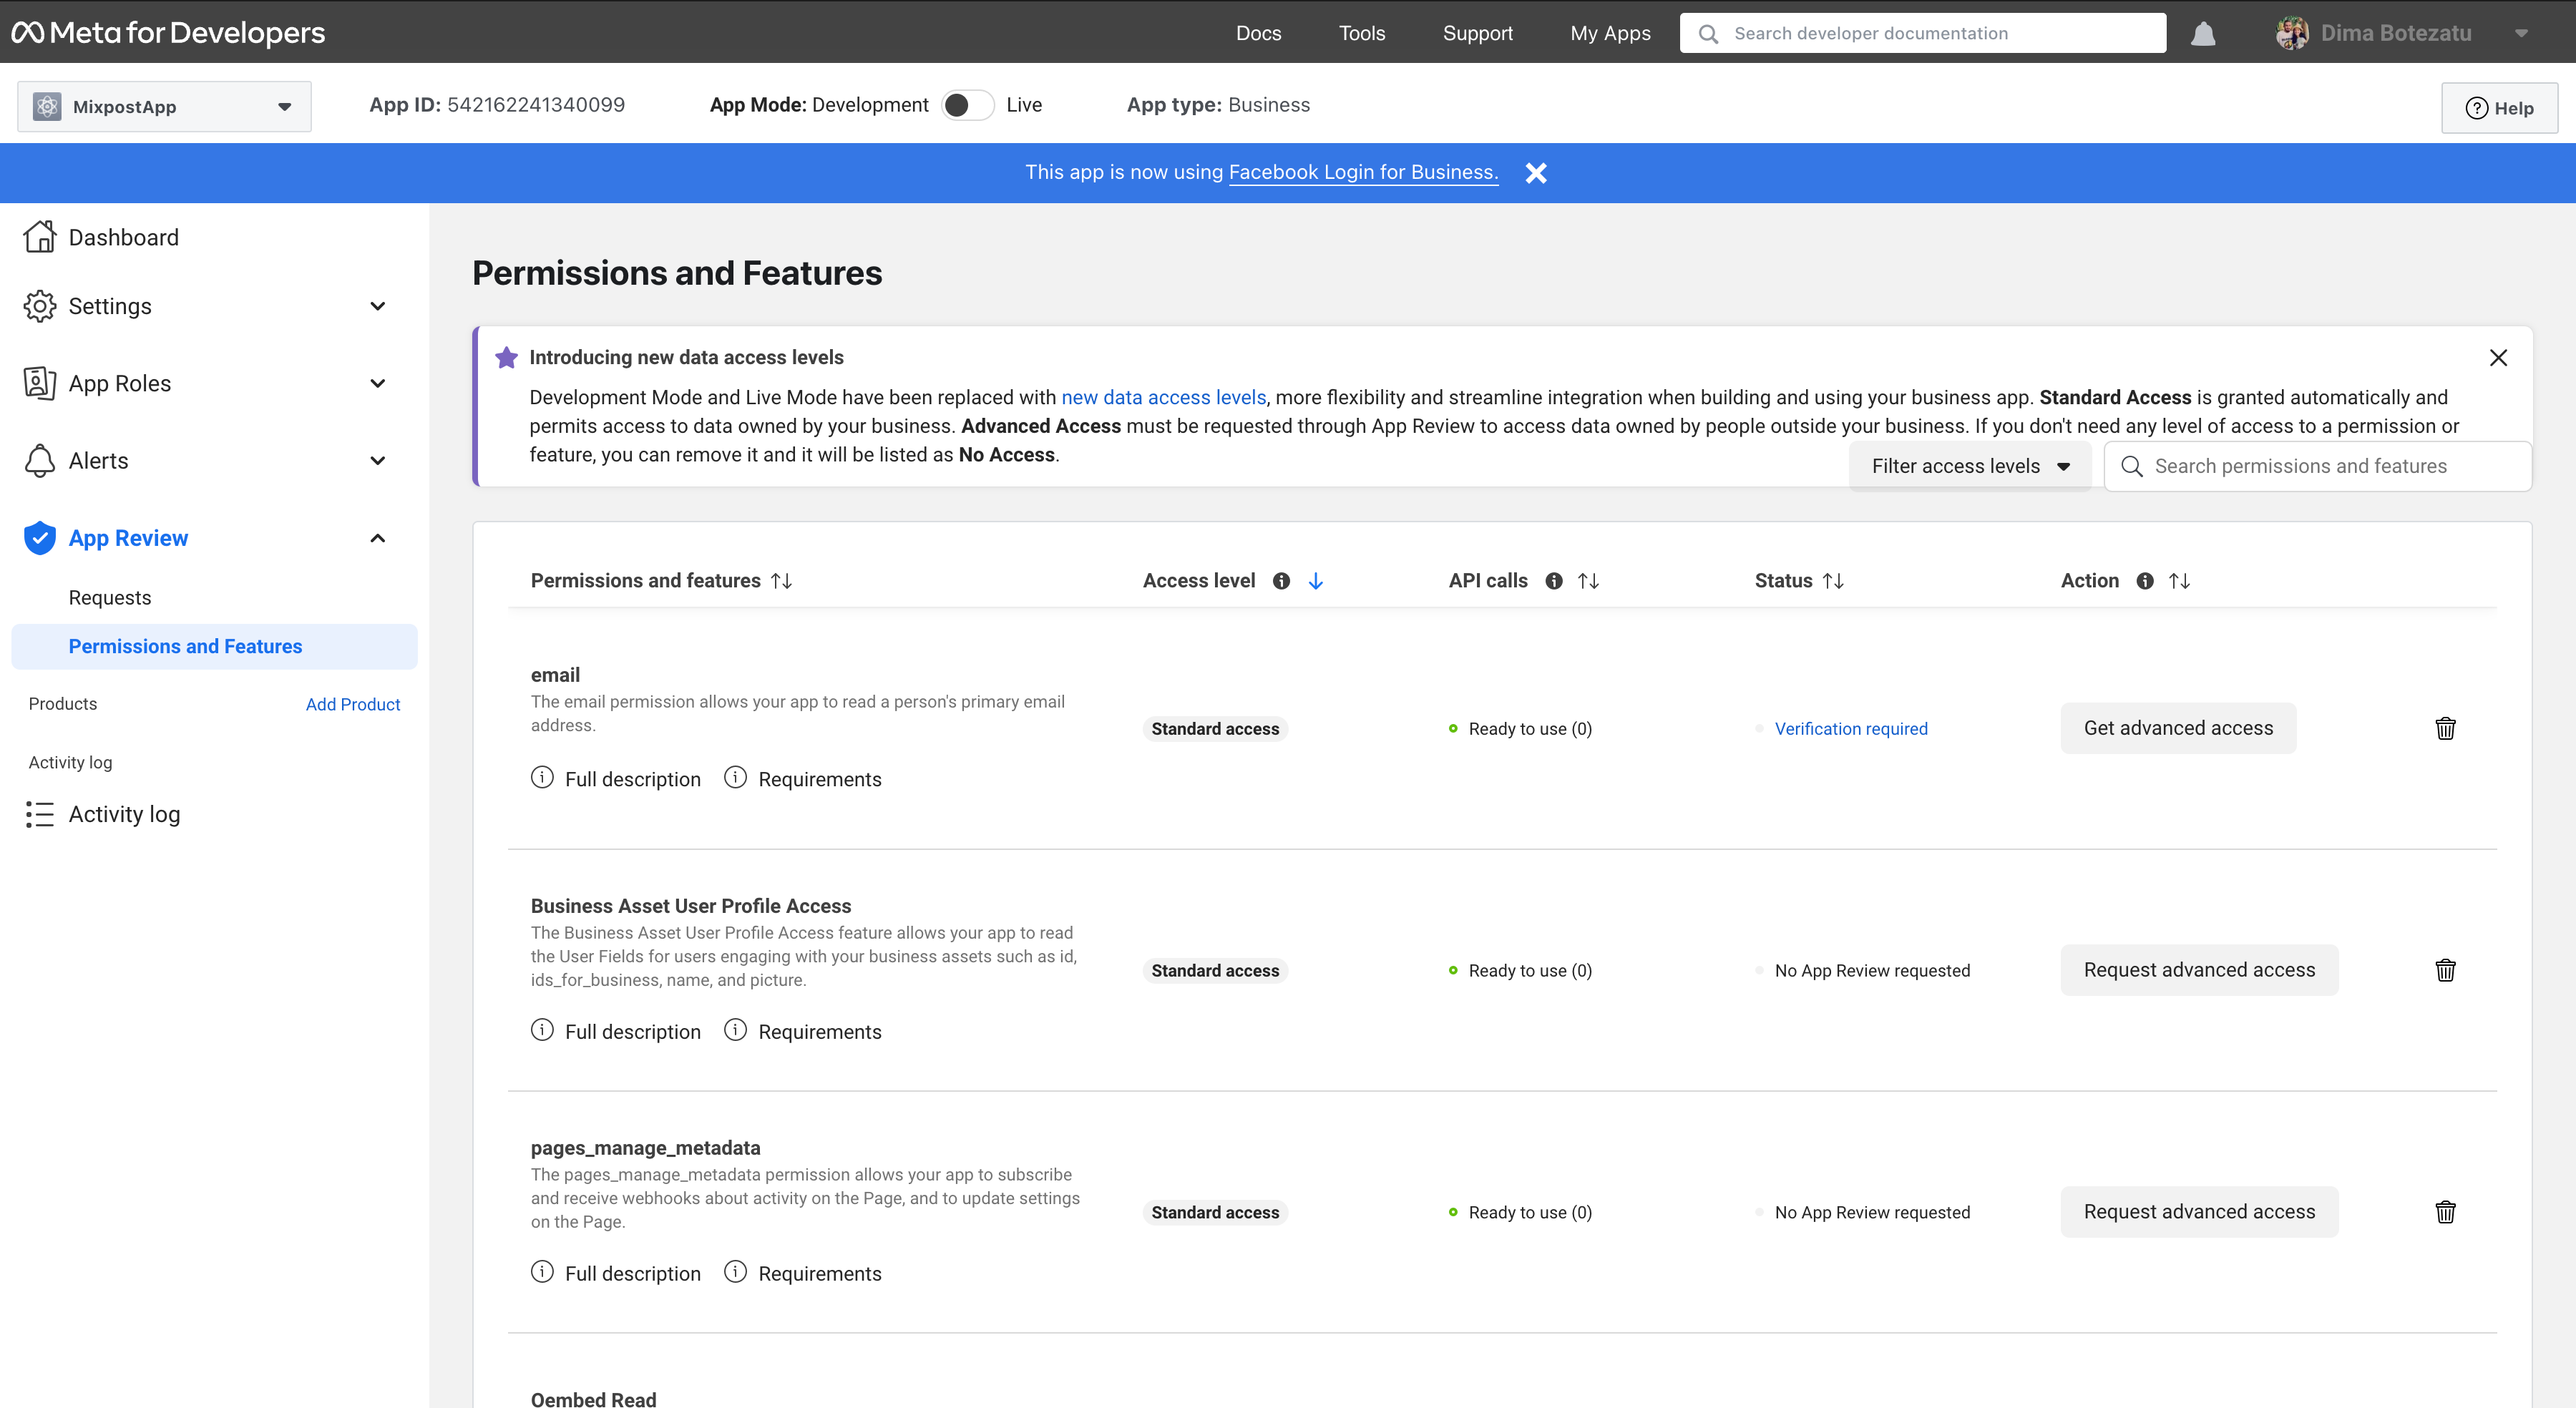
If your Facebook App is using v17.0, you must request permissions for the following scopes:
-
business_management
-
pages_show_list
-
read_insights
-
pages_manage_posts
-
publish_to_groups
-
instagram_basic
-
instagram_content_publish
-
instagram_manage_insights
If your Facebook App is using v16.0, you must request permissions for the following scopes:
-
pages_show_list
-
read_insights
-
pages_manage_posts
-
publish_to_groups
-
instagram_basic
-
instagram_content_publish
-
instagram_manage_insights
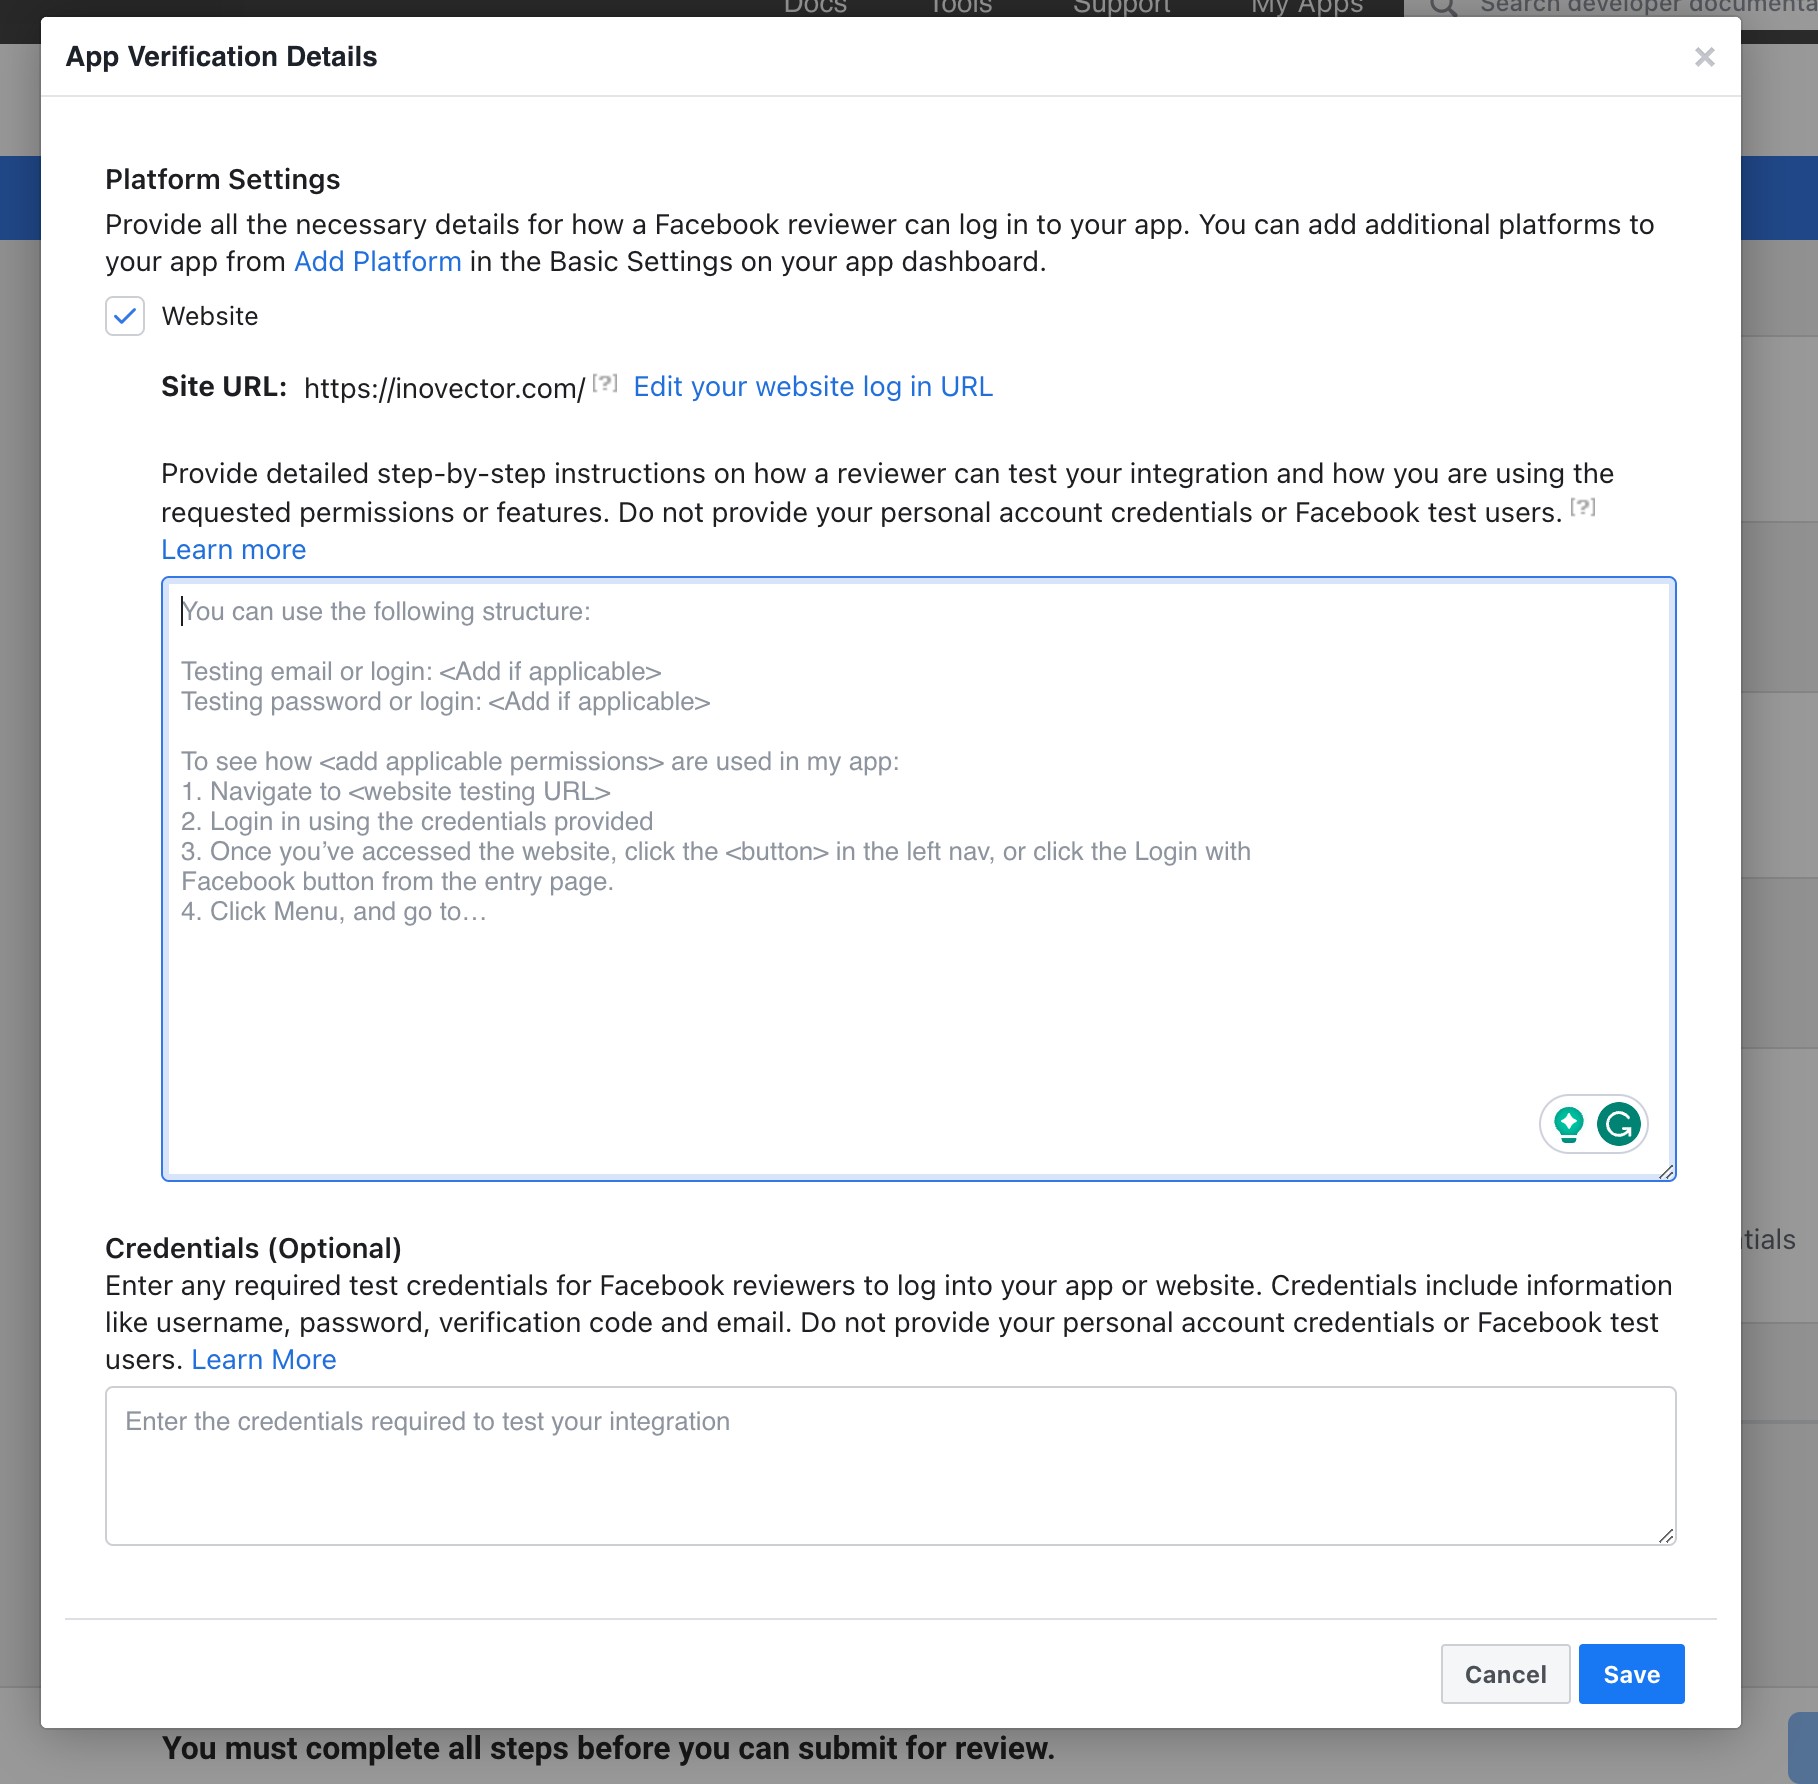
The text for "App Verification Details"
Testing email: meta-test@example.com
Testing password: test-password
To see how these permission are used in my app:
1. Navigate to https://your-domain.com
2. Login in using the credentials provided
3. Once you’ve accessed the website, click “Accounts” in the left sidebar.
4. Click on the “Add account” button
5. Click the “Facebook page”
6. Login with your Facebook account and accept all the permissions
7. Select your pages and click on the “Choose” button
8. Your Facebook pages have been added to my app. This way you can connect a Facebook page, Facebook Group, or Instagram account.
Then click on the "Save" button.
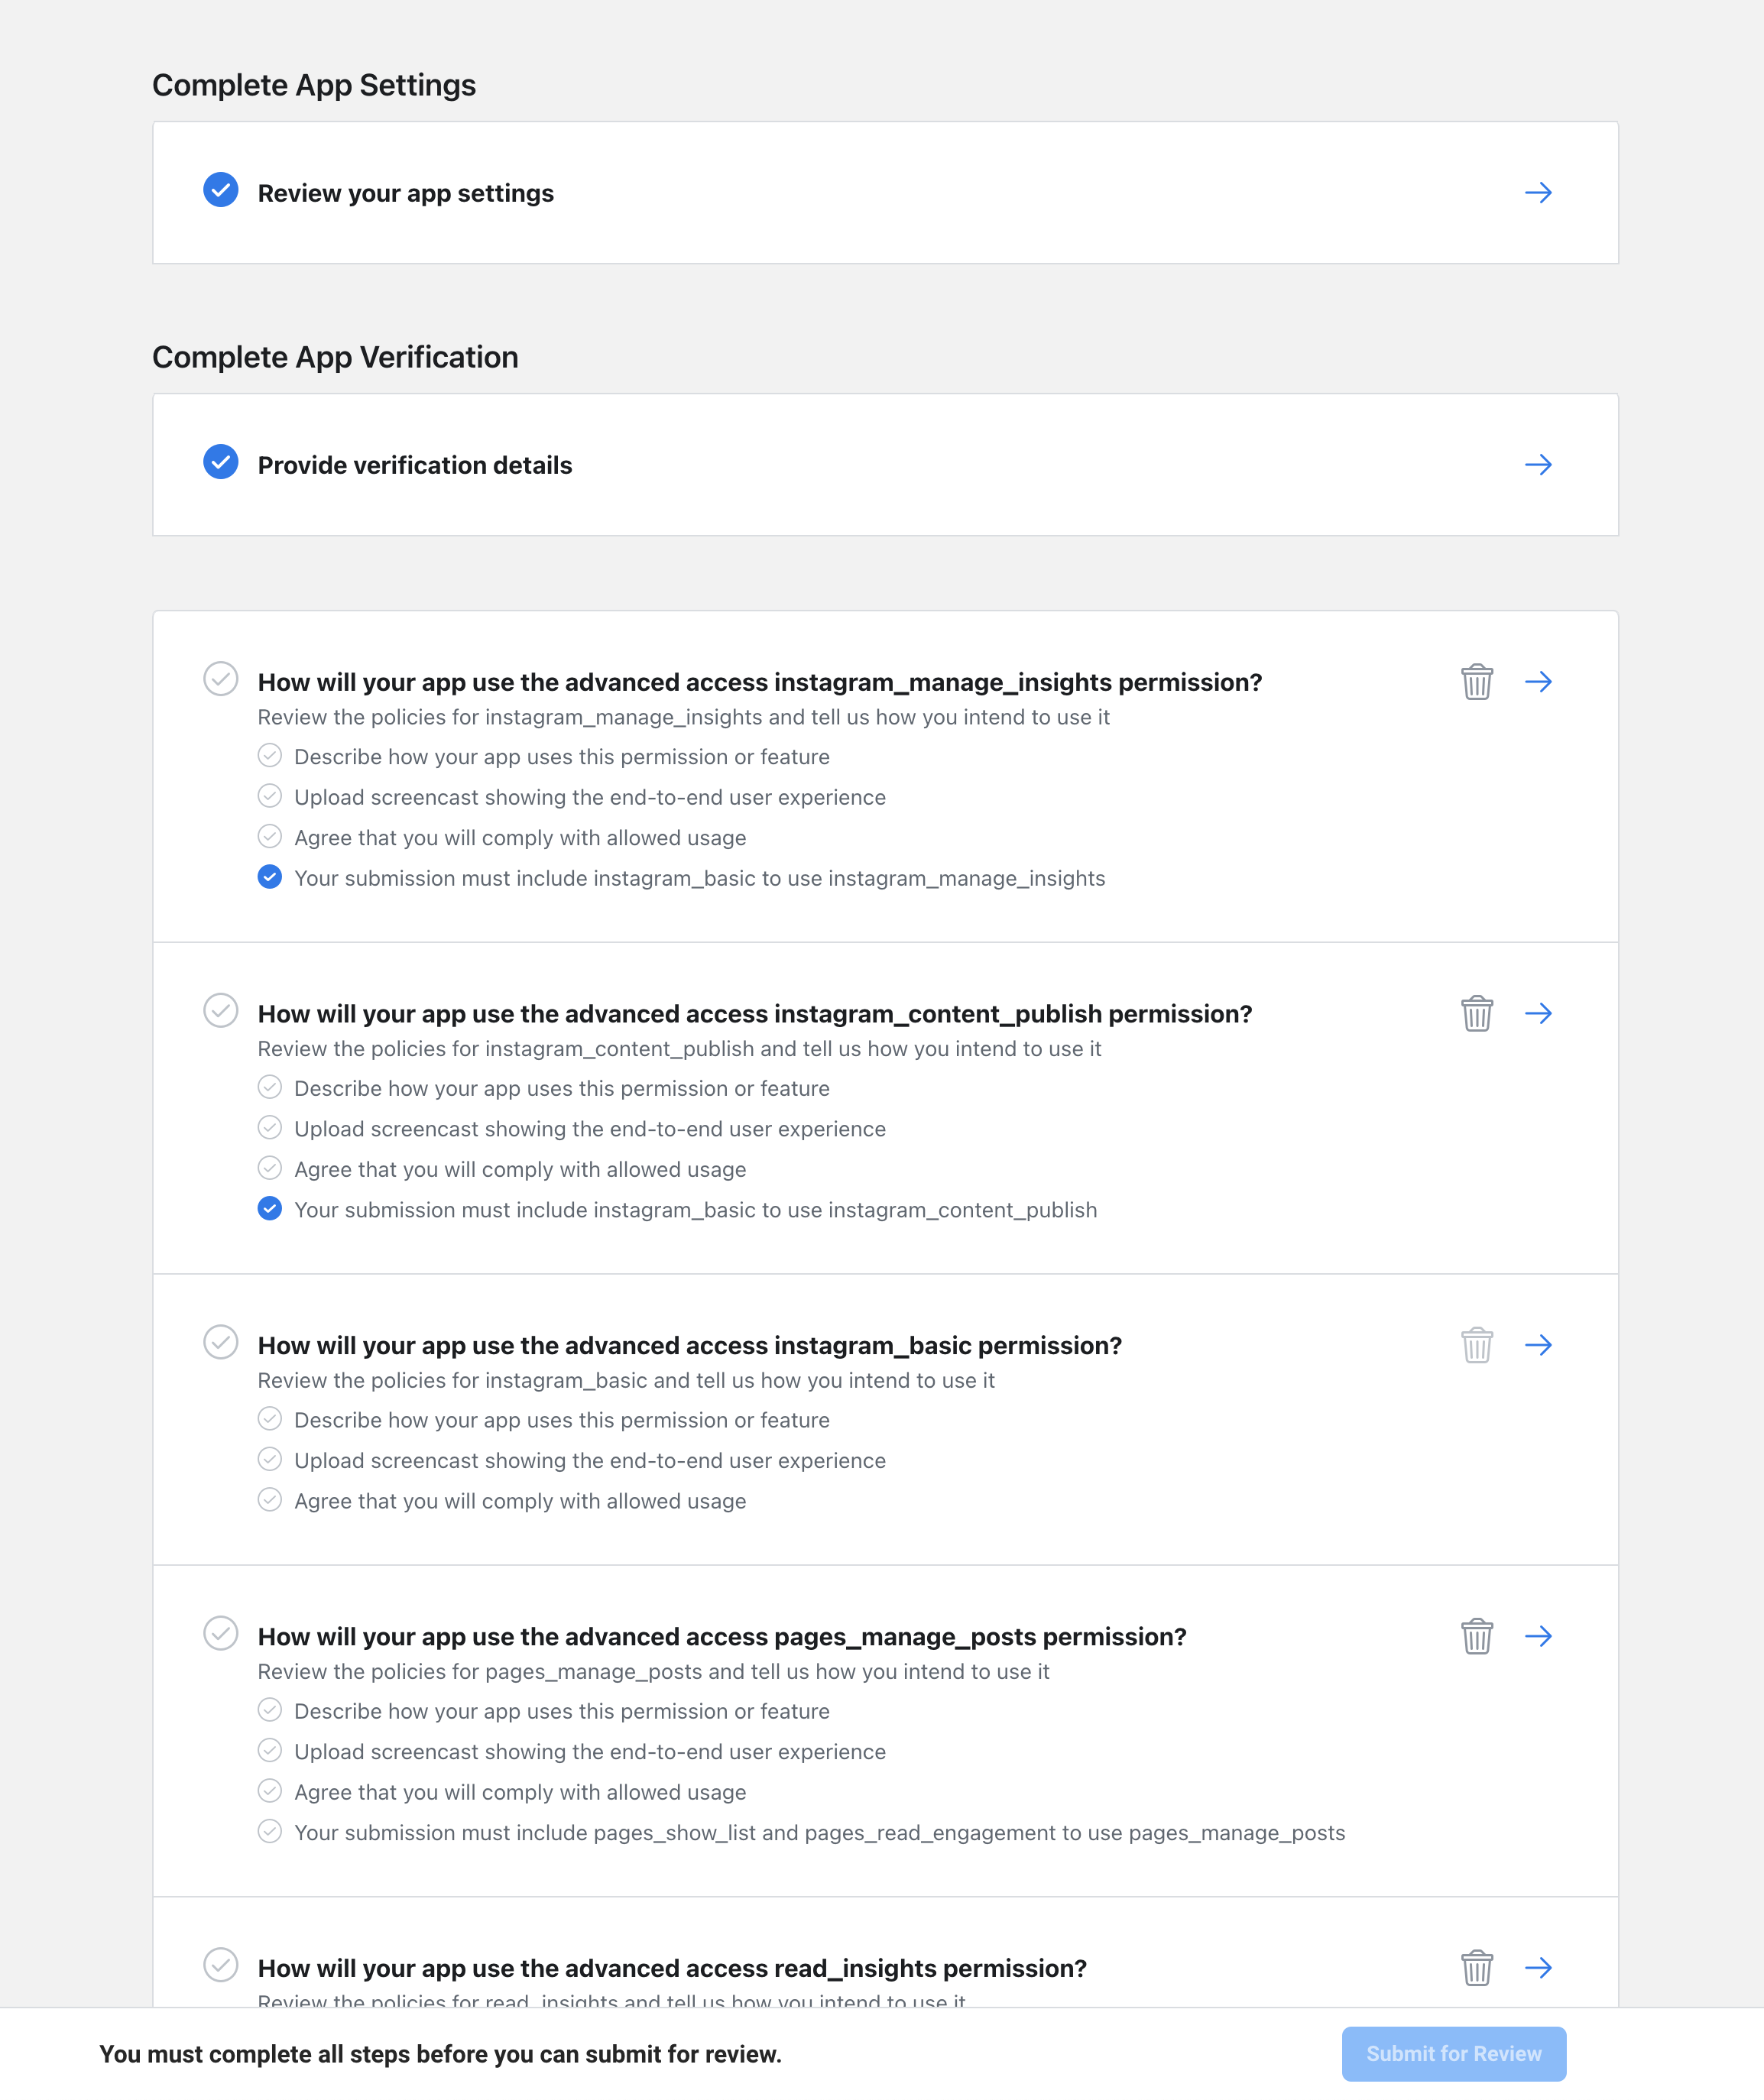
Before submitting the app for review, it is essential to finish all the required steps and provide information for each requested permission. The "Submit for Review" button located at the bottom of the page will become active only when all the review requirements, indicated by blue checkmarks, are fulfilled.
It can take several days to get a response from Facebook. You can check your pending request in the Facebook developer account in the "App Review -> Requests" section.
Example instructions for every app review scope
Don'tIt forgetwill be necessary to replaceprovide {YourAppName}a withdetailed yourdescription actualand appscreen name.recording for each permission. Screen Recordings guide.
Useful information:
|
Scope |
Use case description |
What to show in the video |
|---|---|---|
|
business_management |
We need this permission to receive access to the business admin pages and display them to connect the chosen one
To see how "business_management" is used in my app: 1. Inside my app, click "Accounts" from the left menu. 2. Click on the "Add Account" button. 3. A login dialog will open, click on "Facebook Page". |
You must show how a user can add a Facebook page, accept the permission, select the pages from the list, and show the connected pages on the |
|
pages_show_list |
We need this permission to read and display the list of Pages a person manages to connect the chosen one
To see how "pages_show_list" is used in my app: 1. Inside my app, click "Accounts" from the left menu. 2. A login dialog will open, click on "Facebook Page". 4. A login dialog to Facebook will open in a new window. |
You must show how a user can add a Facebook page, accept the permission, select the pages from the list, and show the connected pages on the |
|
read_insights |
We need this permission to read the insights data for Pages:
This permission helps our users to understand what content is resonating with their audience and what to post to maximize their audience engagement.
To see how "read_insights" is used in my app: 1. Inside my app, click "Accounts" from the left menu. 2. Click on the "Add Account" button. 3. A login dialog will open, click on "Facebook Page". 9. Click on the "Dashboard" button from the left menu and select the page you added. Here you will see all metrics. The data is collected by my app every 2 hours. |
You must show how a user can add a Facebook page, accept the permission, select the pages from the list, and show the connected pages on the Accounts page.
You must show the Mixpost Analytics page of a Facebook page.
|
|
pages_manage_posts |
We need this permission to create content posted on the page (posts, videos, photos).
This permission is required for my app to provide users with the benefit of scheduling and publishing posts on their pages.
To see how "pages_manage_posts" are used in my app: 1. Inside my app, click "Accounts" from the left menu. 2. Click on the "Add Account" button. 3. A login dialog will open, click on "Facebook Page". 9. Click on the top "CREATE POST" button from the left menu. 10. Select which page you want to post on. 11. Write whatever you want to share with your audience. 12. On the right bottom, click on the "Post now" button or you can pick a time to schedule. If you clicked "Post now" the post should be published in a minute to the selected page. |
You must show how a user can add a Facebook page, accept the permission, select the pages from the list, and show the connected pages on the Accounts page.
You must show how you are creating the post |
|
pages_read_engagement |
We need this permission because it is required by pages_manage_posts permission. We need this permission to
To see how "pages_read_engagement" are used in my app: 1. Inside my app, click "Accounts" from the left menu. 2. Click on the "Add Account" button. 3. A login dialog will open, click on "Facebook Page". 9. Click on the top "CREATE POST" button from the left menu. 10. Select which page you want to post on. 11. Write whatever you want to share with your audience. 12. On the right bottom, click on the "Post now" button or you can pick a time to schedule. If you clicked "Post now" the post should be published in a minute to the selected page. |
You must show how a user can add a Facebook page, accept the permission, select the pages from the list, and show the connected pages on the Accounts page.
You must show how you are creating the post and publishing it. Also, show that after publishing you can open the original post on the Facebook site. |
|
publish_to_groups |
We need this permission to read and display the list of groups in which a person has the role of admin. Also, we need this permission to Post content (posts, videos, photos) into a group on behalf of a person who connected with his Facebook account in my app.
This permission is required for my app to provide users with the
To see how "publish_to_groups" are used in my app: 1. Inside my app, click "Accounts" from the left menu. 2. Click on the "Add Account" button. 3. A login dialog will open, click on "Facebook Group". 9. Click on the top "CREATE POST" button from the left menu. 10. Select which group you want to post on. 11. Write whatever you want to share with your audience. 12. On the right bottom, click on the "Post now" button or you can pick a time to schedule. If you clicked "Post now" the post should be published in a minute to the selected group.
You can test it here: |
You must show how a user can add a Facebook page, accept the permission, select the pages from the list, and show the connected pages on the Accounts page.
You need to show how to add a Facebook group and how to create and publish a post to a group. Also, show that after publishing you can open the original post on the Facebook site. |
|
Groups API |
We need this permission because it is required by publish_to_groups permission. We need it to read and display the list of groups in which a person has the role of admin. Also, we need this permission to Post content (posts, videos, photos) into a group on behalf of a person who connected with his Facebook account in my app.
This permission is required for my app to provide users with the benefit of scheduling and publishing posts on their groups.
To see how "publish_to_groups" are used in my app: 1. Inside my app, click "Accounts" from the left menu. 2. Click on the "Add Account" button. 3. A login dialog will open, click on "Facebook Group". 9. Click on the top "CREATE POST" button from the left menu. 10. Select which group you want to post on. 11. Write whatever you want to share with your audience. 12. On the right bottom, click on the "Post now" button or you can pick a time to schedule. If you clicked "Post now" the post should be published in a minute to the selected group.
You can test it here: |
You must show how a user can add a Facebook page, accept the permission, select the pages from the list, and show the connected pages on the Accounts page.
You need to show how to add a Facebook group and how to create and publish a post to a group. Also, show that after publishing you can open the original post on the Facebook site. |
|
instagram_basic |
We need this permission to read The username and picture are displayed on the
The number of followers is displayed as a graph. It helps the user to To 1. Inside my app, click "Accounts" from the left menu. 2. Click on the "Add Account" button. 3. A login dialog will open, click on "Instagram". 9. Also, you can see the number of followers of your Instagram account by visiting the "Dashboard" page, from the left menu, then select your Instagram Account. Here you will see the Audience graph. Our app collects the number of followers every 3 hours.
You can test it here: |
You must show how a user can connect an Instagram profile, accept the permission, select the Instagram profiles from the list, and show the connected profiles on the Also, show |
|
instagram_content_publish |
After
This permission is required for my app to provide users with the benefit of scheduling and publishing posts on Instagram.
To see how "instagram_content_publish" are used in my app: 1. Inside my app, click "Accounts" from the left menu. 2. Click on the "Add Account" button. 3. A login dialog will open, click on "Instagram". 9. Click on the top "CREATE POST" button from the left menu. 10. Select which Instagram account you want to post on. 11. Write whatever you want to share with your audience. 12. Upload an image or a video from the editor menu. (the second button) 13. On the right bottom, click on the "Post now" button or you can pick a time to schedule. If you clicked "Post now" the post should be posted in a minute to the selected Instagram account.
You can test it here: |
You must show how a user can connect an Instagram profile, accept the permission, select the Instagram profiles from the list, and show the connected profiles on the Accounts page.
You must show how you are creating the post/reel and publishing it. Also, show that after publishing you can open the original post on the Instagram site. |
|
instagram_manage_insights |
We need this permission to
By being granted the 'instagram_manage_insights' permission, our app can offer users a comprehensive, detailed, and valuable view of their Instagram performance.
To see how "instagram_manage_insights" are used in my app: 1. Inside my app, click "Accounts" from the left menu. 2. Click on the "Add Account" button. 3. A login dialog will open, click on "Instagram".
You |
You must show how a user can connect an Instagram profile, accept the permission, select the Instagram profiles from the list, and show the connected profiles on the Accounts page.
You must show the Mixpost Analytics page of an Instagram profile.
|